This post contains affiliate links. Please read our disclosure policy.
These Freshly Milled English muffins are soft, chewy, and full of flavor! You are going to love making these, and love them even more when you eat them!

Homemade baked goods are always a delicious breakfast! I know it’s going to be a good day when we start it with chocolate chip bagels, biscuits with fresh milled flour, or cinnamon rolls.
These English muffins are a new favorite and I can’t get enough of them.
They are delicious slathered in butter with a side of eggs, served in eggs benedict, or made into an English muffin omelet. English muffins are the base of any good breakfast!
It’s hard to beat a chewy, fresh-baked English muffin. When you make them with fresh milled flour, they only get better!
Table of Contents
Why You’ll Love This Recipe
- They’re easy to make! I always thought English muffins were something that had to be purchased at the store. I was pleasantly surprised that they are so simple to make at home! We’ll never have to grab store-bought English muffins again.
- You can enjoy English muffins in so many different ways. I never run out of different ways to incorporate them into meals.
- English muffins freeze and defrost beautifully, so they are perfect for freezer meal prep. When I need a quick breakfast, I break into the freezer stash of English muffins and I’m ready to go.
Key Ingredients

- Milk: I typically use whole milk. You want it warmed to 100-110°F to allow the yeast to bloom properly.
- Yeast: Active dry yeast will give these English muffins the perfect rise and fluffy texture.
- Honey: Adds just a bit of sweetness for a delicious, robust flavor.
- Butter: You’ll need some for the dough and more to grease the cast iron skillet. Oil will also work for the skillet.
- Egg
- Salt
- Hard white wheat flour: I like to mill my own for the best flavor, but store-bought will also work. You can also learn how to mill your own flour here!
- Cornmeal: This is essential to keep the dough from sticking to everything!
How to Make English Muffins with Fresh Milled Flour


Step 1. In the bowl of a stand mixer, combine the warm milk, yeast, and honey. Stir to dissolve the yeast and let it sit for about 5-10 minutes until it becomes frothy.
Step 2. Stir in the melted butter, salt, and 2 cups of whole grain flour.

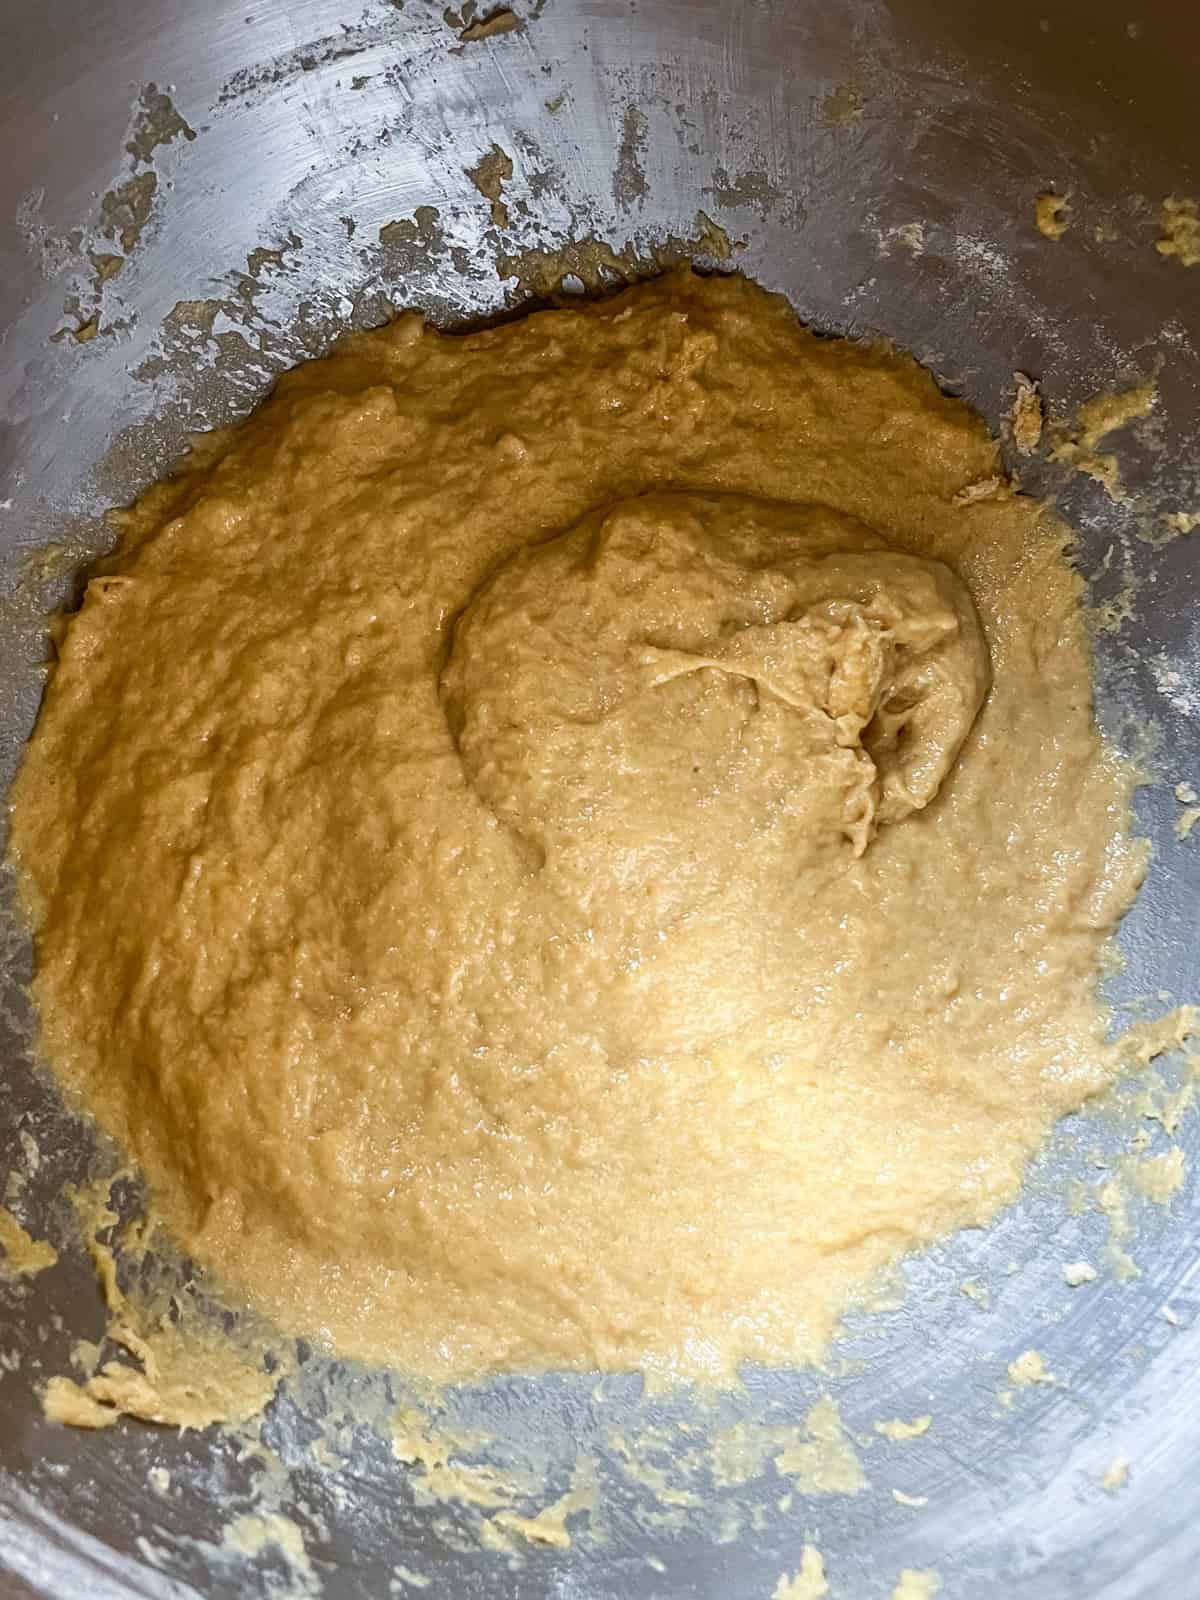
Step 3. Add the remaining 2/3 cup flour and beat on low speed in the stand mixer for 1 minute. Stop, scrape down the sticky dough from the sides, and fold it in. Beat again for another 4-5 minutes on low. (I use speed 2.)
Step 4. Use a spatula to fold the dough in on itself, then cover the bowl with plastic wrap and let the dough rise for 2 hours, or until it has doubled in size.
Step 5. Once doubled, do not punch it down. Transfer the dough to the fridge to chill overnight. You can chill it for as little as 6 hours, or if needed, you can also skip the chill entirely, but it makes them taste so much better, and the dough is WAY easier to handle chilled.


Step 6. The next morning, remove the dough from the fridge. Sprinkle a little cornmeal on your workspace, and on the dough. Then, pull off a piece of dough and roll it into a ball, then flatten it before placing it on the countertop. Repeat for the remaining muffins and sprinkle a little more cornmeal on top of them.
Step 7. Cover and let the dough rest for up to 20 minutes. Do not extend this time.
Step 8. Preheat the oven to 350°F. While the oven is pre-heating, heat a skillet on medium-low. Once hot, melt about a 1/2 tablespoon of oil or butter in the skillet, and cook the muffins for about 10-15 minutes, flipping once. Note: the sides should be golden brown and the edges can still be soft, but should be firmed up.
Step 9. Transfer the muffins to a parchment paper-lined baking sheet or prepared cast iron skillet and bake for 14 minutes or until the internal temperature registers 200°F.
Step 10. After baking, let the muffins rest for 15-20 minutes before serving to allow them to set properly.

Recipe Tips
- The dough is super sticky—nothing like a regular bread dough! To keep it from sticking to your hands, try dusting them with cornmeal or wetting them slightly.
- You can gently press down the edges while they cook on the stovetop, but be careful not to overdo it.
- I don’t usually need to add more oil before flipping, but you may want to. If you’re using butter, make sure the skillet isn’t too hot, as it may burn the butter.
- The sides of the muffins should be golden brown, and the edges should feel firm before you transfer them to the oven.
- Oven and stovetop times can vary since every setup cooks a little differently. I bake mine for exactly 14 minutes, but you may need to adjust the time depending on your oven.
How to Serve English Muffins
There is no wrong way to serve English muffins — the sky’s the limit! My grandma would always serve them with bacon eggs and cheese!
You can keep it simple by serving them alone, spread with butter, honey, jam, or peanut butter.
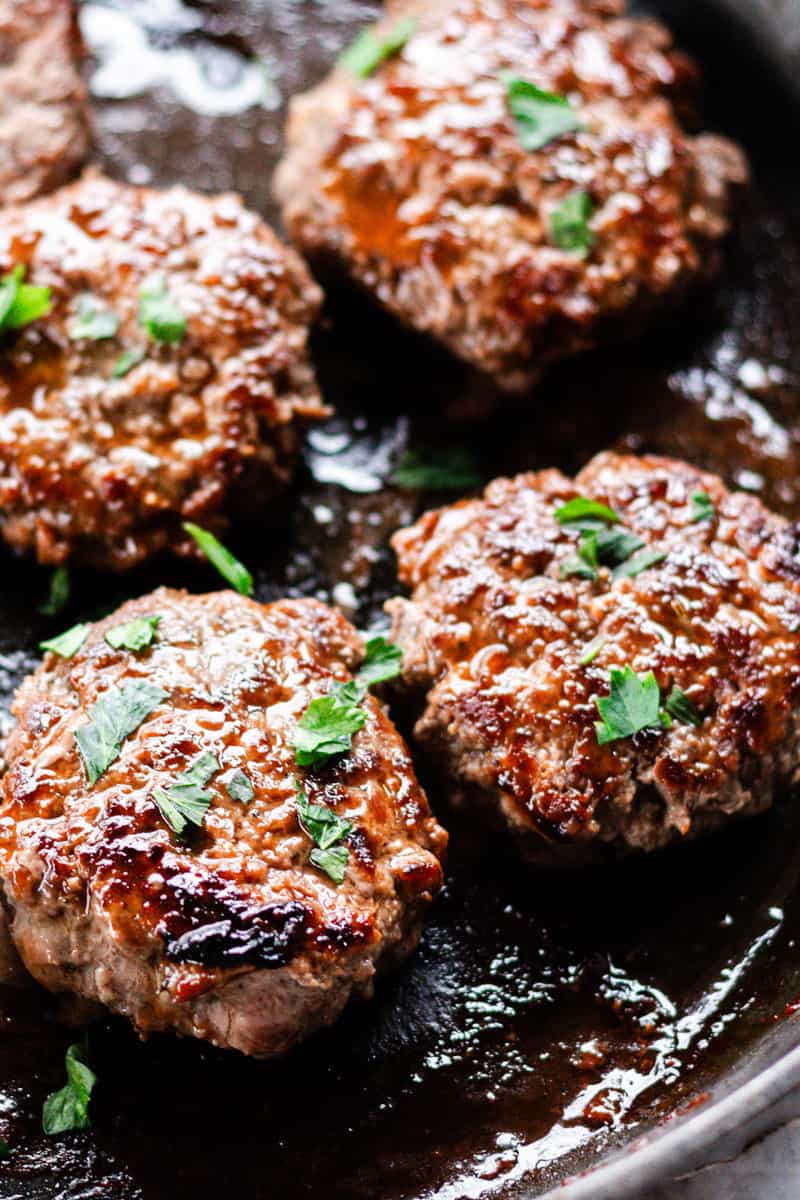
English muffins also go well with a protein-forward dish, such as chili scrambled eggs, venison breakfast sausage, or cast iron-fried bacon.
You can also make an elaborate breakfast where the English muffins will shine! Make them part of a breakfast sandwich, use them as the bread for avocado toast, or serve them with a classic eggs benedict.

Storage
Freshly Milled English muffins can be stored in an airtight container at room temperature for about 4-5 days. Be sure they are cooled completely before transferring them to a container.
For longer-term storage, I highly recommend freezing your English muffins. You can even make a double batch to stock up! I do that a lot for make-ahead breakfasts! I even freeze my leftover freshly milled waffles! They are so good heated in the toaster!
Once cooled, transfer the muffins to a freezer-safe, airtight container and store them in the freezer for up to six months. You can pull out as many as you need and let them thaw at room temperature before toasting or reheating in the oven.
I do the same thing with my freshly milled cinnamon sugar muffins and whole wheat lemon poppy seed muffins!
Recipe FAQs
That’s how it’s supposed to be! This is a very wet, sticky dough that gives the English muffins a great texture. It can be difficult to handle, but giving the dough adequate time in the fridge, using plenty of cornmeal, and wetting your hands will make it manageable.
You don’t have to, but I do recommend it for this recipe. Because the dough is so sticky, mixing and kneading by hand can be tricky.
The best way is to stick a fork into the side of the muffin and carefully split it apart with the fork tines. This gives the English muffins the perfect nooks and crannies to hold all that butter!
I always measure after milling, using the flour itself. I also measure by weight, not volume, for the most consistent results.
I use hard white wheat for this recipe!

Related Recipes
- Onion Bagel Recipe
- Brioche Bread with Fresh Milled Flour
- Sausage Breakfast Skillet
- Sourdough French Toast Casserole
- Blueberry Muffins with Fresh Milled Flour
If you tried this English Muffins Recipe with Fresh Milled Flour or any other recipe, I’d love for you to leave a star rating and share how it went in the comments below. Thanks for visiting!

Freshly Milled English Muffins
Ingredients
- 1 1/4 cups milk warmed to about 100°F
- 2 tsp active dry yeast
- 3 tbsp honey
- 2 tbsp butter melted
- 1 large egg
- 1 1/2 tsp salt
- 2 2/3 cups hard white wheat flour (350g) spooned & leveled
- Cornmeal for dusting
Instructions
- In the bowl of a stand mixer, combine the warm milk, yeast, and honey. Stir to dissolve the yeast and let it sit for about 5-10 minutes until it becomes frothy.
- Stir in the melted butter, salt, and 2 cups of whole grain flour.
- Add the remaining 2/3 cup flour and beat on low speed in the stand mixer for 1 minute. Stop, scrape down the sticky dough from the sides, and fold it in. Beat again for another 4-5 minutes on low. (I use speed 2.)
- Use a spatula to fold the dough in on itself, then cover the bowl with plastic wrap and let the dough rise for 2 hours, or until it has doubled in size.
- Once doubled, do not punch it down. Transfer the dough to the fridge to chill overnight. You can chill it for as little as 6 hours, or if needed, you can also skip the chill entirely, but it makes them taste so much better, and the dough is WAY easier to handle chilled.
- The next morning, remove the dough from the fridge. Sprinkle a little cornmeal on your workspace, and on the dough. Then, pull off a piece of dough and roll it into a ball, then flatten it before placing it on the countertop. Repeat for the remaining muffins and sprinkle a little more cornmeal on top of them.
- Cover and let the dough rest for up to 20 minutes. Do not extend this time.
- Preheat the oven to 350°F. While the oven is pre-heating, heat a skillet on medium-low. Once hot, melt about a 1/2 tbsp of oil or butter in the skillet, and cook the muffins for about 10-15 minutes, flipping once. Note: the sides should be golden brown and the edges can still be soft, but should be firmed up.
- Transfer the muffins to a parchment paper-lined baking sheet or prepared cast iron skillet and bake for 14 minutes, or until the internal temperature registers 200°F.
- After baking, let the muffins rest for 15-20 minutes before serving to allow them to set properly.
Notes
- The dough is super sticky—nothing like a regular bread dough! To keep it from sticking to your hands, try dusting them with cornmeal or wetting them slightly.
- You can gently press down the edges while they cook on the stovetop, but be careful not to overdo it.
- I don’t usually need to add more oil before flipping, but you may want to. If you’re using butter, make sure the skillet isn’t too hot as it may burn the butter.
- The sides of the muffins should be golden brown, and the edges should feel firm before you transfer them to the oven.
- Oven and stovetop times can vary since every setup cooks a little differently. I bake mine for exactly 14 minutes, but you may need to adjust the time depending on your oven.
- English muffins can be stored in an airtight container at room temperature for up to 5 days or in the freezer for up to 6 months.


Had these for breakfast all last week! Can’t wait to make another batch.
I do the same thing! Make a double batch and eat them all week!