This post contains affiliate links. Please read our disclosure policy.
Dive into the world of freshly milled flour! Make all of your favorite recipes fresher and more flavorful. Learn everything you need to know about how to mill your own flour with this beginner’s tutorial.

I started milling my own flour a couple of years ago, and I’ll never go back!
Baking with fresh whole grain flour has a small learning curve, but with the right recipes, whole grain baked goods taste so much better.
As I started baking with fresh milled flour, I had a hard time finding whole grain recipes for my favorite baked goods. So I made my own!
I’ve since made so many of my favorite baked goods with whole grain flour, from freshly milled cinnamon rolls to whole wheat artisan bread. I can’t get enough!
If you’re new to milling your own flour, don’t worry. It’s quite simple once you learn the basics. I’ll teach you everything you need to know so you can get started with the fun part: baking!
Table of Contents
Why Mill Your Own Flour?
- Fresher: I like using my own milled flour in my baked goods because it tastes fresher! Freshly milled whole grain flour has loads more flavor than regular all-purpose flour.
- Better shelf life: If you like to buy your dry goods in bulk, milling your own flour is the way to go. Whole wheat berries store significantly longer than milled flour, so you don’t have to worry about shelf life.
- More nutritious: Many sources suggest that flour loses a lot of its nutrients as it oxidizes, so fresh is best. While the evidence is limited on that, fresh milled flour is notably higher in a variety of key nutrients compared to refined flour. Whole grain flour includes the entire wheat kernel, including the germ and the bran, while refined all-purpose flour only has the endosperm. Using the entire kernel increases the fiber, vitamins, and minerals in the flour.
- Choose your grains: Milling your own flour gives you complete control over which grains go into your baked goods! You can choose the variety of wheat you like or opt for a non-wheat whole grain based on your preferences and dietary needs.
- Save money: You can often find wheat berries in bulk that cost far less per pound than wheat flour. They also reduce food waste because of their long shelf life.
What You’ll Need
- Grains: There is a wide variety of grains you can mill into flour. Keep reading for some suggestions on where to start.
- Flour mill: You’ll, of course, need a mill. I love and use the Mockmill professional grain mill, but you can choose the mill that best suits your needs. I go over the different types below.
How to Mill Your Own Flour
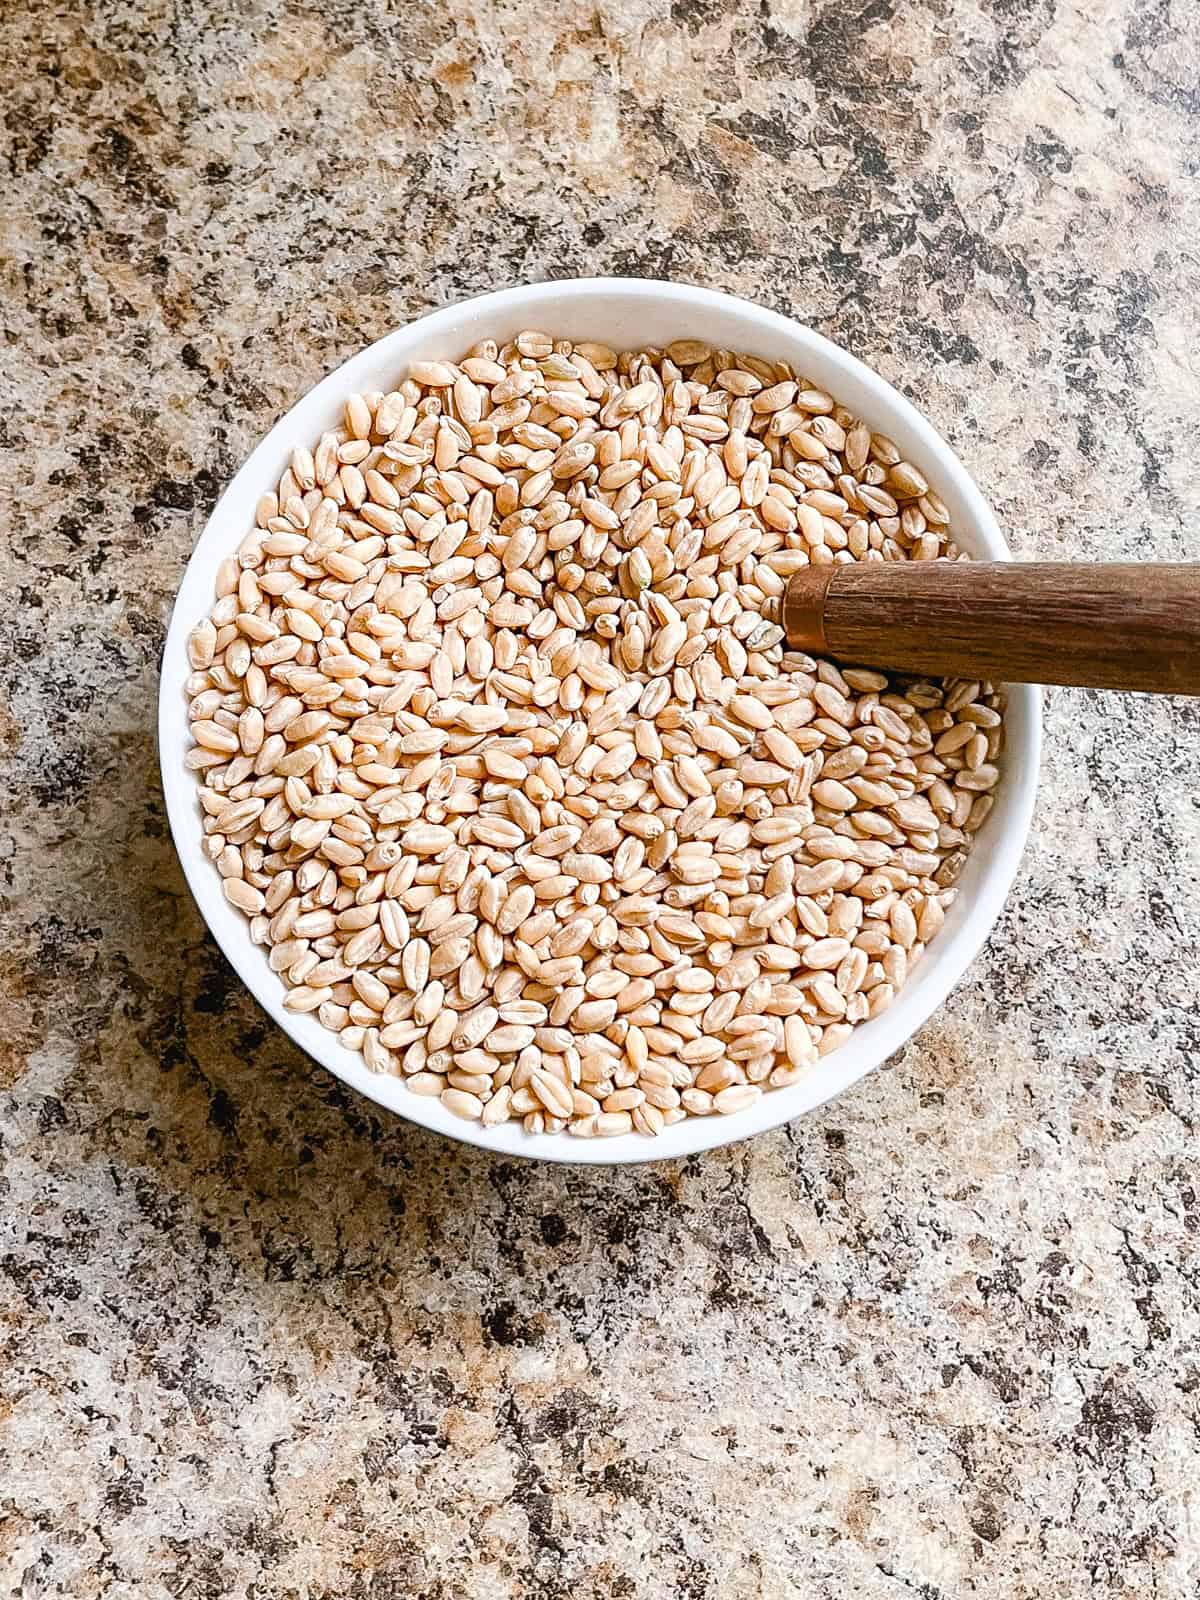
Step 1. Choose your grains. Your grains should be clean, dry, and free of stones or debris. Make sure they are food-grade and non-oily grains.

Step 2. Prepare your mill. Set up your mill on a stable, flat surface and place a bowl under the spout. Set your desired coarseness.

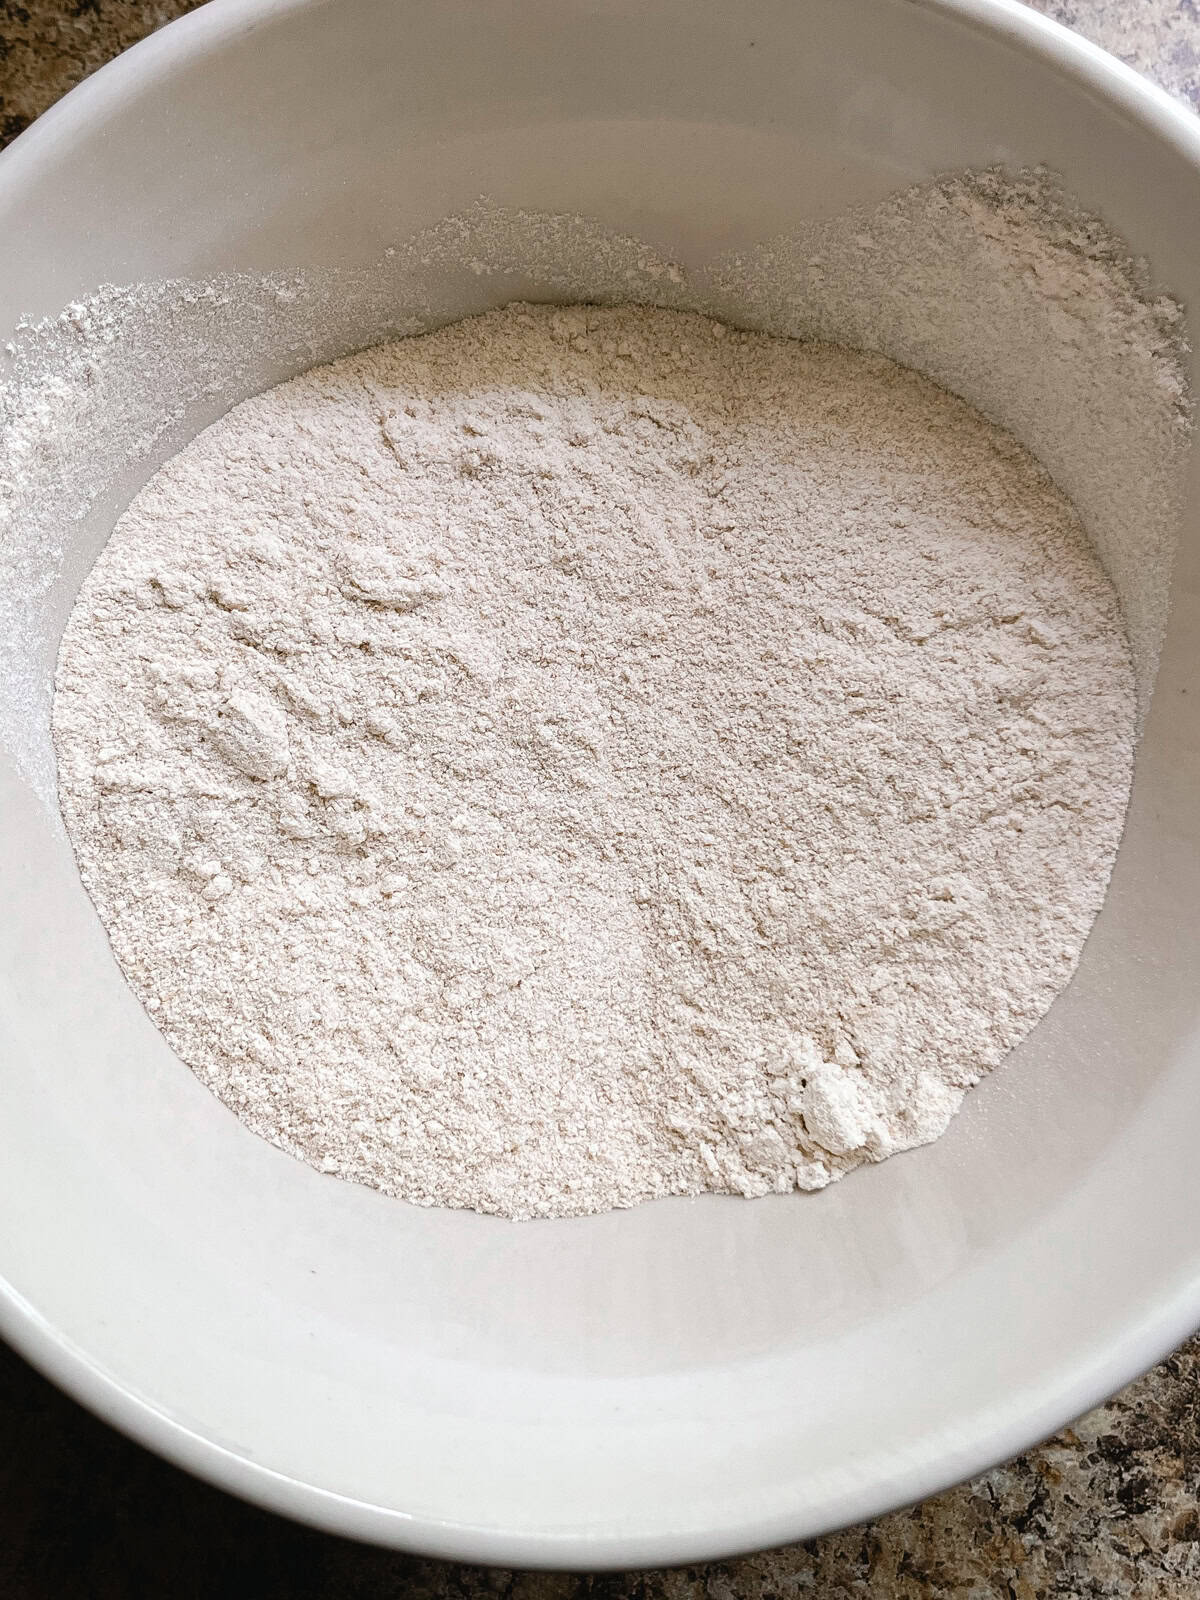
Step 3. Turn on the mill. Always make sure the mill is running before adding the grains. Once it’s on, pour the grains into the hopper at a steady pace. They will slowly fall into the mill as it grinds.

Step 4. Allow the mill to do its work, then let it run for a couple of extra seconds after it’s done releasing flour to make sure it’s entirely empty. Now you can start baking!
Expert Tips
- For baked goods, you’ll want a very fine setting and for cracked grains or cereal, choose a coarser setting. I run my Mockmill on the 0 setting for baked goods.
- It’s best to use your flour right away, so try to measure out exactly what you need and wait to mill it until you’re ready to bake.
- If you can’t use your flour right away, store it in the fridge for up to a week or the freezer for longer.
- It’s best to find recipes that call for freshly milled flour rather than substituting it in regular all-purpose recipes. Freshly milled flour requires a bit of tweaking to get a nice texture and hydration level.
Choosing a Grain Mill
There are several types of grain mills, and it can be overwhelming to choose your first mill! I have tried a lot of different mills, and I’ve found the Mockmill lino 200 grain mill to provide the best results in my baked goods.
In any case, it’s a good idea to do your research before purchasing a grain mill. Each grain mill has different benefits and disadvantages:
- Stone burr mills: This is what I use, and one of the more popular mill types. Stone burr mills produce a very fine flour and they operate at a cooler temperature, which limits the oxidation of the flour as it’s being milled.
- Steel burr mills: These mills are similar to stone burrs, but as the name suggests, the burrs are made of stainless steel rather than natural stone. They are versatile and allow for milling wet and oily grains, which is not recommended with a stone burr mill. Steel burrs are also durable and long-lasting.
- Impact mills: Rather than two burrs rubbing together, impact mills break down grains with sharp rotating milling heads. Impact mills are budget-friendly and produce a nice fine flour, which is why they are typically recommended for beginners. They are much louder than burr mills, however.
If you plan on milling your own flour regularly, I’d certainly recommend an electric mill. Hand mills are good to have for emergencies, but they are not efficient and require a lot of cranking.
Choosing Your Grains for Freshly Milled Flour
There are so many different whole grains you can mill into your own homemade flour. Grain types vary in texture and moisture content, which affects how they grind and bake.
- Wheat berries: Hard white, soft white, and hard red are the most popular. Wheat makes a great all-purpose grain.
- Ancient grains: Spelt, einkorn, kamut, and rye are popular ancient grains.
- Gluten-free grains: Oats, rice, and quinoa make great flour without any gluten.
I recommend choosing a couple of whole grains and trying them out! This is the best way to learn which grains are your favorite and which you’d rather avoid. Some recipes call for a specific grain, but most allow you to choose your own.
Hard white wheat is the most popular grain for freshly-milled flour, and it produces baked goods that are most similar to what you may be used to. For most of my recipes, I use fresh milled hard white wheat flour.
Where to Get your Wheat Berries
Azure Standard is my go to for buying grains in bulk at a lower cost, especially if you plan to mill often. Amazon is a great option if you’re a Prime member and want the convenience of free shipping and quick delivery. Some local grocery stores also carry whole grains, which is another great option!
How to Clean a Grain Mill
This may vary slightly depending on the type of mill you have. My cleaning methods are based on the user manual for Mockmill, which is a stone burr mill. If in doubt, it’s a good idea to refer to the user manual of your mill before cleaning it!
To clean your Mockmill or similar mill, set it to a coarse setting and run a half cup of a dry grain, such as wheat or rice, through it. While it’s milling the dry grain, move the setting from coarse to fine and back to coarse again. Cleaning the mill this way cleans the stones of any film that may have built up.
It’s a good idea to clean your mill each time you mill soft, moist, or slightly oily grains, such as oats. If you mostly mill wheat, you can clean it less often. I like to at least brush the mill out before switching grains.

Frequently Asked Questions
Freshly milled flour is more flavorful and nutritious, making it great for baked goods! Freshly milled baked goods can often be a bit more dense because the flour is made with the entire wheat kernel, rather than just the endosperm.
Fresh milled flour often absorbs more water than pre-milled flour, so the dough hydration needs tweaking. That’s why it’s always a good idea to follow recipes made for freshly milled whole grain flour!
It’s also important to note that this type of flour usually ferments faster, so sourdough and yeasted breads may rise more quickly.
That’s up to you! Sifting flour removes some of the bran and germ, making a lighter flour. This can help with the texture of your baked goods if you prefer fluffier bakes. To sift whole grain flour, use a mesh strainer (40- or 60-mesh) to control how much you remove.
Freshly milled flour is best used immediately for optimum flavor and nutrition. If you do need to store it, refrigerate it in an airtight container for up to a week, or freeze it for longer-term storage.
Whole grains should be stored in a cool, dry place in an airtight container. Food-grade plastic buckets with lids are ideal for bulk storage, and mason jars are great for smaller amounts.
I hope this tutorial helps you navigate baking with your own freshly milled flour! You are going to love the process, and the baked goods at the end make it even better.
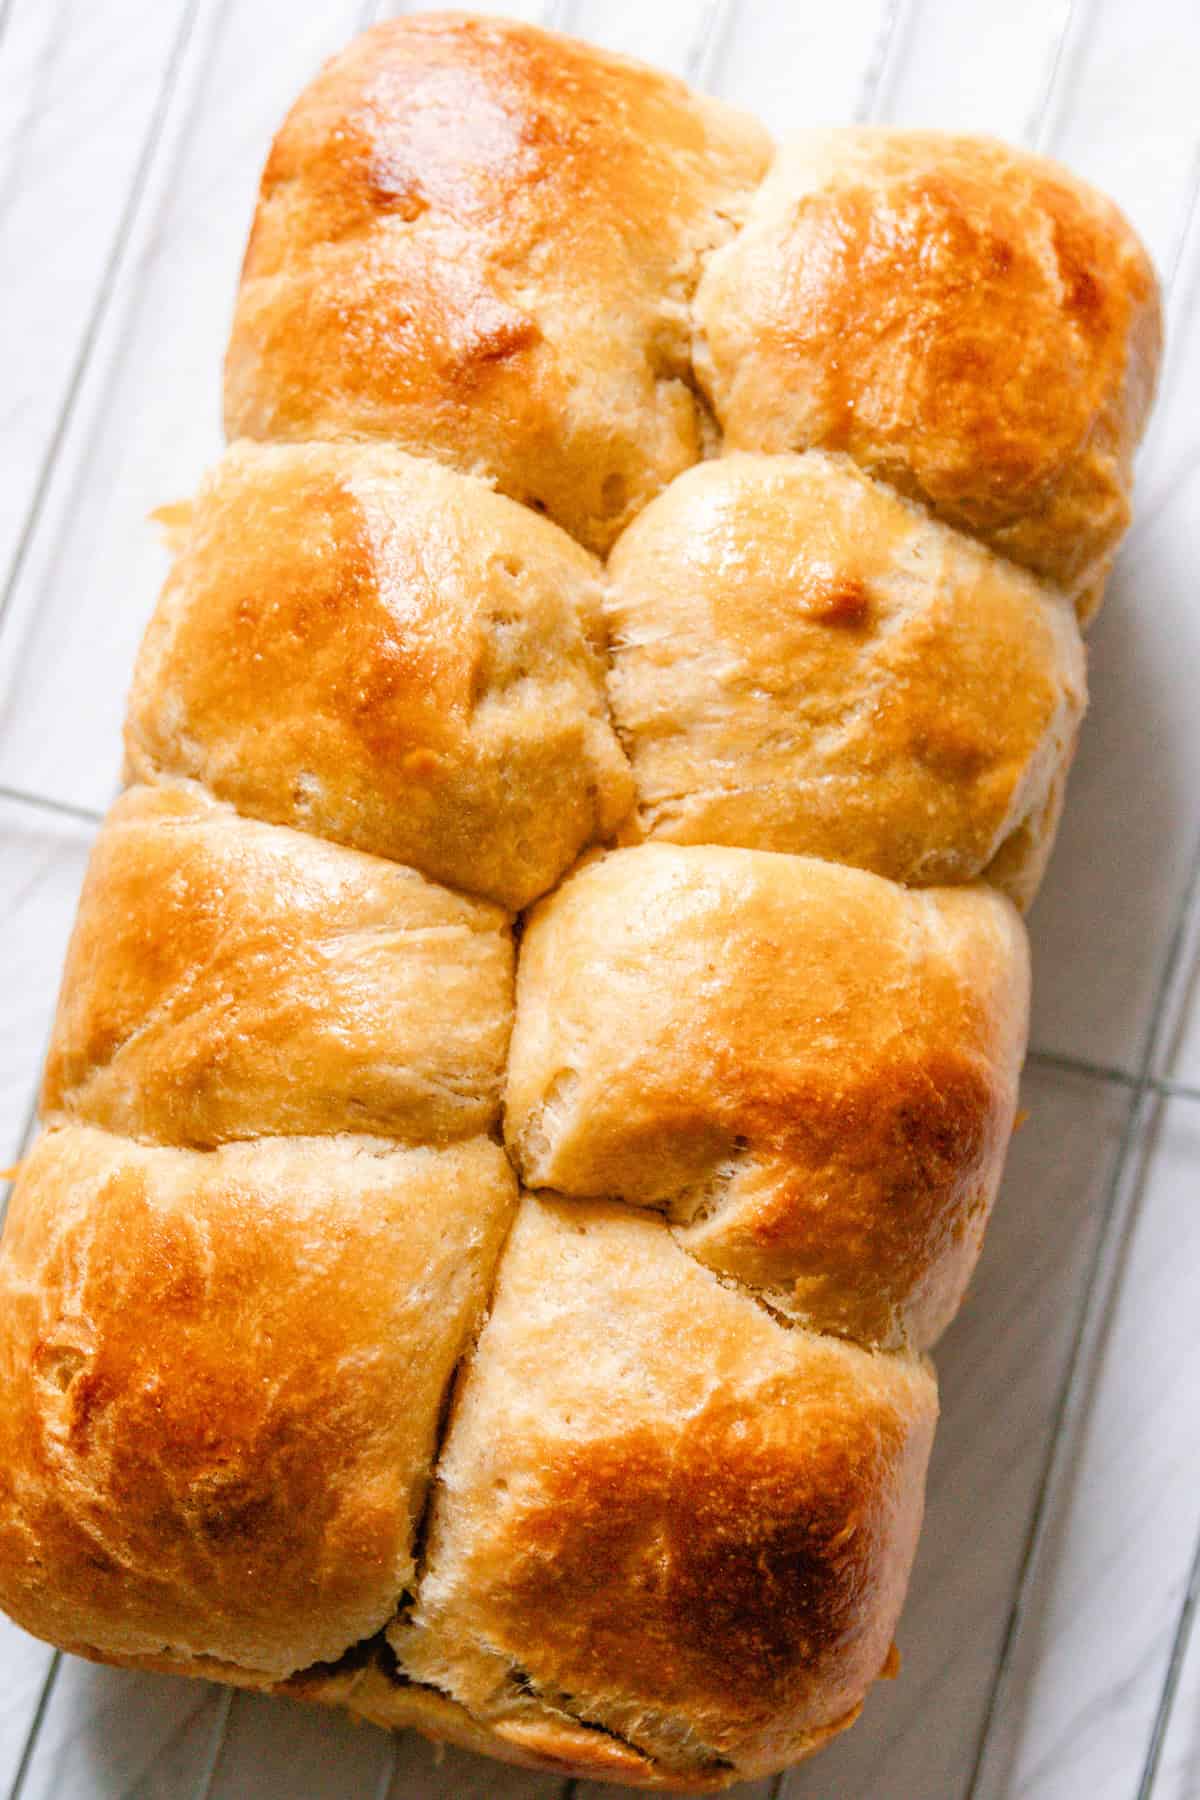
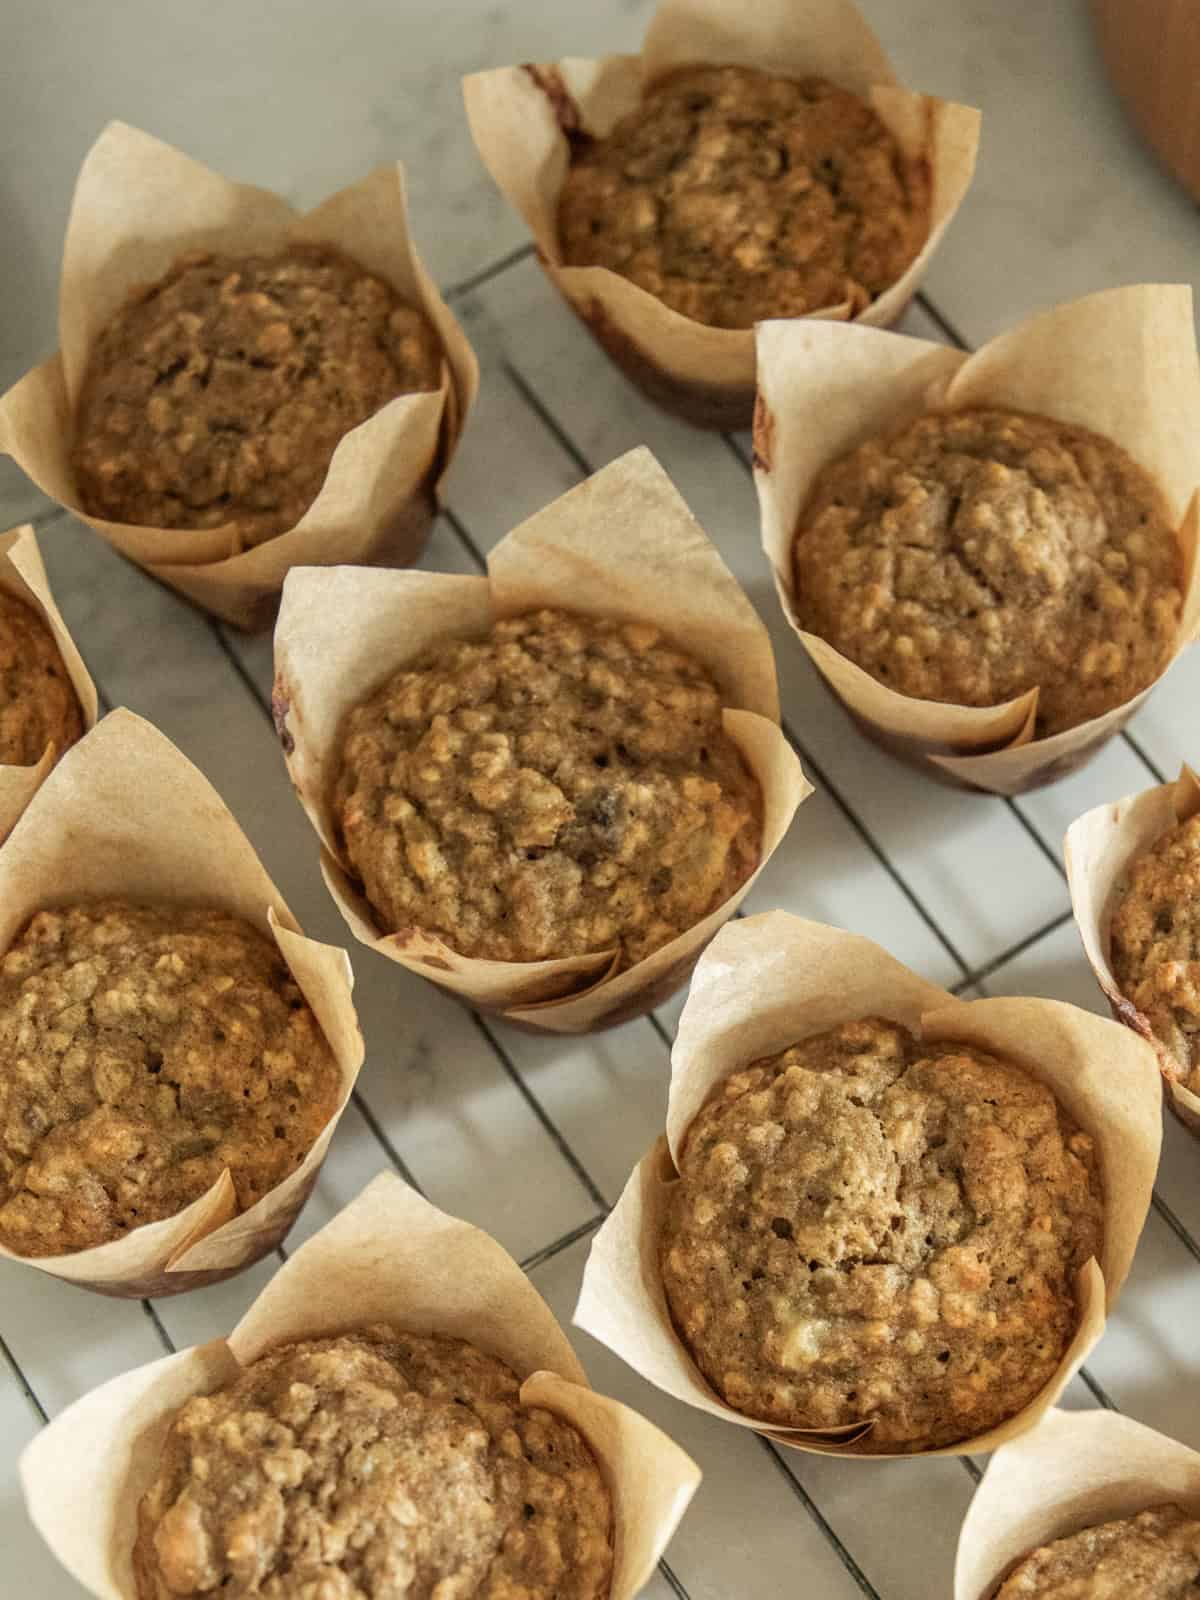
Beginner-Friendly Whole Grain Recipes
- Fresh Milled Pancakes
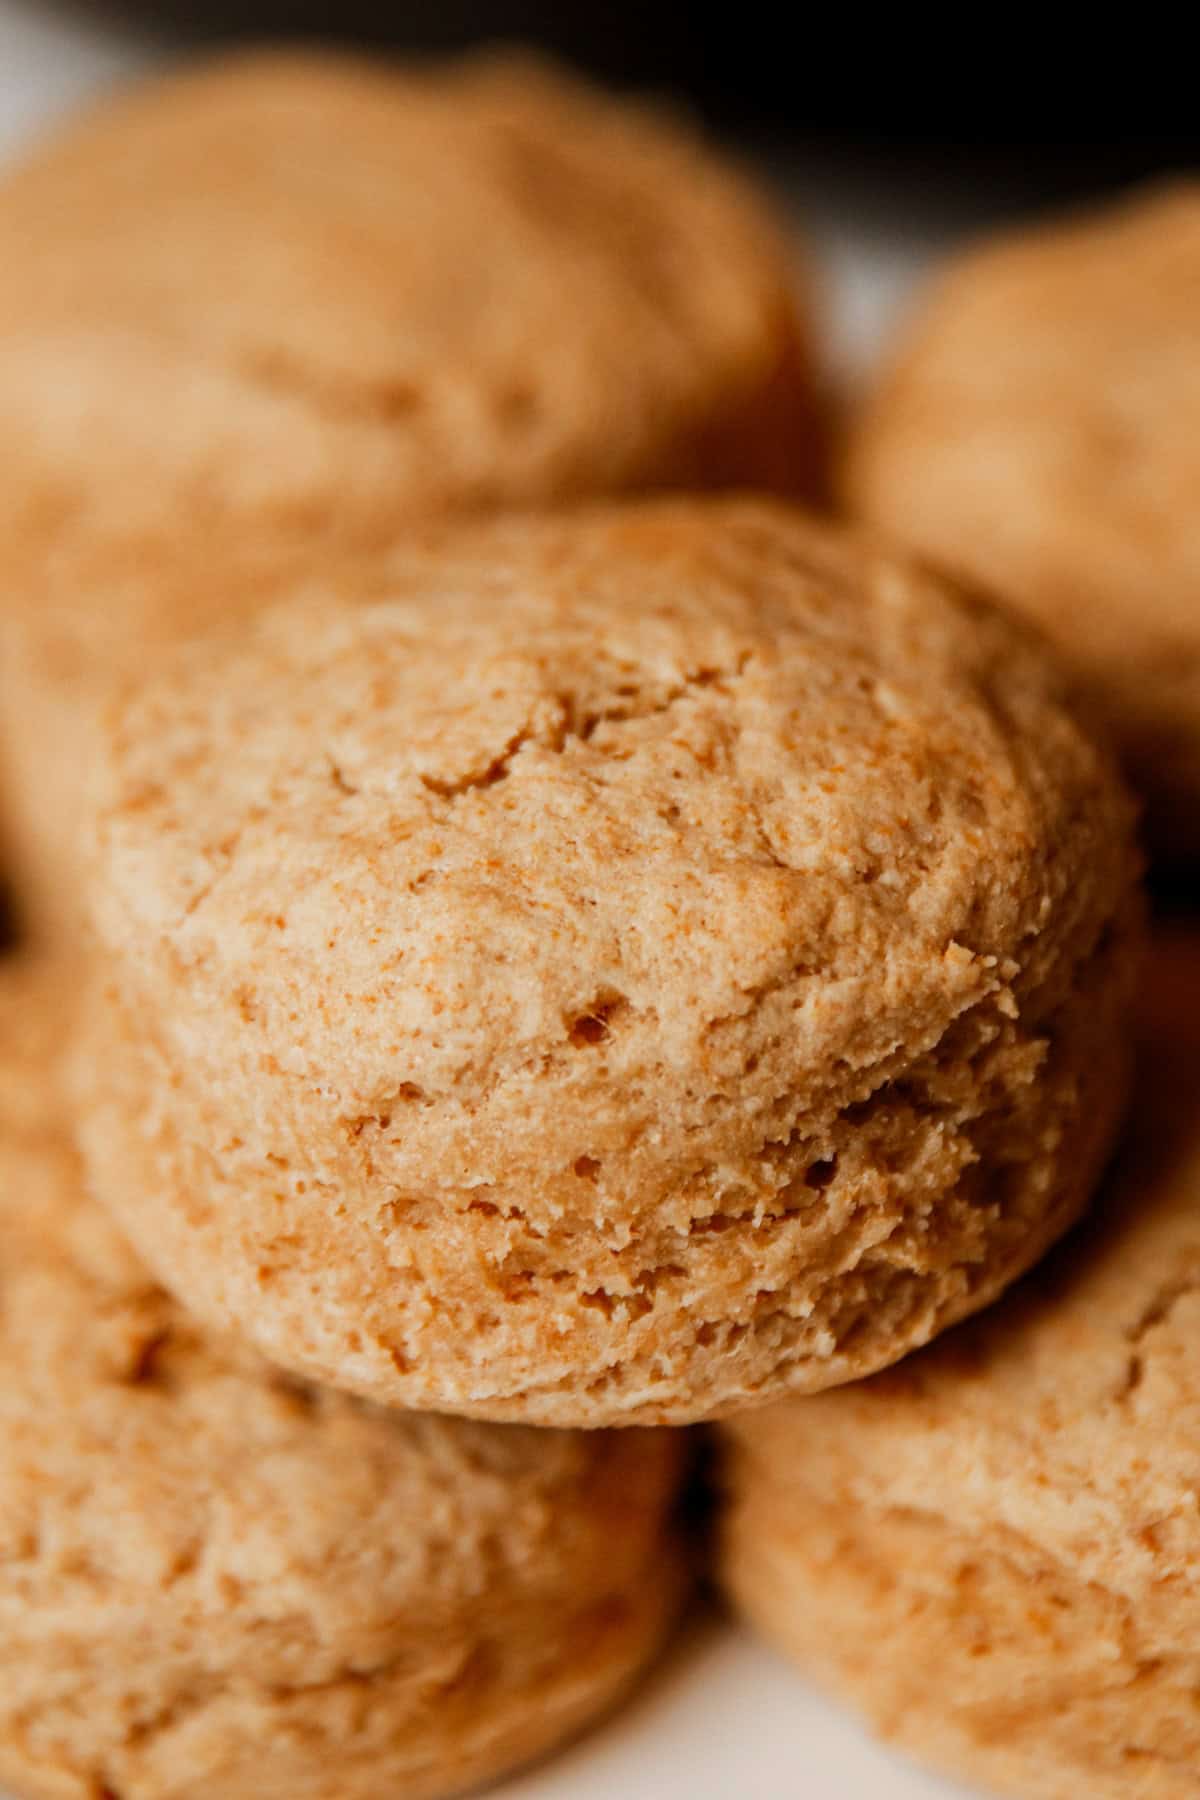
- Freshly Milled Biscuits
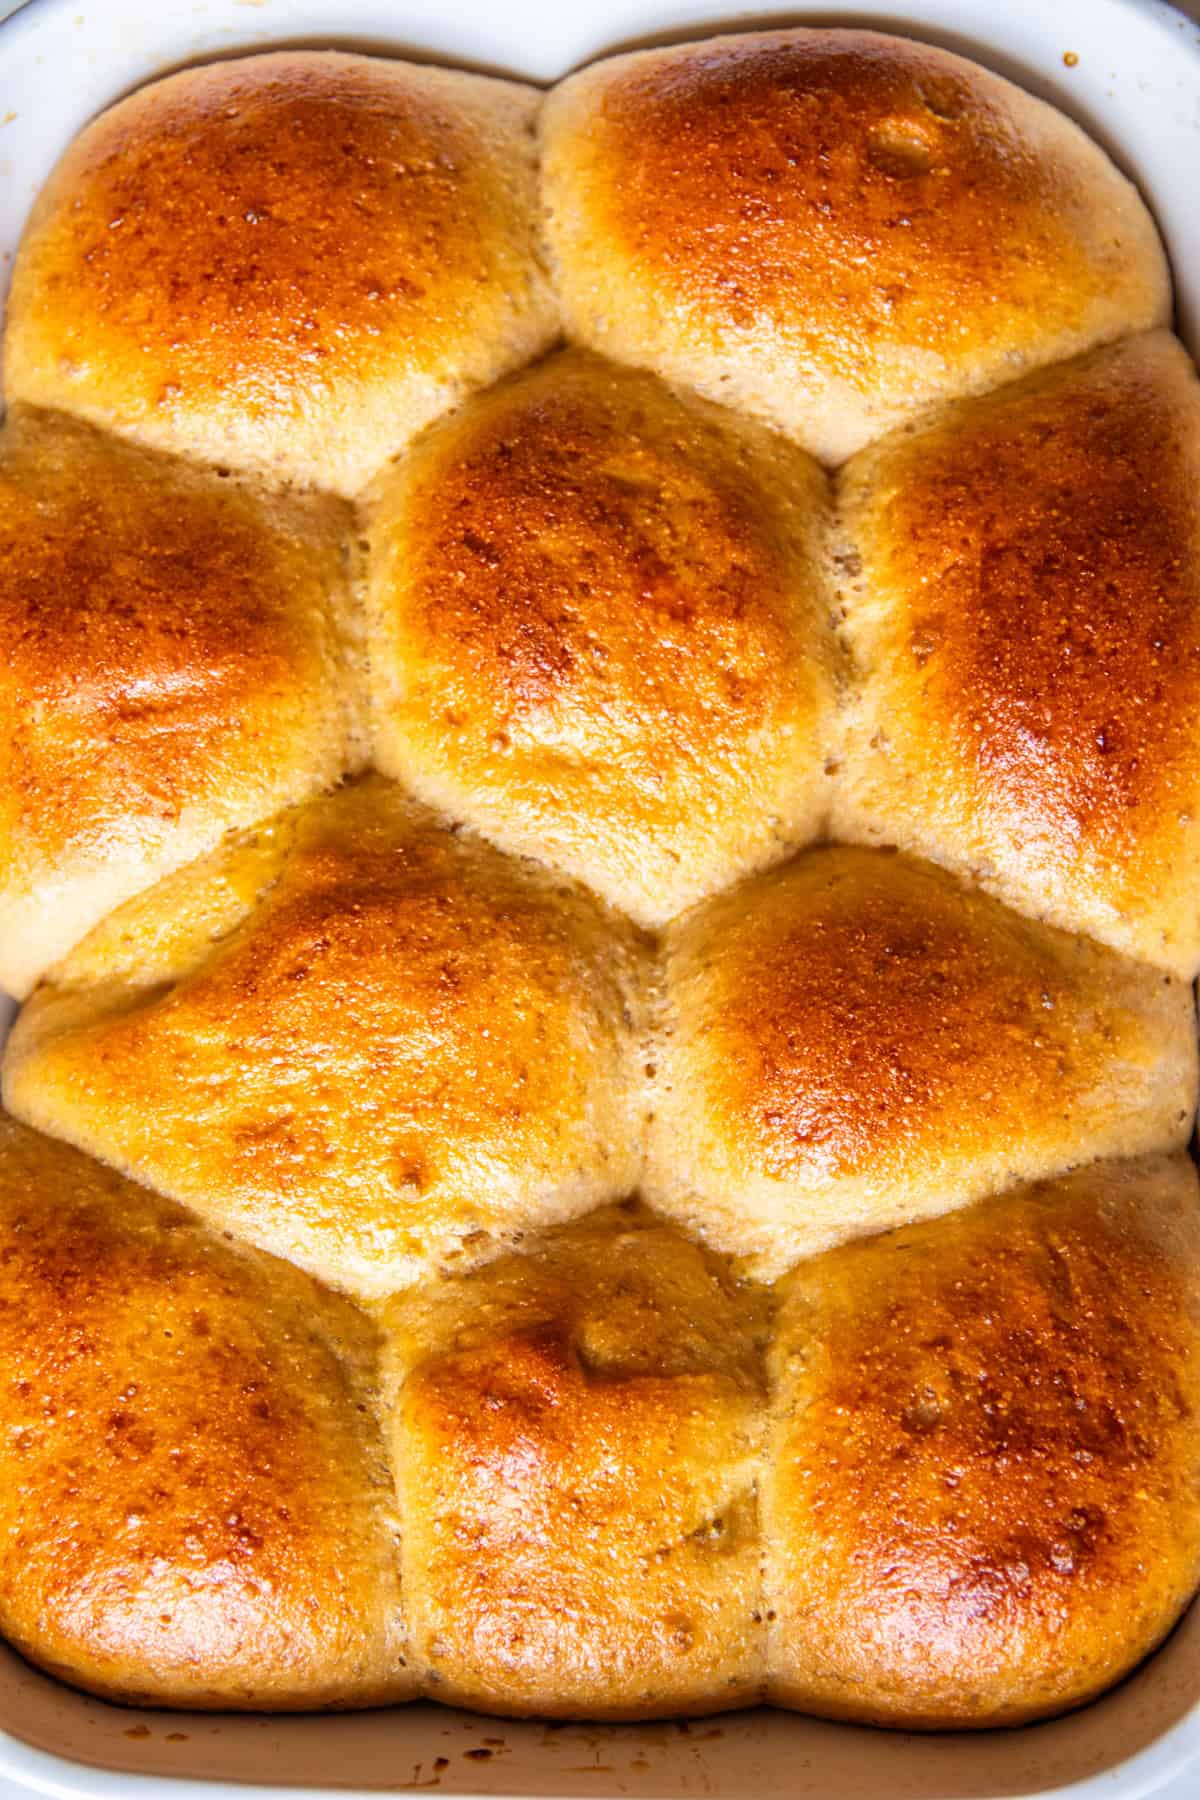
- Simple Fresh Milled Sandwich Bread Recipe
- Fresh Milled Chocolate Chip Cookies
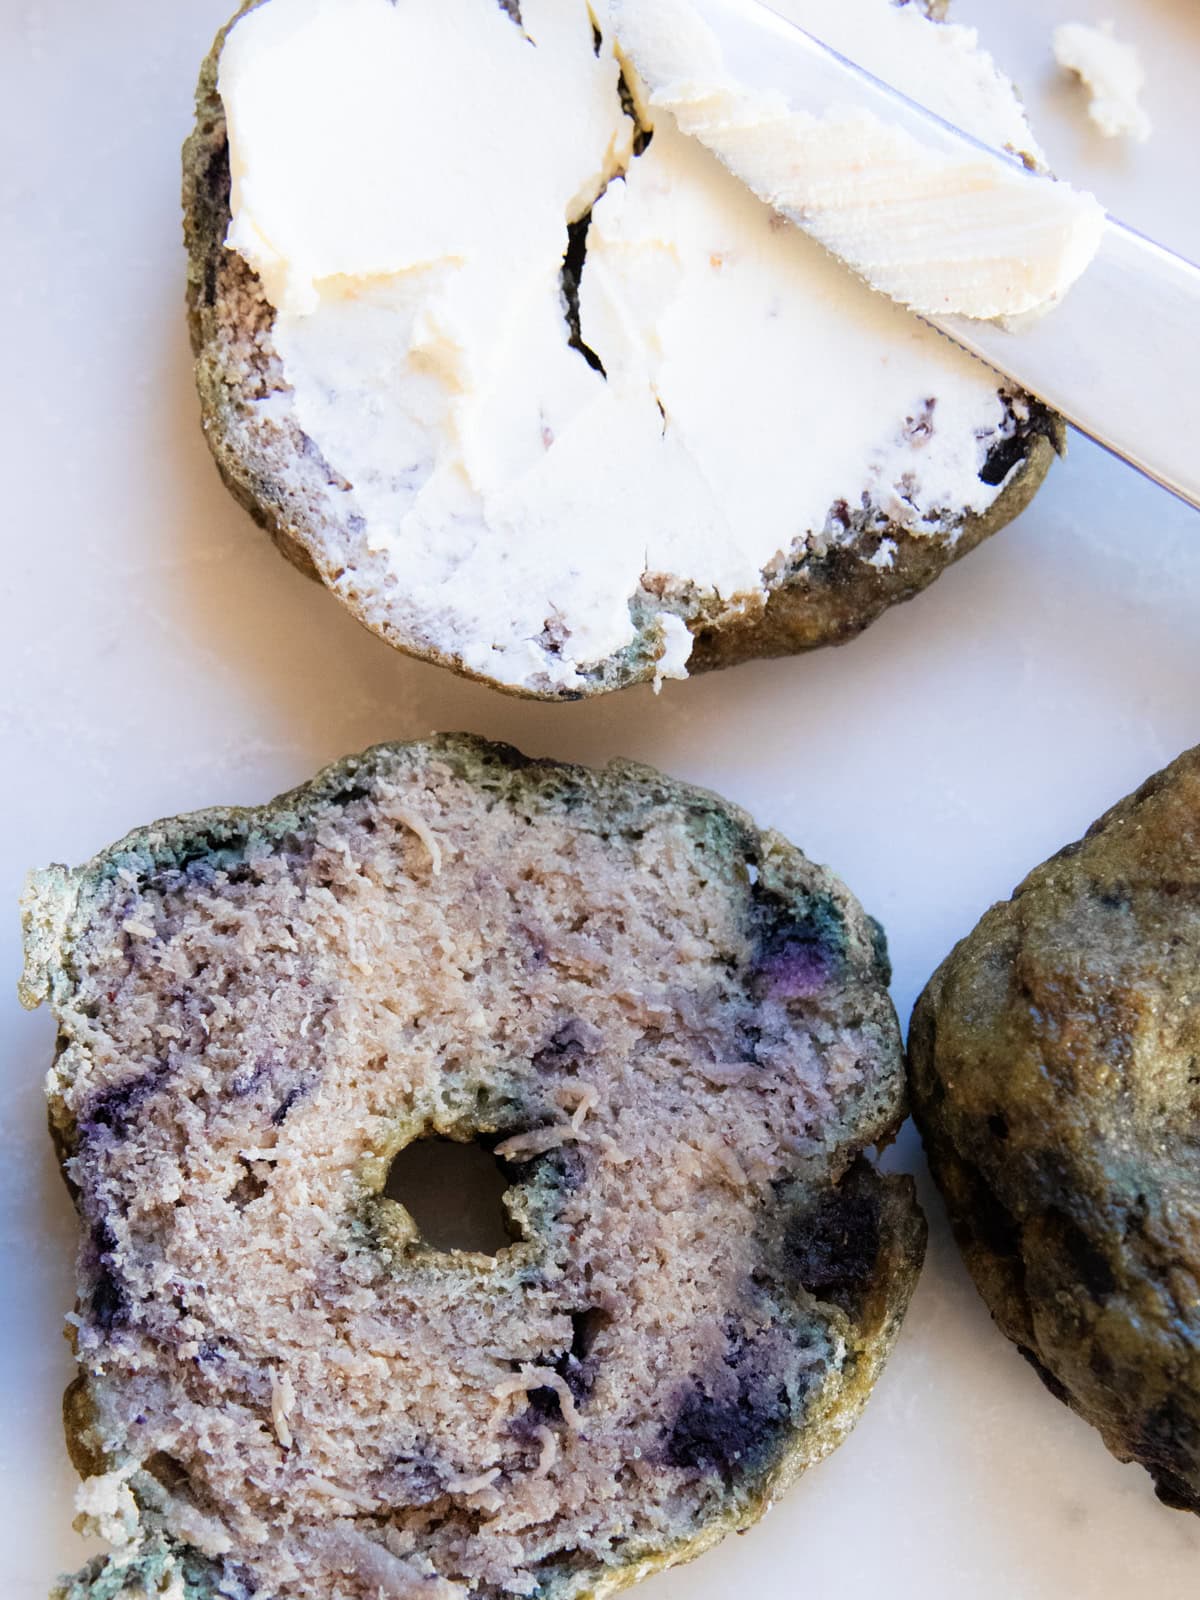
- Blueberry Muffins with Fresh Milled Flour
If you tried this tutorial on how to mill your own flour or any other recipe on my site, I’d love for you to leave a star rating and share how it went in the comments below. Thanks for visiting!

How to Mill Your Own Flour
Equipment
- Grain mill (I use a Mockmill)
Materials
- Whole grains
Instructions
- Choose your grains. Your grains should be clean, dry, and free of stones or debris. Make sure they are food-grade and non-oily grains.
- Prepare your mill. Set up your mill on a stable, flat surface and place a bowl under the spout. Set your desired coarseness.
- Turn on the mill. Always make sure the mill is running before adding the grains. Once it's on, pour the grains into the hopper at a steady pace. They will slowly fall into the mill as it grinds.
- Allow the mill to do its work, then let it run for a couple of extra seconds after it's done releasing flour to make sure it's entirely empty. Now you can start baking!
Notes
- See the post above for information on choosing a mill, choosing grains, and how to clean your mill.
- For baked goods, you’ll want a very fine setting and for cracked grains or cereal, choose a coarser setting. I run my Mockmill on the 0 setting for baked goods.
- It’s best to use your flour right away, so try to measure out exactly what you need and wait to mill it until you’re ready to bake.
- If you can’t use your flour right away, store it in the fridge for up to a week or the freezer for longer.
- It’s best to find recipes that call for freshly milled flour rather than substituting it in regular all-purpose recipes. Freshly milled flour requires a bit of tweaking to get a nice texture and hydration level.


I appreciate the step by step photos for this tutorial! Very clear instructions and the tips are great!
Thank you so much! I’m really glad the step-by-step photos and tips were helpful—appreciate you taking the time to say so!