This post contains affiliate links. Please read our disclosure policy.
New to the wonderful world of baking with fresh-milled, whole grain flour? I’ve got you covered! Learn everything you need to know before getting started in this ultimate guide to baking with freshly milled flour.
From which grains to use to the key to getting the perfect texture, I share all the tips and information, so you have the best success with your baking.
I’ve been experimenting with whole grains for over a decade, and I love sharing that experience with others! Let’s dive in.
When I started sharing fresh milled recipes online, I had so many people tell me that they wanted to try, but they were intimidated.
I totally get it! Milling your own flour and baking with it comes with a learning curve.
That said, I truly believe baking is a lot easier than it seems! With a few tweaks and a little patience, you can have fresh milled flour baked goods that are every bit as delicious as the ones you make with all purpose flour.
In fact, they are oftentimes even tastier from that freshness and robust flavor that comes with freshly milled flour!
I’ve been milling my own flour for many years and this year I challenged myself to switch to 100% whole grain baked goods.
It’s been so fun! I’ve made everything from whole wheat noodles to fresh milled bagels and even sweet treats like cranberry orange scones with freshly milled flour.
If you want to learn how to start baking with whole grains, I’m here to help! Keep reading to learn everything you need to know to get started (and to be successful).

Table of Contents
- What is Whole Grain Flour?
- Why We Love Whole Grains
- Expert Tips for Baking with Whole Grain Flour
- Choosing a Grain Mill
- Setting Up Your Grain Mill Properly
- How to Store Whole Grains
- Best Grains for Whole Grain Flour
- Choosing a Grain for Your Recipe
- Where to Buy Wheat Berries
- How to Use Whole Grain Flour in a Recipe
- How to Substitute All Purpose for Whole Grain Flour
- How to Know When Dough is Properly Hydrated
- Pantry Staples for Whole Grain Baking
- Tools + Equipment Needed
- Frequently Asked Questions
- Whole Grain Recipes for Beginners
What is Whole Grain Flour?
Whole grain flour is made by grinding the entire grain kernel — the bran, germ, and endosperm — together. That means you’re getting all the texture and flavor (and fiber) in one bag. Whether you’re buying it pre-ground or milling it fresh, the idea is the same: whole, unrefined flour with nothing sifted out.
All-purpose flour, on the other hand, is made by removing the bran and germ. It’s softer, lighter, and more shelf-stable — but it also lacks that deep, nutty flavor and chew you get with whole grain flour.
Here’s the big thing to remember: whole grain flour absorbs more liquid than all-purpose. That’s why your dough might feel stiff, or your bread might turn out dry if you don’t tweak the liquid.
Why We Love Whole Grains
Milling your own flour isn’t just for hardcore homesteaders. It’s for anyone who wants better-tasting baked goods with the freshest ingredients possible.
Freshly milled flour is more flavorful, more fragrant, and more customizable — you can mix grains, control the texture, and skip the grocery store altogether. Bonus: it often ends up cheaper per pound once you’re buying grains in bulk.

Expert Tips for Baking with Whole Grain Flour
My #1 tip: Most people under-hydrate their dough. That’s it. You don’t need fancy techniques or a new mixer — you just need to give your dough more water, milk, buttermilk, or eggs to keep it soft and workable. Whole grains can bake up fluffy and light. You just have to treat them a little differently.
Tip #2: This is where the magic happens. Let your dough sit for 10–20 minutes after mixing and before kneading. No heat, no kneading yet — just rest. This gives the bran time to soften, the flour time to hydrate, and you’ll end up with a way more workable dough. It also helps improve rise, crumb, and softness. Even fresh milled muffins or quick breads benefit from a 10-minute sit before baking.
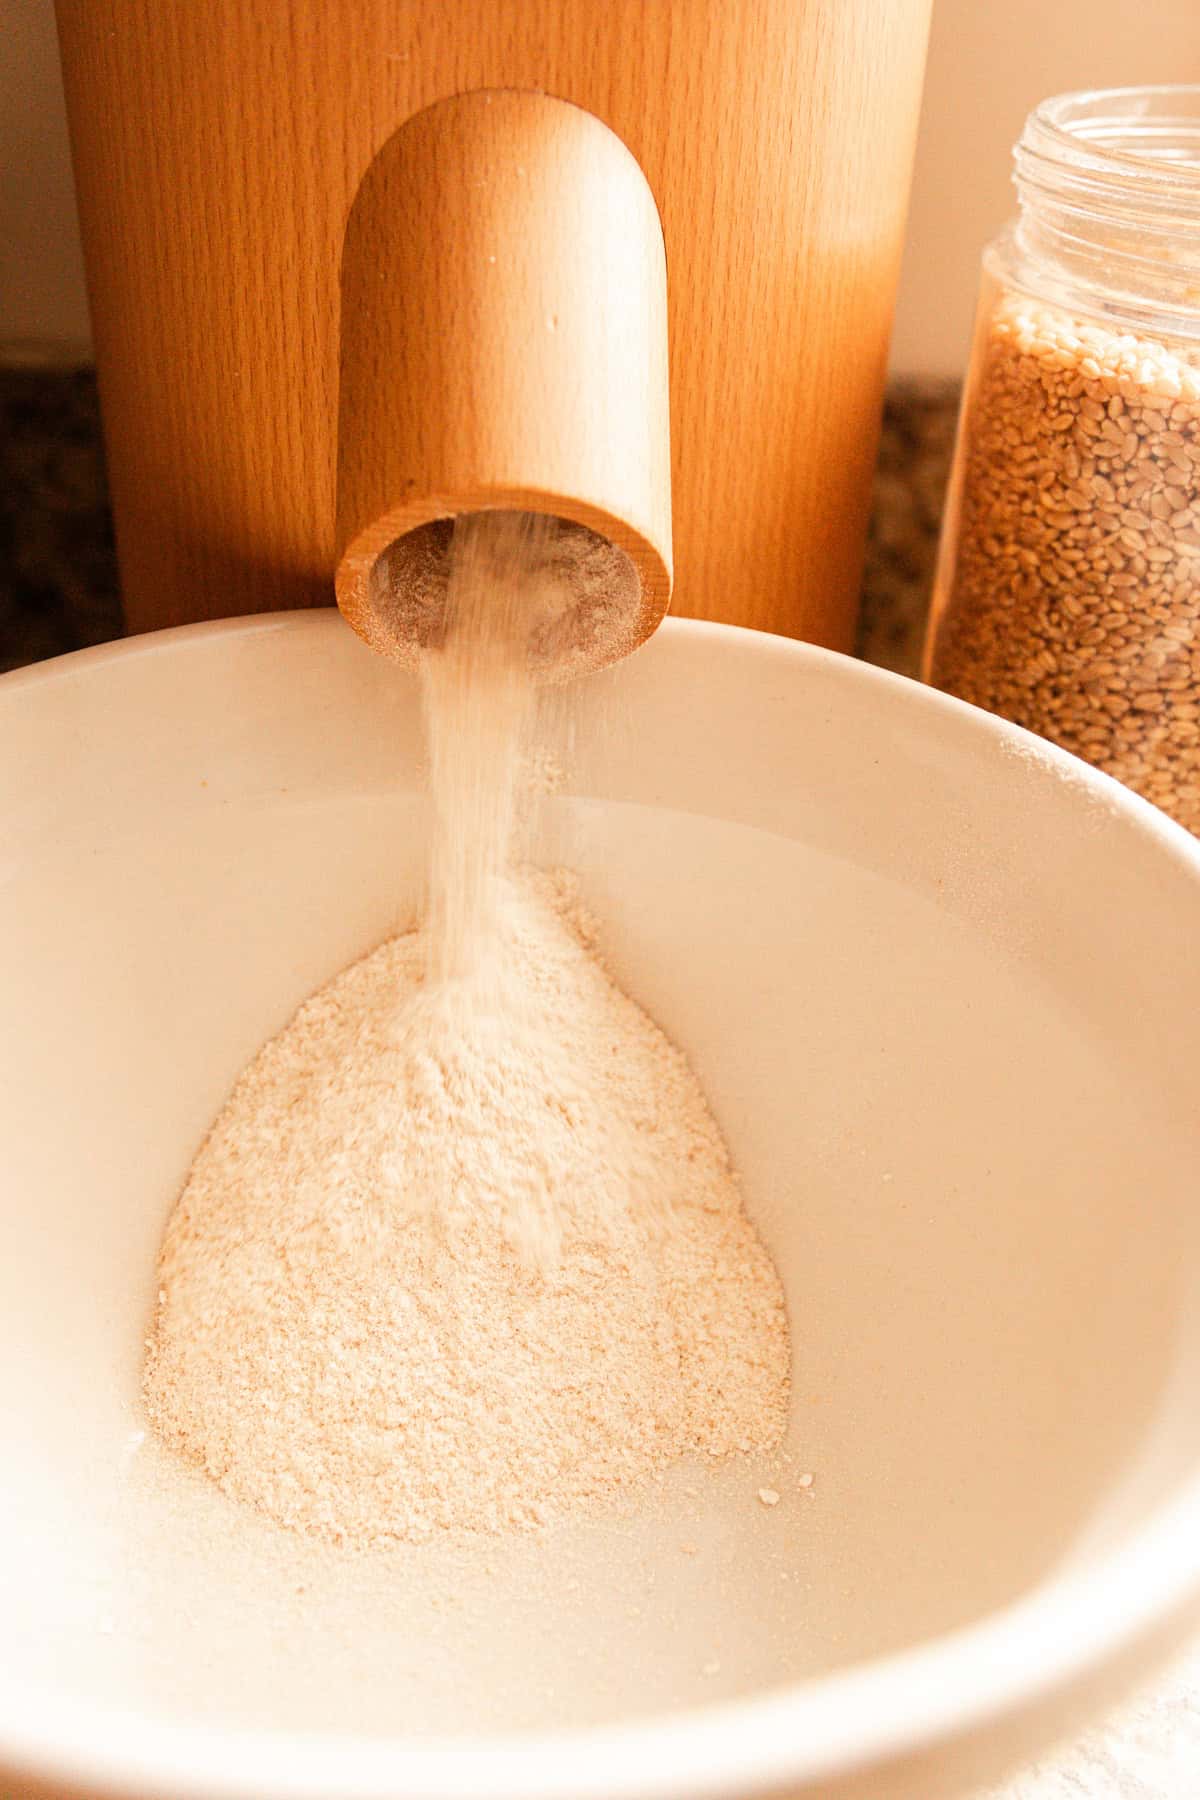
Choosing a Grain Mill
There are two main types of mills for home bakers:
- Electric grain mills – Fast, efficient, and the easiest option. (This is what I use.)
- Manual grain mills – Quieter and more hands-on, but slow. Good for backup or emergency use.
When choosing a mill, consider:
- Noise level (some are loud)
- How fine you can grind the flour
- How much you want to grind at once
I’ve shared before that once I invested in a good grain mill, my baked goods were instantly better in texture! I use the Mockmill professional grain mill, but there are several great options out there. Answer the questions above for yourself and choose your mill accordingly.

Setting Up Your Grain Mill Properly
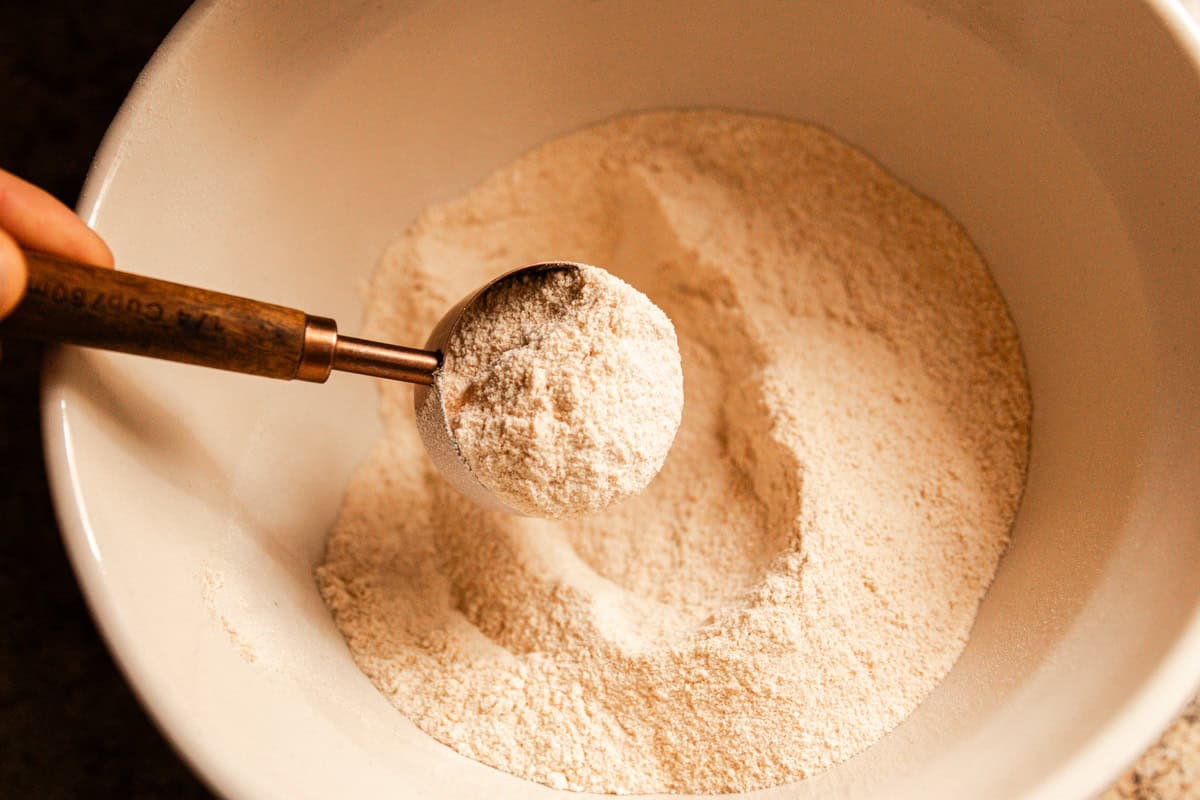
Start with a fine setting unless the recipe says otherwise. For breads, muffins, and cookies — go fine.
For rustic loaves or coatings, you can try a coarser grind, but I keep mine on the fine setting 90% of the time. If your flour feels gritty or coarse, adjust it to a slightly finer texture.
If the mill is heating up too much, you might be running it too fast or too full — slow it down and let it rest between batches.
I share more in my post on how to mill your own flour. It gives you step-by-step instructions!
How to Store Whole Grains
One of the many benefits of milling your own flour is the long shelf life of whole grains, so it’s important to store them well.
Store grains in airtight containers. Keep them in a cool, dry place — the pantry or basement works fine. Grains can last a year or more if stored properly.
I buy mine in 25–50 lb bags and keep them in food-grade buckets with gamma lids. If you live somewhere humid, consider adding oxygen absorbers.

Best Grains for Whole Grain Flour
- Hard Red Wheat
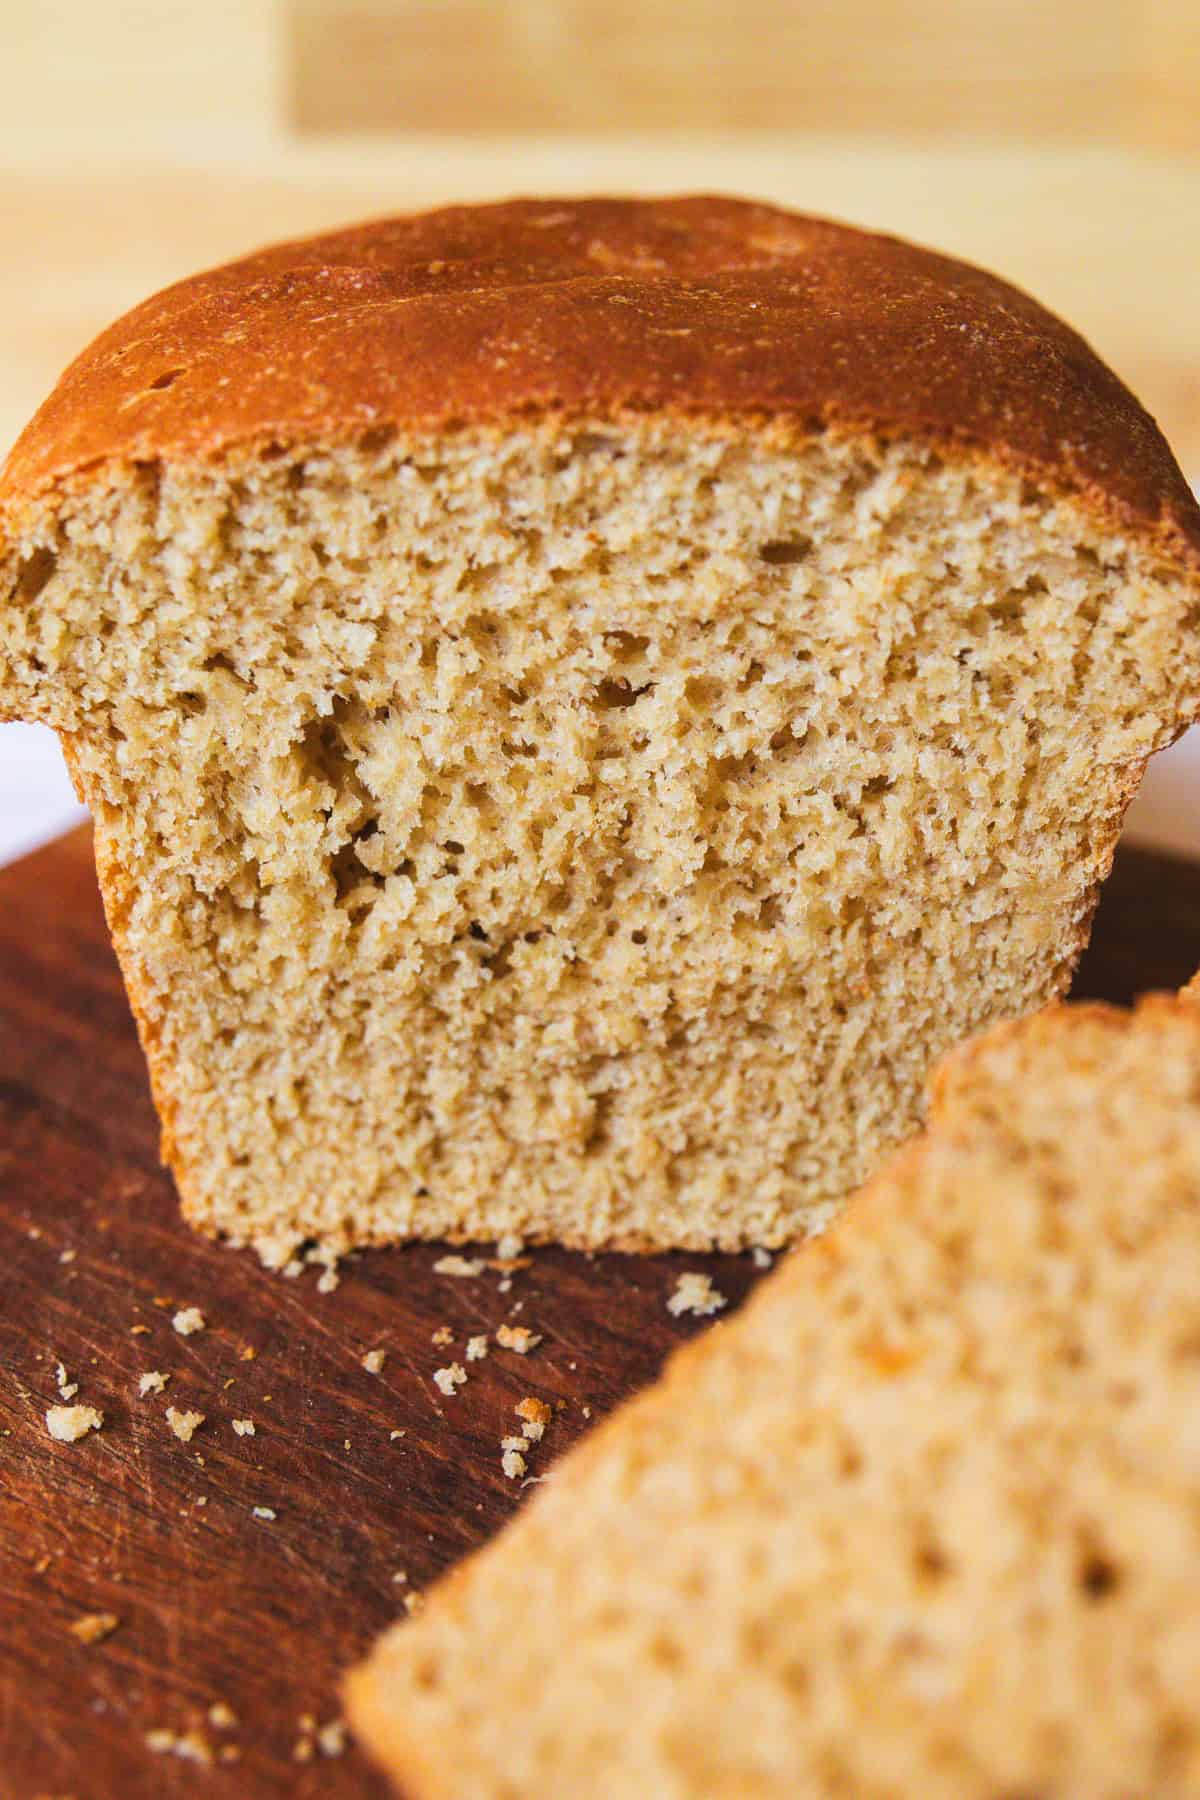
This one has a bold, wheaty flavor and strong gluten. It’s perfect for rustic sandwich loaves, artisan breads, or anything you want to feel hearty and filling, like my fresh milled seeded bread. - Hard White Wheat
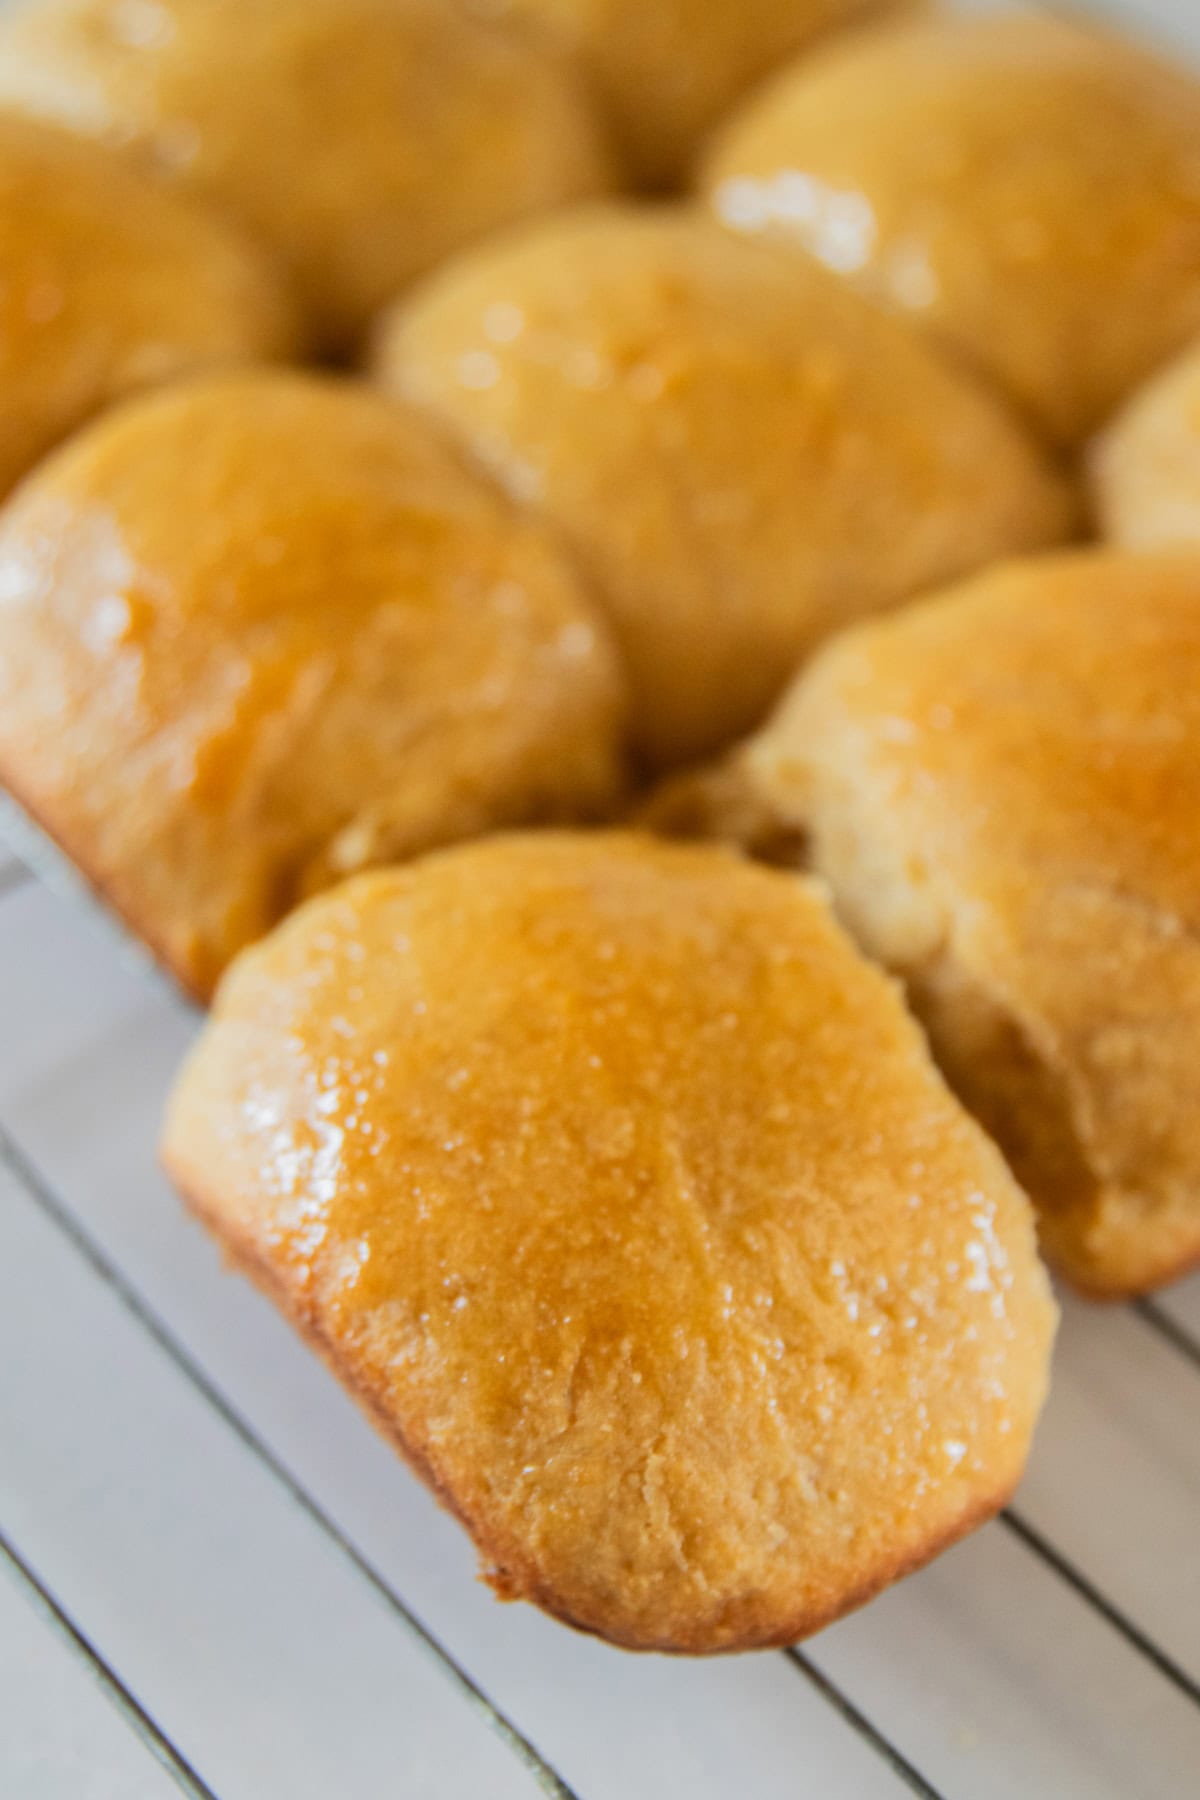
A milder flavor and lighter color — but still whole grain. It’s my go-to for sandwich breads, freshly milled flour dinner rolls, and anything I want the kids to love. Like my freshly milled graham crackers! This wheat variety is easier for picky eaters. - Soft White Wheat
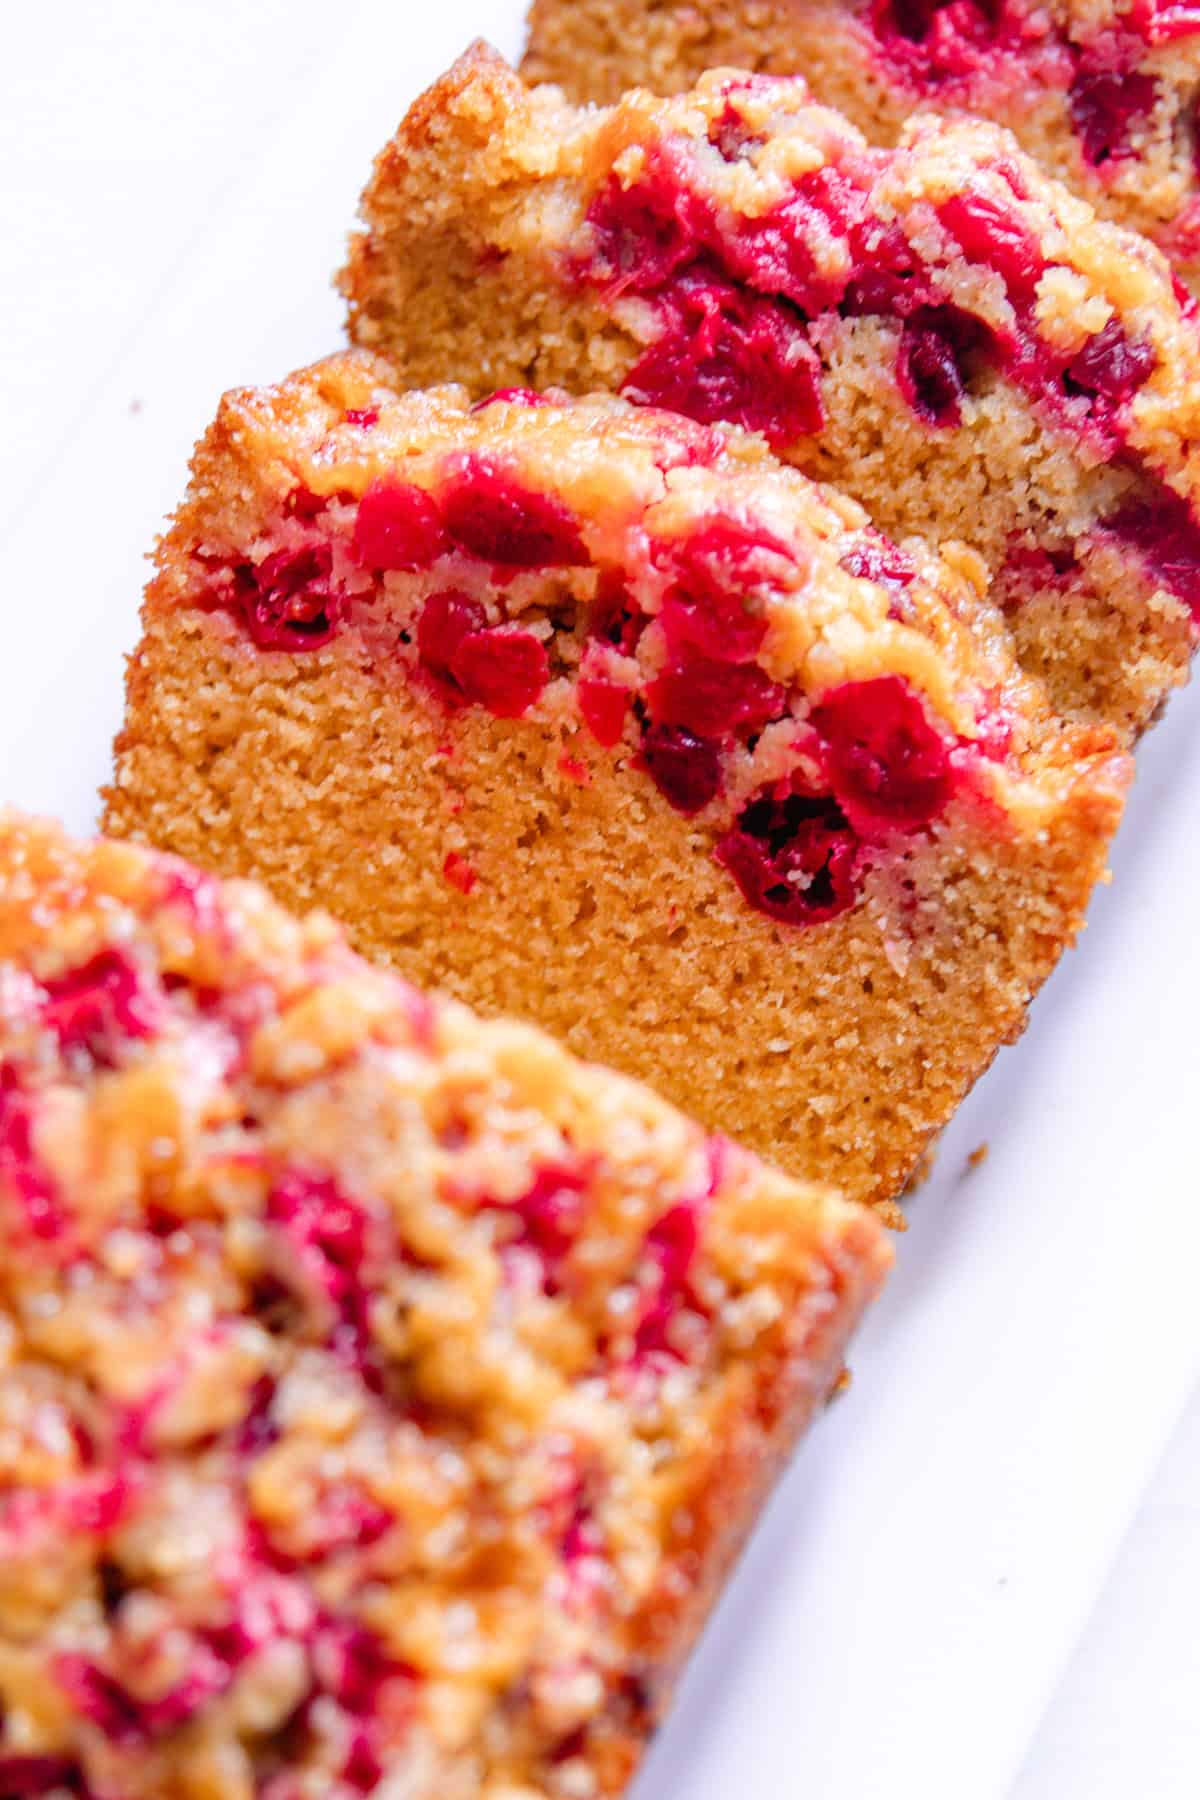
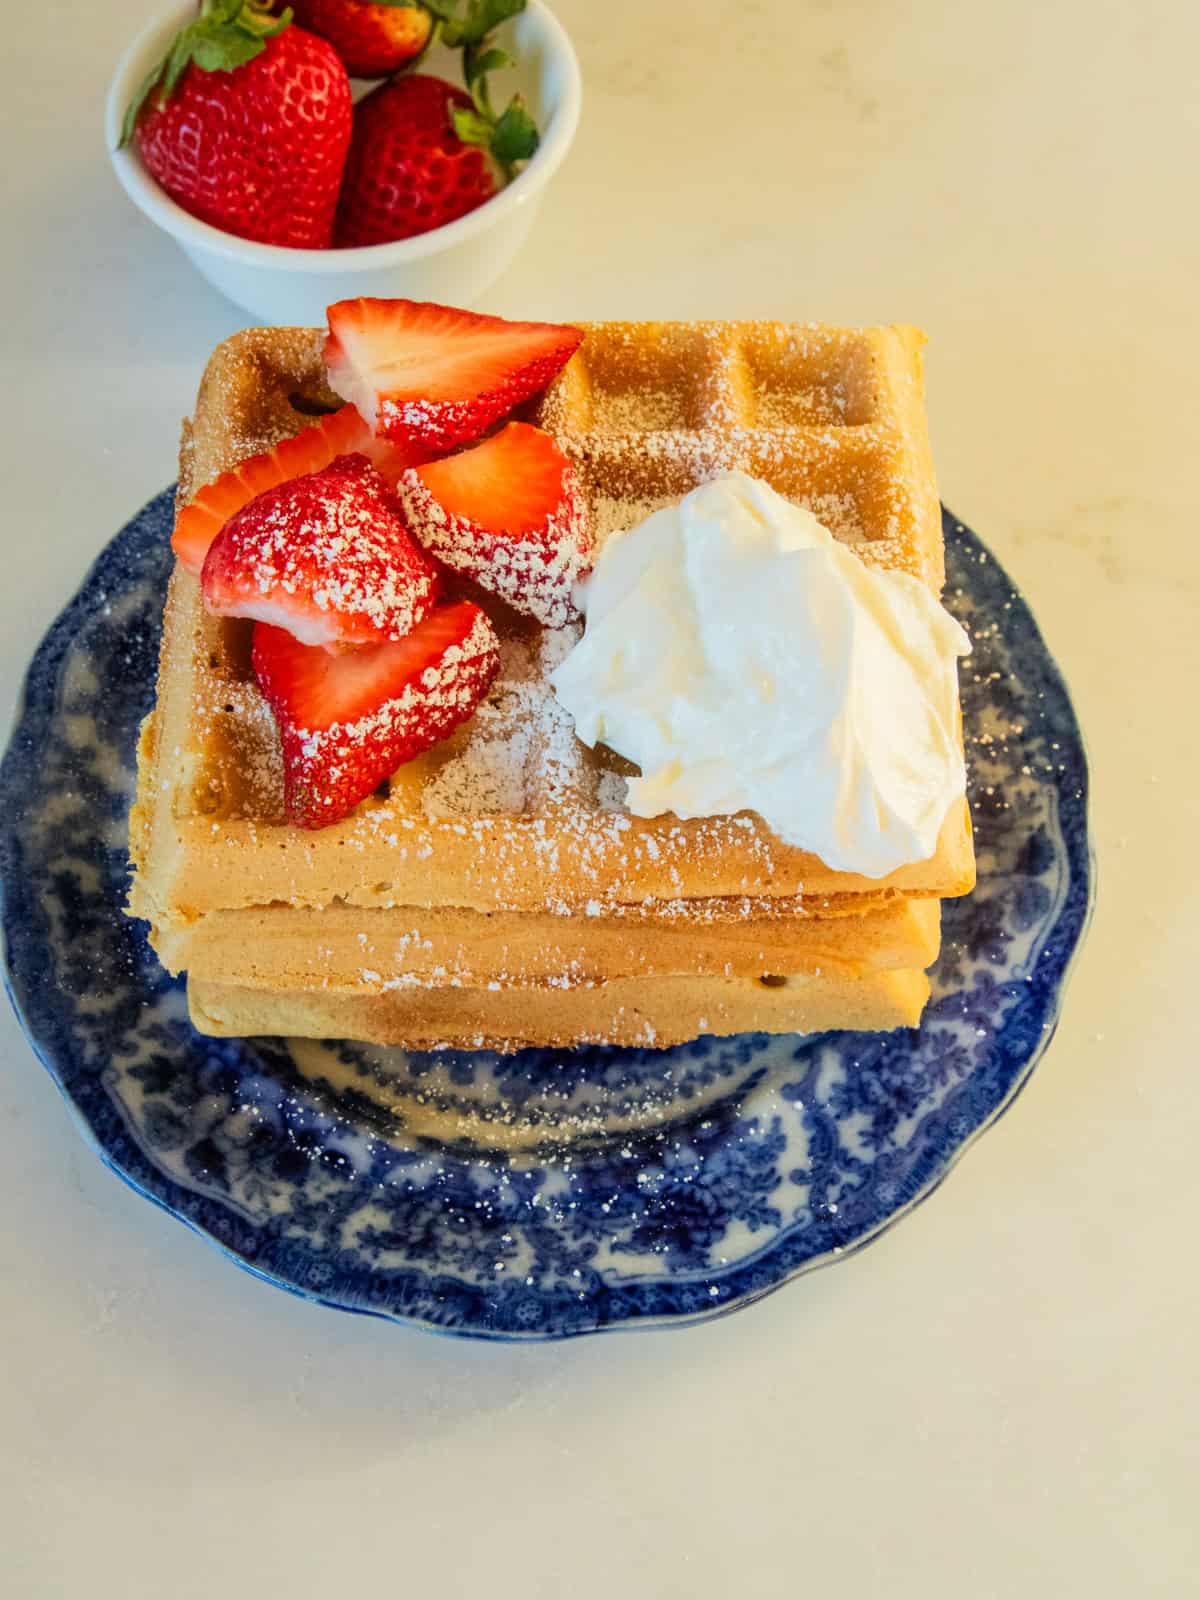
Lower in gluten, finer texture. Great for muffins, quick breads (like cranberry bread with fresh milled flour), cookies, or pancakes. I keep this one on hand for all my baked snacks. - Spelt
This one is technically an ancient grain and has a slightly sweet, nutty flavor. I blend it into bread doughs for variety, but it’s lower in gluten and needs support from a strong flour like hard wheat.
Choosing a Grain for Your Recipe
Choosing which grain to use depends largely on what you’re making. Different grains are more suitable for different baked goods. Here’s a quick reference guide:
- Sandwich Bread — Hard White Wheat
- Dinner Rolls — Hard White or Spelt
- Muffins + Pancakes — Soft White Wheat
- Rustic Artisan Bread — Hard Red Wheat
- Cookies + Pastries — Soft White Wheat
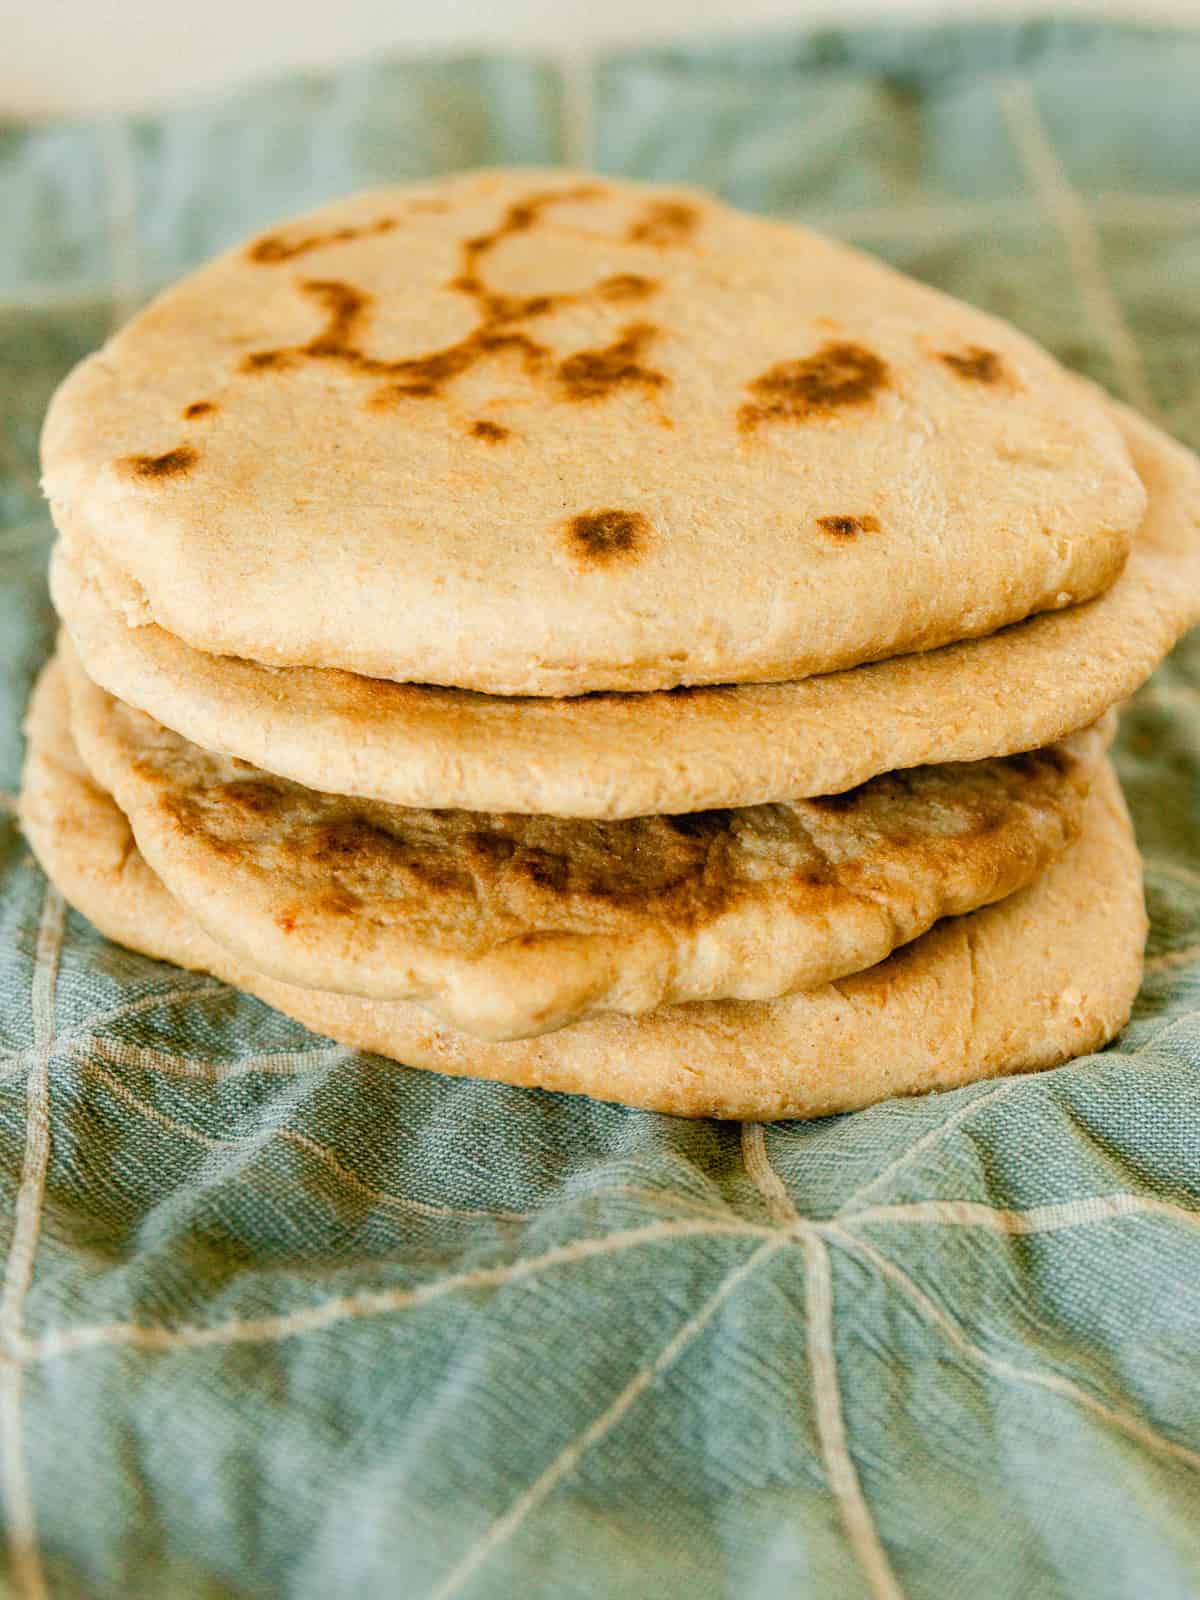
- Tortillas — Hard or Soft White
Where to Buy Wheat Berries
Azure Standard
I personally order mine from Azure Standard. They offer a wide selection of wheat berries, oats, and pantry staples, and they are by far the cheapest!
One thing to know is that Azure Standard works a little differently from typical online shopping. Instead of home delivery, you pick up your order at a local drop location, which helps keep costs down. Once you get the hang of it, it becomes part of your routine, and it’s well worth it for the quality and consistency.
Amazon
You can also find a variety of whole grains on Amazon. They can be a bit more expensive, however, if you are looking for smaller quantities, this is a good option. And if you are a Prime member, you can usually get free shipping!
Local Grocery Stores
Don’t overlook your local grocery stores either. Many stores now carry whole grains like wheat berries, oats, and specialty flours, especially in the natural or bulk sections. Availability can vary depending on where you live, but I do like to shop local when possible!
How to Use Whole Grain Flour in a Recipe
With a bit of flexibility and experimentation, you can often substitute freshly-milled flour for all purpose flour with great success! Here are a few things to keep in mind:
- Whole grain absorbs more liquid.
- Let the dough rest before kneading (10–20 minutes).
- Use slightly more liquid (add it slowly until it feels right).
- Expect a deeper flavor and a darker color.
It’s easiest to make substitutions on recipes you have made before, so you know what kind of consistency and texture you’re after. But even if you haven’t, you can still experiment and see what works!
How to Substitute All Purpose for Whole Grain Flour
This is a similar but opposite process to converting a recipe to whole grain. With some tweaking, you can absolutely make this substitution. Here’s what may be different:
- You may need slightly less liquid.
- The dough will be softer and sometimes stickier.
- Flavor will be milder.
- Bake time might be slightly shorter.
How to Know When Dough is Properly Hydrated
As I said above, hydration is the most common thing that bakers get wrong when using whole grain flour. It’s important to ensure your dough is properly hydrated so you don’t have a dry, dense, or crumbly texture.
Here’s what you’re looking for in well-hydrated dough. Your dough should be:
- Soft but not runny
- Slightly tacky, not sticky like glue
- Easy to knead and shape
- Holding its shape without tearing
Pantry Staples for Whole Grain Baking
With a well-stocked pantry, you can make nearly any whole grain baked good you want without a trip to the grocery store! Here are the ingredients I keep on hand to make most of my whole grain recipes at a moment’s notice.
- Hard white wheat
- Soft white wheat
- Yeast (instant or active dry)
- Honey
- Milk
- Salt (kosher or sea)
- Eggs
- Olive oil or butter

Tools + Equipment Needed
There isn’t too much you need for whole grain baking. It’s likely you already own a majority of the essentials! Here are the tools I actually use and consider staples:
- Electric grain mill — fast and reliable
- Dough whisk — easier than a spoon
- Stand mixer — saves my arms for big batches
- Dutch oven — for artisan loaves (like my whole wheat artisan bread!)
- Baking sheets + parchment — for muffins, rolls, etc.
- Food storage buckets — to keep my grains fresh
I have all of my favorite products linked over in my Cast Iron Skillet shop page.
Frequently Asked Questions
If a recipe was written specifically for one type of flour (like a delicate sponge cake or croissant), swapping flour types will mess up the texture. Otherwise? Experiment. Most home baking recipes are pretty forgiving once you get a feel for hydration and dough consistency.
While most whole grain recipes use some type of wheat, there are other grains you can mill and incorporate into your baked goods! These include rye, barley, buckwheat, millet, sorghum, and corn. Each grain has different uses, so be sure to do your research before using one in a recipe.
Ancient grains are grains that have remained genetically unchanged for hundreds of years. This means they have not undergone modern hybridization, selective breeding, and other modifications. Some common ancient grains include spelt, kamut, einkorn, and farro.
Generally, it’s a best practice to mill your flour right before you are ready to use it in a recipe and mill just what you need. Freshly milled flour doesn’t have a very long shelf life compared to all purpose flour.
If you need to store it for later, keep the flour in an airtight container in the fridge or freezer for best results. It will last in the refrigerator for a few months and in the freezer for up to a year.
Bran is thirsty. It soaks up more liquid than white flour and keeps doing it even after your dough comes together. That’s why dough made with whole grain flour often feels stiff or dry — even when it looked good in the bowl.

Whole Grain Recipes for Beginners
- Simple Fresh Milled Sandwich Bread
- Fresh Milled Hot Dog Buns
- Freshly Milled Pizza Dough
- Chocolate Chip Cookies with Fresh Milled Flour
- Fresh Milled Flour Pancakes
Want more whole grain baking recipes? Check out all of my favorites in one easy place! Read more in my Fresh Milled Flour Recipes post.
Now you know everything you need to get started milling and baking with whole grain flour! Once you get past the learning curve, you are going to love the flavor and freshness that milled whole grains bring to your favorite recipes.
Let me know in the comments what you’re going to bake first! And if you have any questions, I’m always happy to help.