This post contains affiliate links. Please read our disclosure policy.
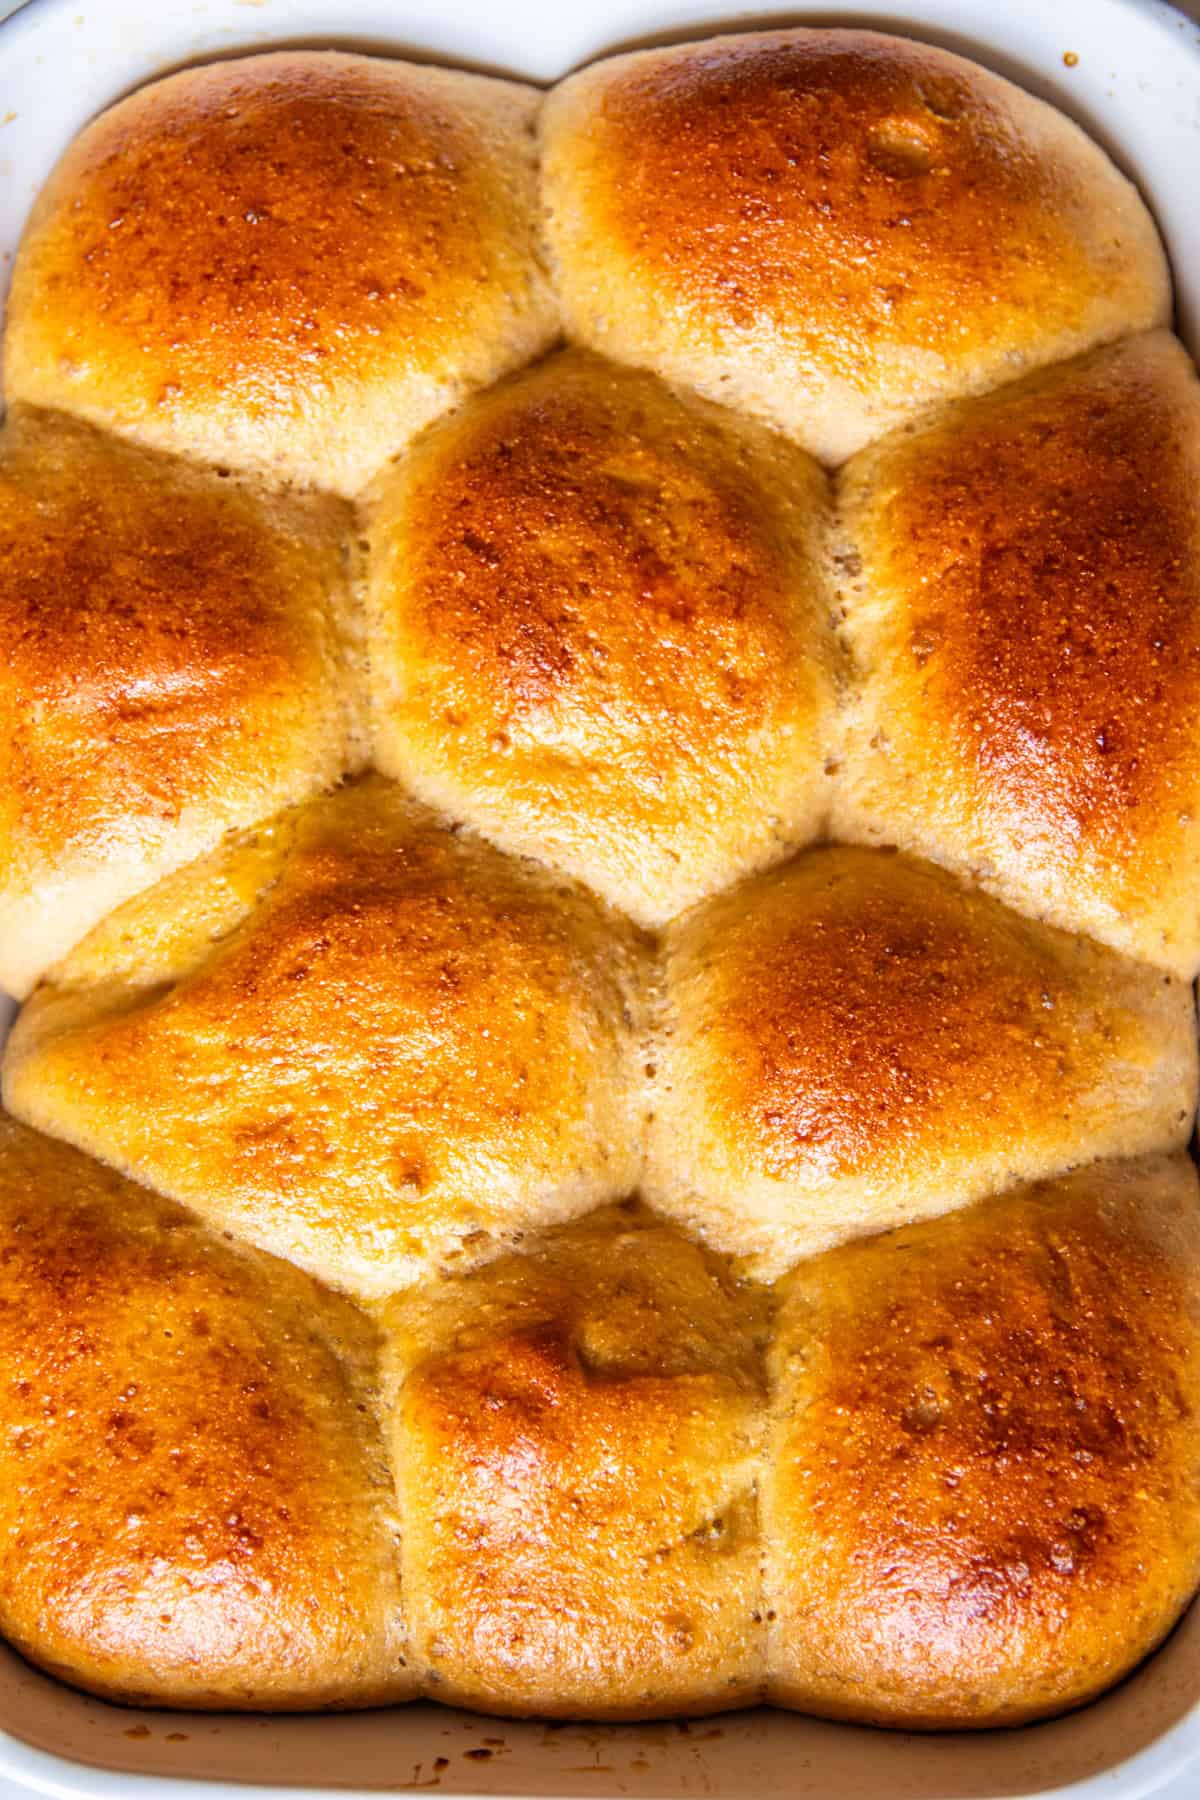
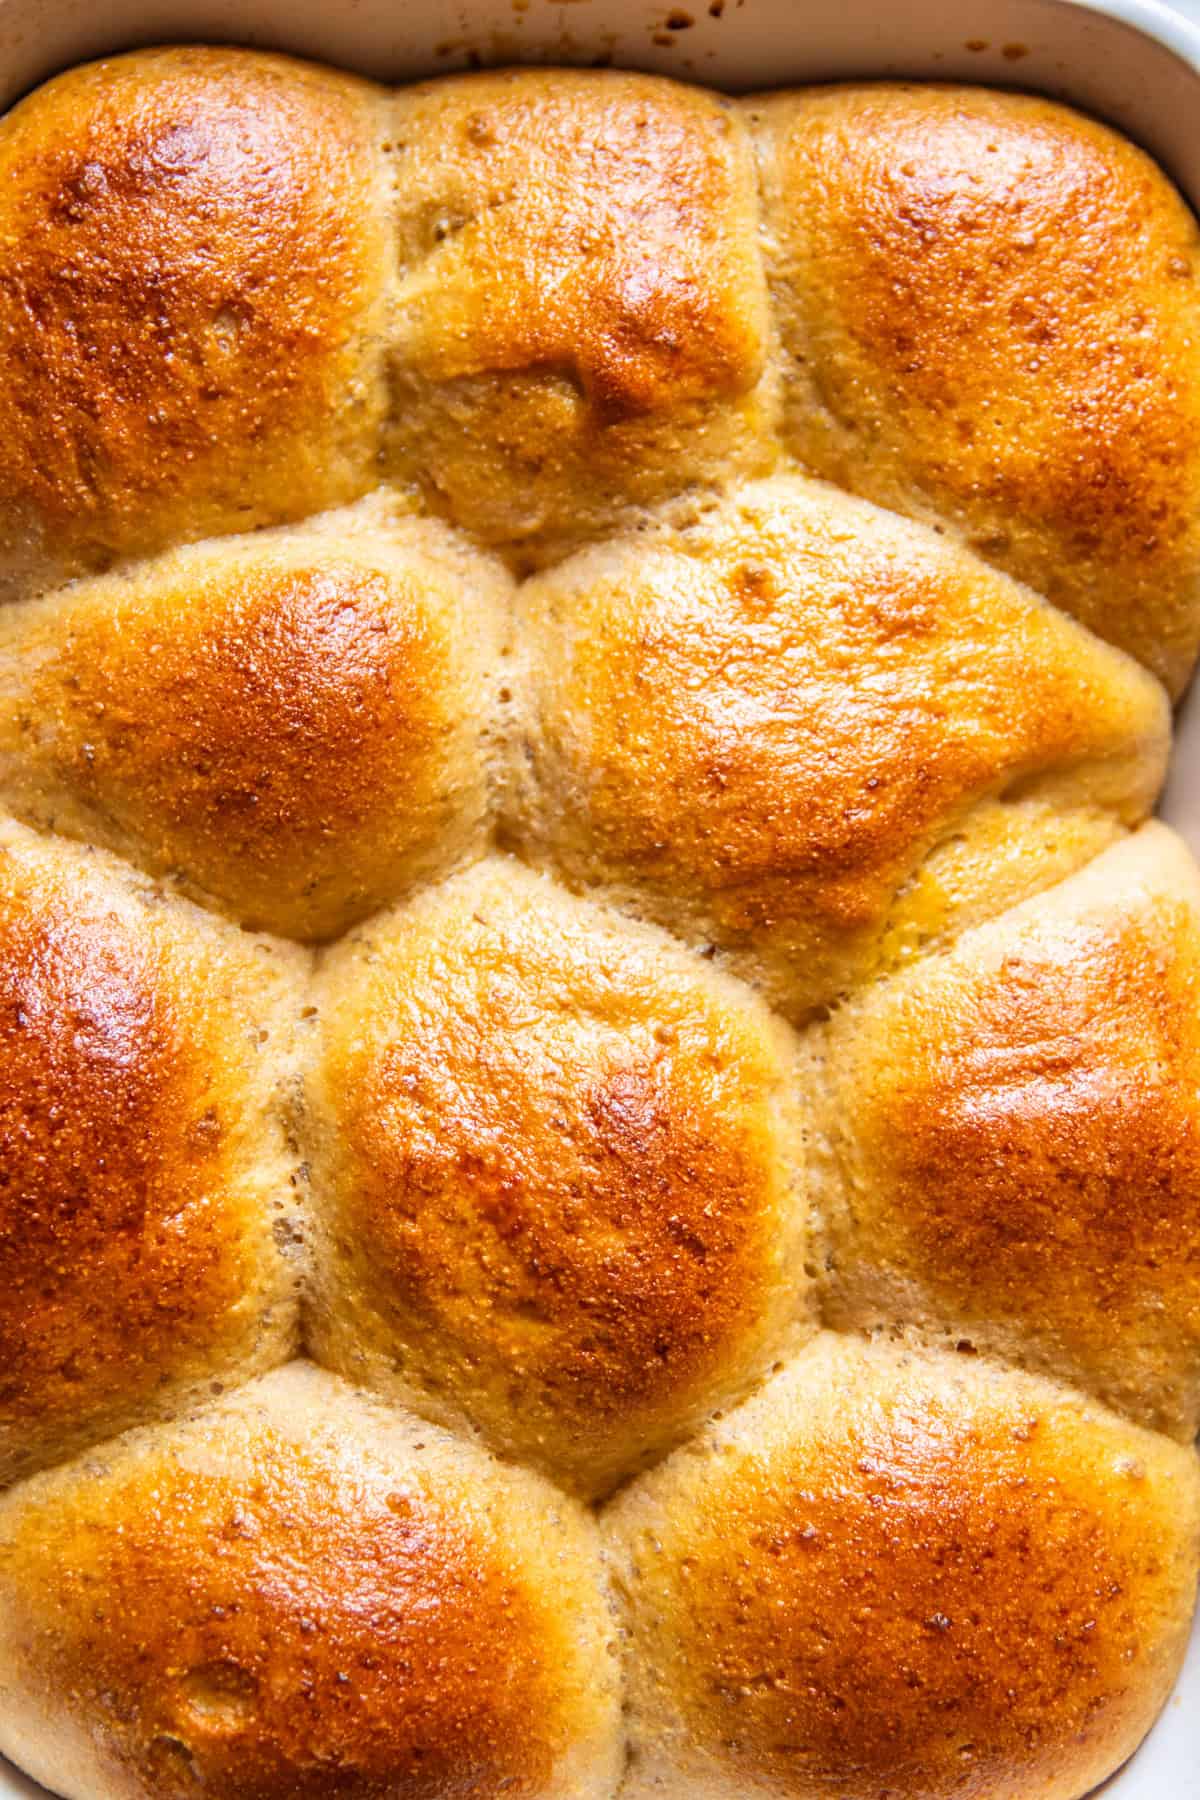
Light, fluffy, and sweet are just a few ways to describe these homemade dinner rolls with fresh milled flour! Made with only a few simple ingredients, you can enjoy these with dinner or any occasion any night of the week.

I can’t even begin to tell you how good these dinner rolls truly are. I simply can’t get enough, and I make them at least once a week. At least!
They go great with my stovetop meatballs or make perfect rolls for my venison sliders recipe. Though if I were honest, I usually make my sliders with my freshly milled Hawaiian rolls! But that is for another recipe!
If you are looking to get freshly milled flour in your diet, this is a perfect way to do it! I mean, why sacrifice flavor?
This is a great bread alternative to your typical all-purpose flour recipes, like this cast iron loaf bread or my dutch oven bread recipe.
Table of Contents
Why You Will Love This Recipe
- These rolls make the perfect addition to any meal! Or better yet, make them the meal! My Husband loves these with a little butter and jelly in the mornings!
- Even the pickiest eaters will love these rolls! They’re light, fluffy, and just sweet enough to make them a hit with kids.
- These rolls are super easy to freeze and reheat! Make a big batch, freeze them, and pull out as many as you need for a quick meal or snack.
- These rolls are great on their own, but you can also get creative! Use them for sandwiches, sliders, or as a side to comfort foods like my pork neck bone soup or my moose stew recipe. Really, the possibilities are endless here.
Recipe Ingredients
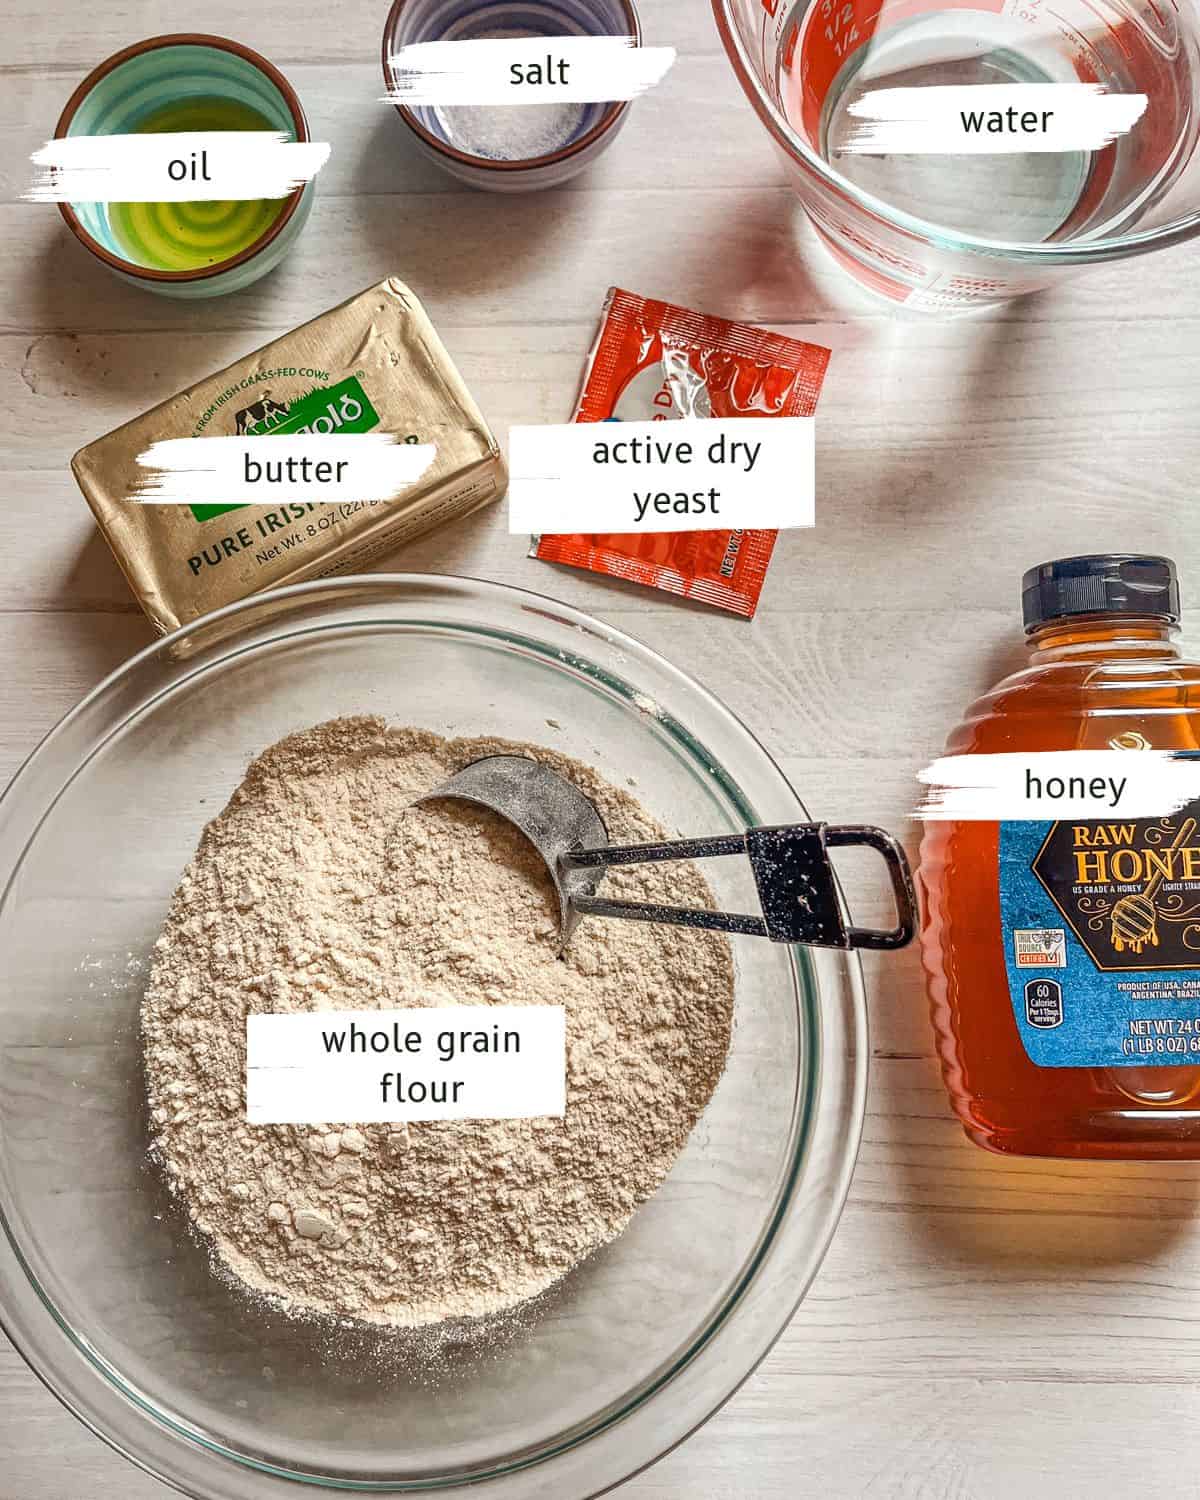
- Warm water
- Active dry yeast: You can also use instant yeast.
- Honey: For just a touch of sweetness!
- Oil: You can use canola oil or any neutral-tasting oil for this recipe. I’ve also used coconut oil before, and while it does have a slight flavor, it’s such a small amount that you won’t notice it in this recipe.
- Salt
- Hard white wheat flour: If you would prefer, you can use store bought whole wheat flour without changing anything else in the recipe.
- Egg wash: I make an egg wash with one egg yolk and one tbsp of water.
How to Make Rolls with Freshly Milled Flour

Step 1: Combine water and yeast in the bowl of a standup mixer. Set aside to proof for 10 minutes.
Step 2: Add the honey, oil, and salt to the bowl along with the flour. Mix by hand until the dough comes together, it will be sticky and tacky some, but should hold its shape well.

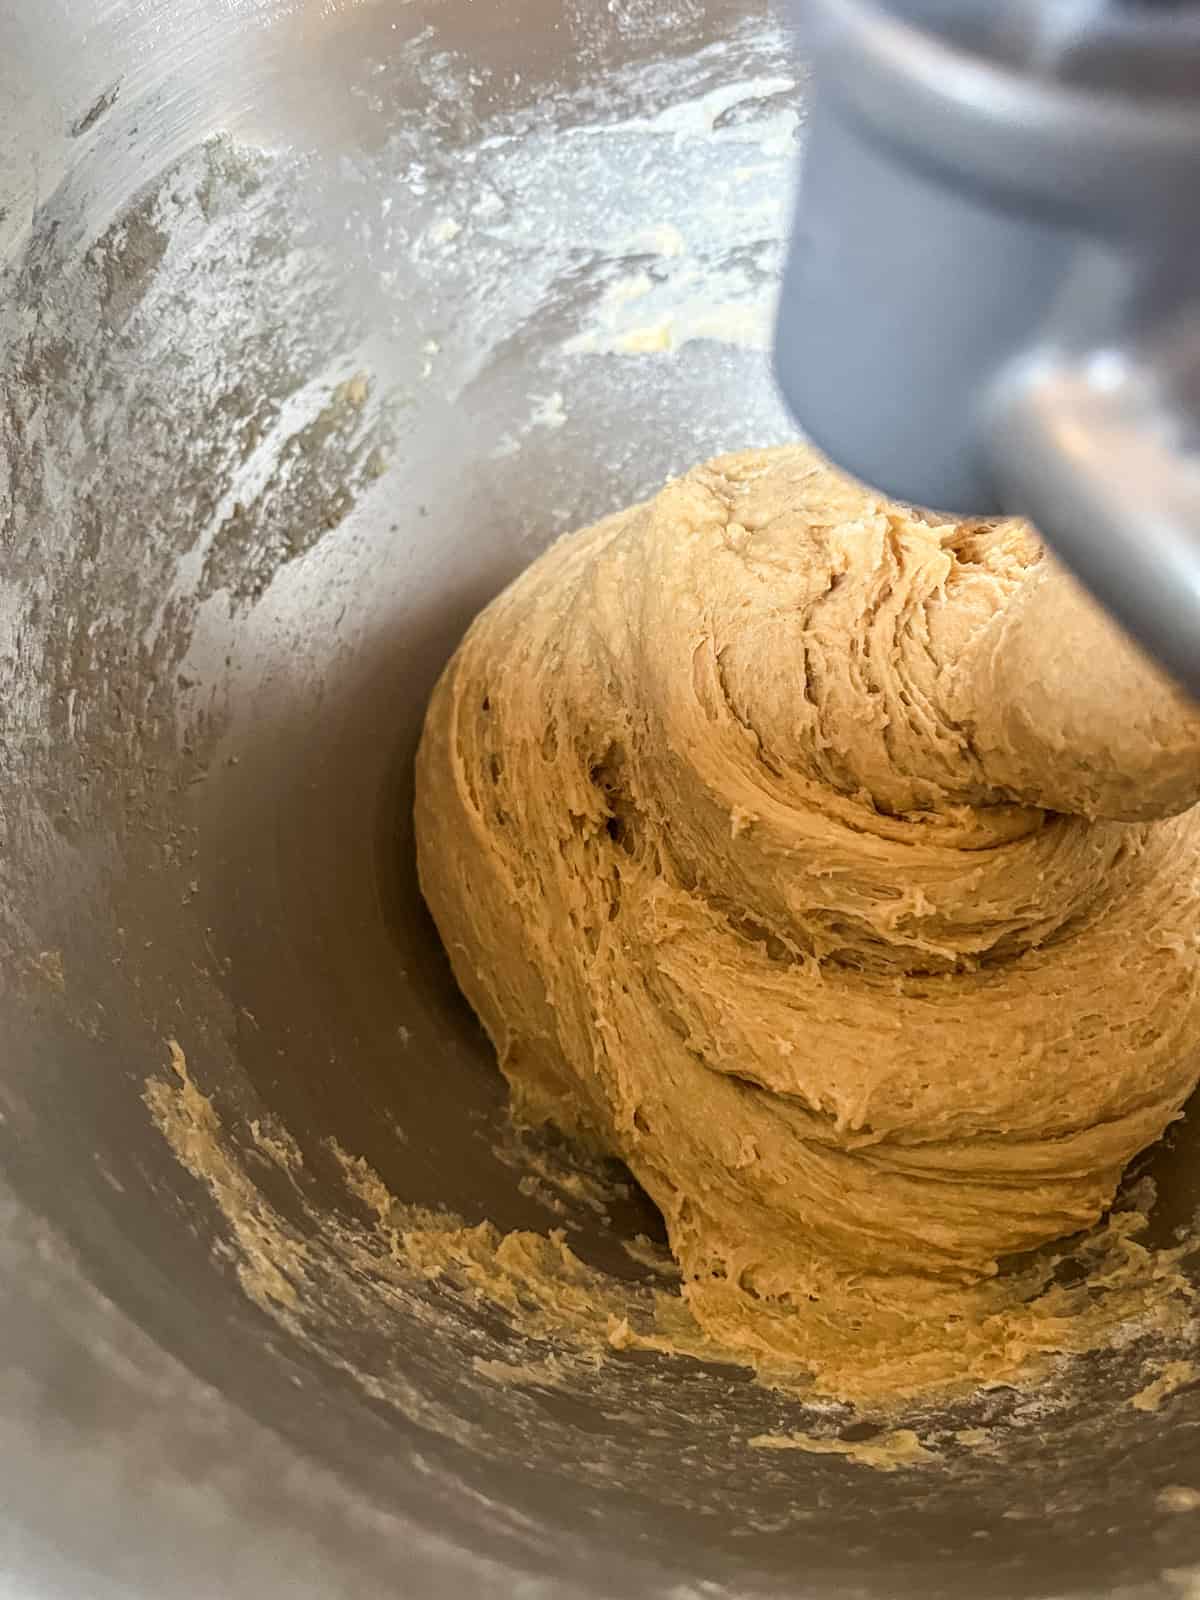
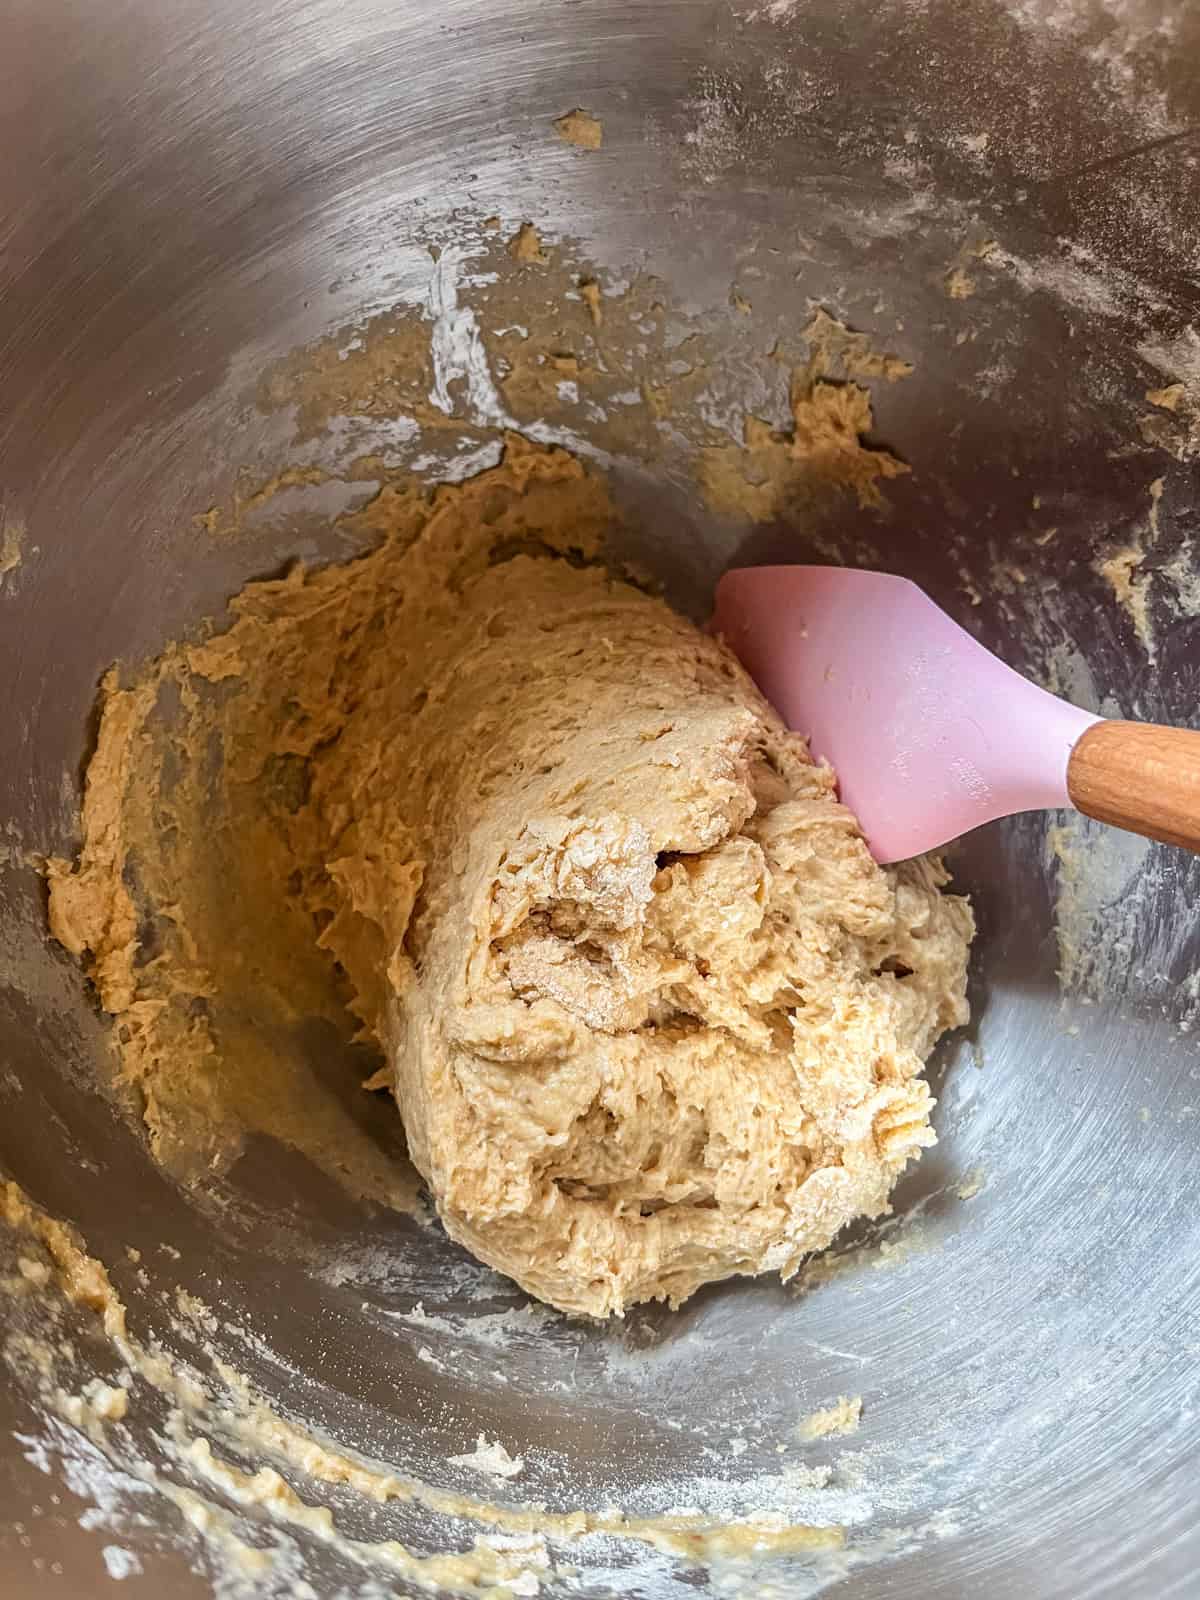
Step 3: Use a dough hook to knead the dough until it’s soft and elastic. As you can see in the first image, the dough will start out sticky for the first few minutes.
If it’s still really sticky after about five minutes, you can add a tablespoon or two of flour. But as shown in the second image, it should smooth out as you continue kneading and start to pull away from the sides.


Step 4: Move the dough to a lightly oiled bowl, cover it, and let it rise for 1-2 hours or until doubled in size.


Step 5: Gently punch down the dough, then transfer it to a lightly floured surface. Divide it into 10 pieces and roll each into a ball.
Step 6: Place them in a prepared 8×10 baking dish or a 12″ skillet, spacing them where they are just touching. Cover loosely with plastic wrap and let them rise for 40-45 minutes.


Step 7: In a small bowl, whisk together the egg yolk and water. Brush the tops of the rolls with the egg wash.
Step 8: Preheat the oven to 375°F and bake for about 25 minutes, or until the tops are golden brown.
Recipe Tips
- Over-rising the dough, especially during the second rise in the baking dish, can keep the rolls from fluffing up properly. I really go by looks rather than time. Check out the pictures above for a visual guide.
- Make sure to place the dough or rolls in a warm spot to rise. If you have a fireplace, the room it’s in is a great option. In the winter, keep them in the kitchen and away from windows to avoid drafts.
- If possible, mill your wheat berries right before making this. Freshly ground flour retains more nutrients and can yield a lighter texture in your rolls.
- If kneading by hand, expect to knead for at least 8-10 minutes until the dough is smooth and elastic. If using a stand mixer, let it run for about 5-6 minutes with the dough hook.
- Make sure the liquid you use for the yeast is warm, but not too hot. I aim to keep it under 110°F to prevent killing the yeast.
Recipe FAQs
Yes, you can freeze the dough after the first rise. Shape the rolls, place them on a baking sheet, and freeze until solid. Then, transfer them to a freezer-safe bag. When ready to bake, allow them to thaw and complete the second rise before baking.
Dense rolls can result from using too much flour, insufficient kneading, or under-proofing. Ensure accurate flour measurement, knead the dough thoroughly, and allow adequate rising time.
The rolls are done when they are golden brown on top and have an internal temperature of 190-200°F.
If your dough isn’t rising, it could be a few things. The yeast might be expired, the water temperature could be off, or the environment might be too cold. Make sure the water is warm, around 100-110°F, and that your yeast is still active. Also, try placing the dough in a warm, draft-free area to rise, away from any chilly windows or drafts. Check out the tips in my fresh milled flour sandwich bread recipe on using the oven to achieve the perfect rise.
I use hard white wheat berries for this recipe. You can also use hard red wheat berries, but I prefer the flavor of hard white in this.
I always measure after milling, using the flour itself. I also measure by weight, not volume, for the most consistent results.
I am getting hungry just thinking about these rolls, and unfortunately, I am all out! I think I’m going to step out and get another batch going and serve it with my homemade dutch oven lasagna soup!
Let me know what you are going to enjoy these rolls with!
Related Recipes
I hope you loved this rolls recipe with freshly milled flour! If you did, I would love it if you could leave a 5-star review and comment below how they turned out for you!

Dinner Rolls with Fresh Milled Flour
Equipment
- Stand up mixer
Ingredients
- 1 ½ cup warm water
- 1 packet of active dry yeast 2 ¼ tsp
- ¼ cup honey
- 1 tbsp neutral tasting oil
- 1 tsp salt
- 3 ¾ cup hard white wheat flour spooned and leveled (420g)
For the egg wash:
- 1 egg yolk
- 1 tbsp water
Instructions
- Combine water and yeast in the bowl of a standup mixer. Set aside to proof for 10 minutes.
- Add the honey, oil, and salt to the bowl along with the flour. Mix by hand until the dough comes together, it will be sticky and tacky some, but should hold its shape well.
- Use a dough hook to knead the dough until it’s soft and elastic. It will start out sticky for the first few minutes. If it’s still really sticky after about five minutes, you can add a tablespoon or two of flour, but it should smooth out as you continue kneading. (refer to pictures in the post above)
- Move the dough to a lightly oiled bowl, cover it, and let it rise in a warm area for 1-2 hours or until doubled in size.
- Gently punch down the dough, then transfer it to a lightly floured surface. Divide it into 10 pieces and roll each into a ball.
- Place them in a prepared 8×10 baking dish or a 12″ skillet, spacing them where they are just touching. Cover loosely with plastic wrap and let them rise for 40-45 minutes in a warm area.
- After the second rise, whisk together the egg yolk and water in a small bowl. Brush the tops of the rolls with the egg wash.
- Preheat the oven to 375°F and bake uncovered for about 25 minutes, or until the tops are golden brown.
Notes
- Over-rising the dough, especially during the second rise in the baking dish, can keep the rolls from fluffing up properly. I really go by looks rather than time—check out the pictures above for a visual guide.
- Make sure to place the dough or rolls in a warm spot to rise. If you have a fireplace, the room it’s in is a great option. In the winter, keep them in the kitchen and away from windows to avoid drafts.
- If possible, grind your own whole grains or use freshly milled flour. Freshly ground flour retains more nutrients and can yield a lighter texture in your rolls.
- If kneading by hand, expect to knead for at least 8-10 minutes until the dough is smooth and elastic. If using a stand mixer, let it run for about 5-8 minutes with the dough hook.
- Make sure the liquid you use for the yeast is warm, but not too hot. I aim to keep it under 110°F to prevent killing the yeast.


This recipe is so easy and delicious! I prefer hard red, but other than that, I followed the recipe exactly. Thank you
This recipe is so easy and has amazing results! I prefer hard red, but other than that, I followed the recipe exactly. Thank you so much
Oh, I am so happy to hear! This actually can be made with either hard red or hard white!
Best dinner rolls I have ever had
Came out absolutely great!
I have been very interested in whole grains and this recipe looks so good!