Baking bread at home is easy, fun, and rewarding. This no knead dutch oven bread goes through one rise cycle, which makes baking easier and faster. It’s also extremely forgiving, making it perfect for beginners.

I love the warm aroma of fresh-baked bread flooding the kitchen, the slightly sweet aroma as it slowly seeps throughout the whole house.
It’s a satisfying scent like no other. Knowing that, you took a few simple plain ingredients and made the most beautiful artisan-style bread loaf. I love bread. And there is no comparison between store-bought bread and homemade bread.
It all starts with a good recipe
If you’re new to baking, start with a tried-and-true recipe. You can find plenty of great ones online. Once you’ve mastered one, try making variations of it.
Experiment with different ingredients, such as adding herbs, spices, nuts, seeds, or dried fruit. You can even get really creative and a cheese bread loaf.
Or even more subtle changes like adjusting the amount of yeast, rise time, combining wheat and white flour, and even the flour to water ratio.
If you want to make the perfect loaf of bread, start with the essentials: flour, water, salt, and yeast.
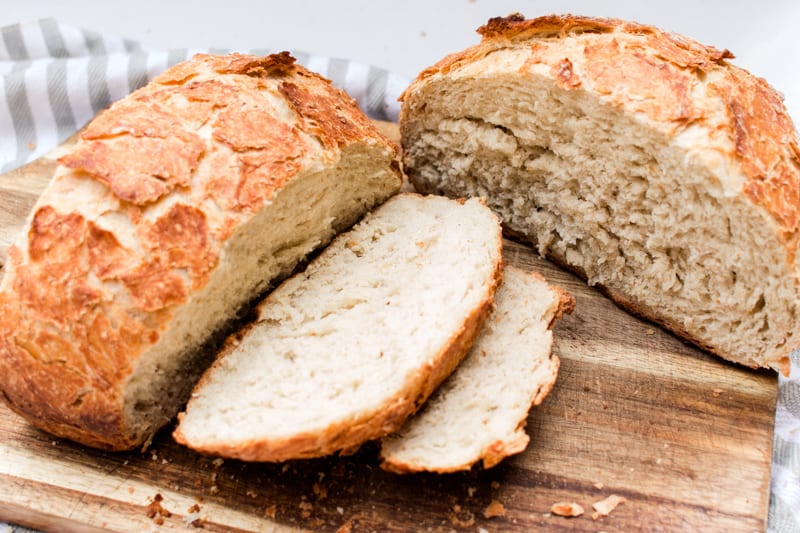
How to make bread in a dutch oven
I almost never plan a recipe in advance. So that is why this no knead dutch oven bread is one of my favorite recipes.
First, gather the ingredients together and set them out on the counter. The exact measurements can be found in the printable recipe card below.
We are going to use white flour, instant yeast, pink Himalayan salt, (or sea salt) honey, and warm water.
I don’t oil the bottom of the dutch oven, but if you think there is a chance the bread will stick in yours, just add a teaspoon of your favorite oil to the bottom of the dutch oven right before adding in the dough.
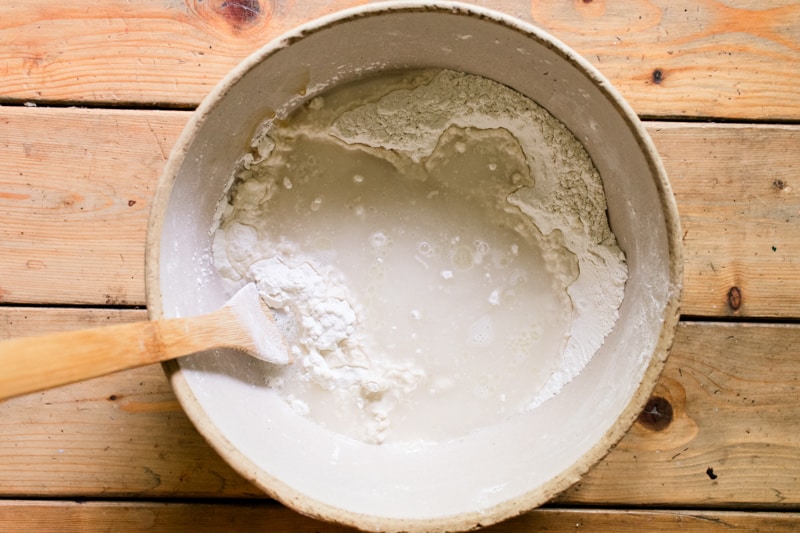
Begin by combining the flour, yeast, and sea salt in a large mixing bowl. Then add honey and warm water and mix well.
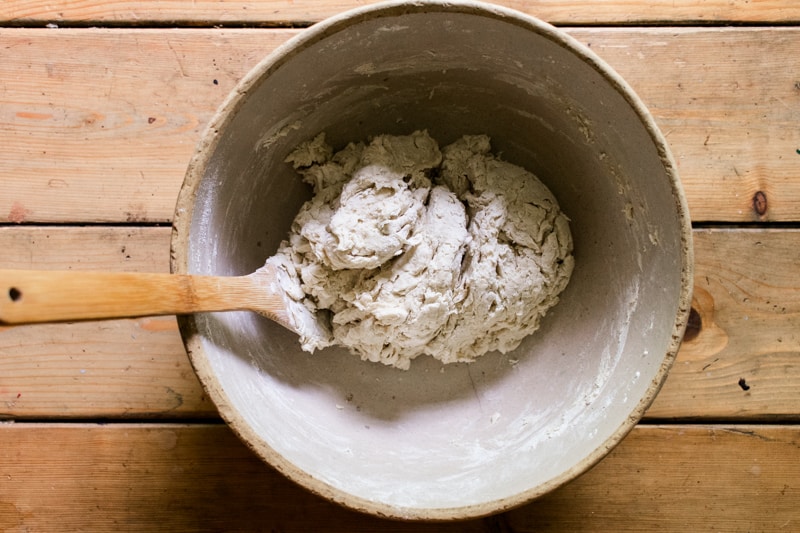
Cover with a towel and set in a warm area to rise for 2-3 hours. It should nearly double in size.
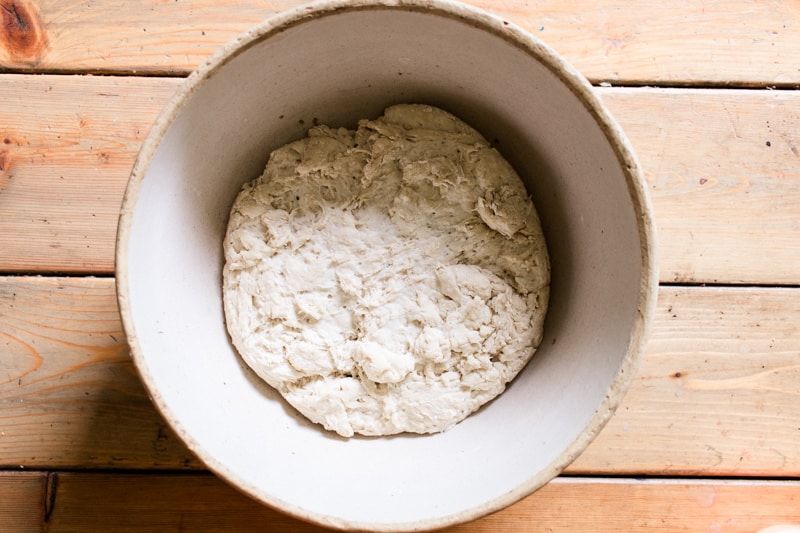
At this point, preheat the oven with the dutch oven inside to 450°F. While the oven and pot are preheating, Lightly flour your hands, then work the dough by stretching it out, folding it in half, and stretching it back out several times.
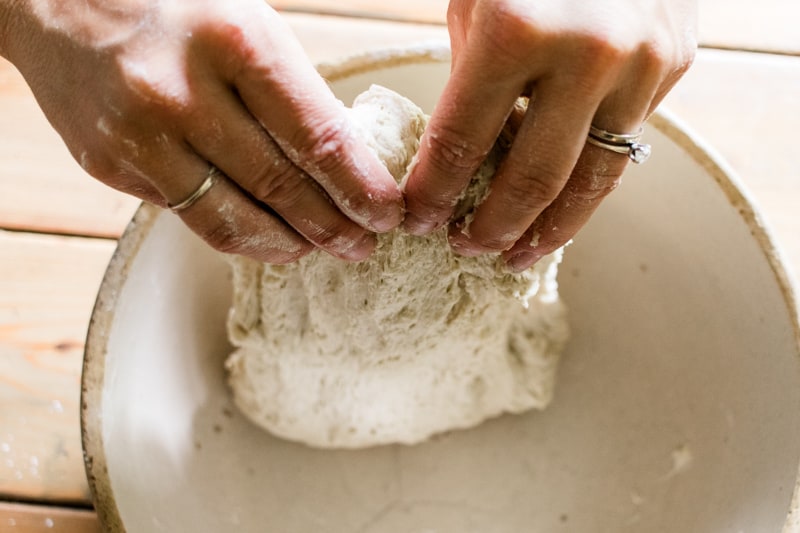
When the oven is preheated, carefully remove the dutch oven from the oven and remove the lid. Roughly shape the dough into a round loaf. Don’t worry about making it perfect; it will take on its shape as it bakes.
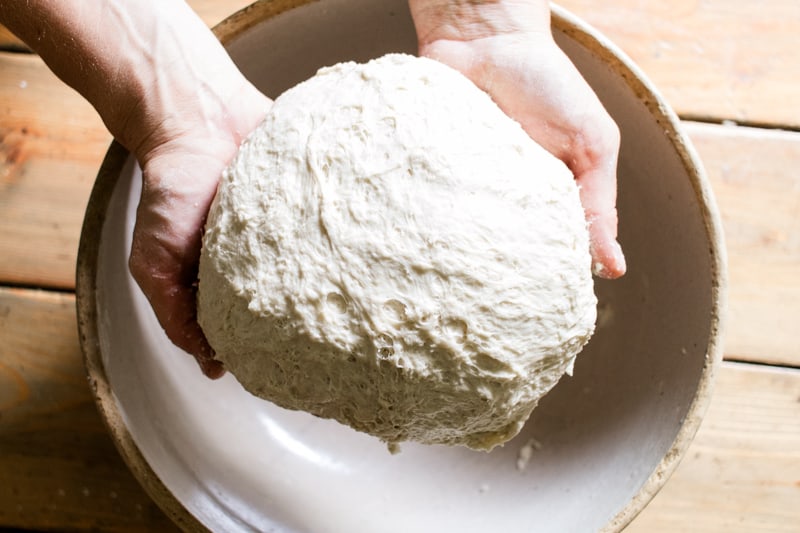
Finally, CAREFULLY place the loaf into the center of the dutch oven, taking care not to touch the sides of the hot pot!
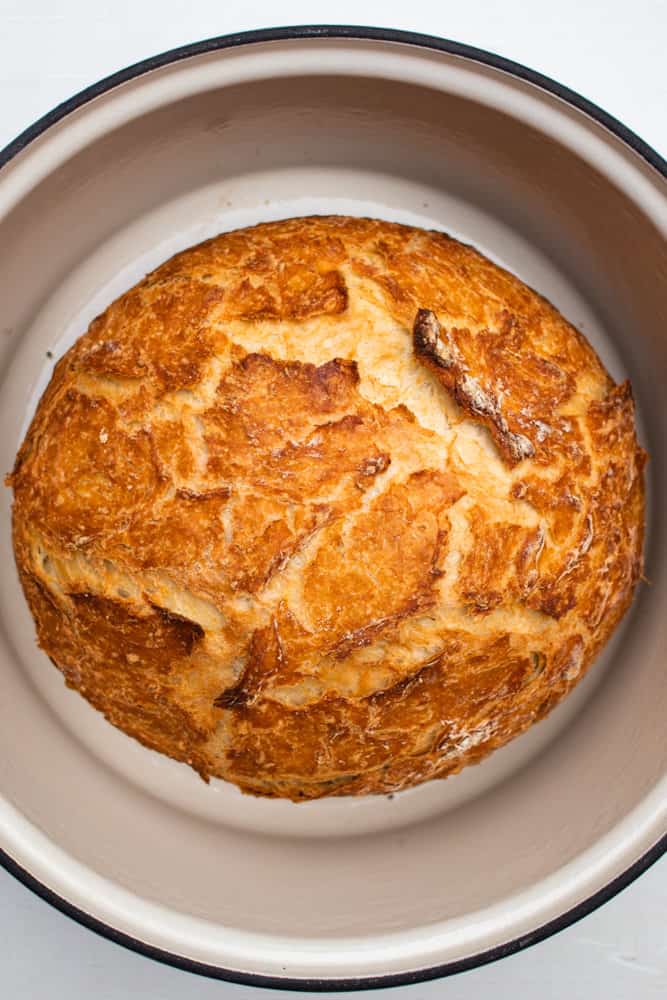
Put your oven mitts back on, replace the lid, and set the pot back in the oven to bake for 50 minutes.
I do not remove the lid for the final few minutes of baking, at least for this recipe. If you want it extra crispy on top, remove the lid for the final 10 minutes of baking.
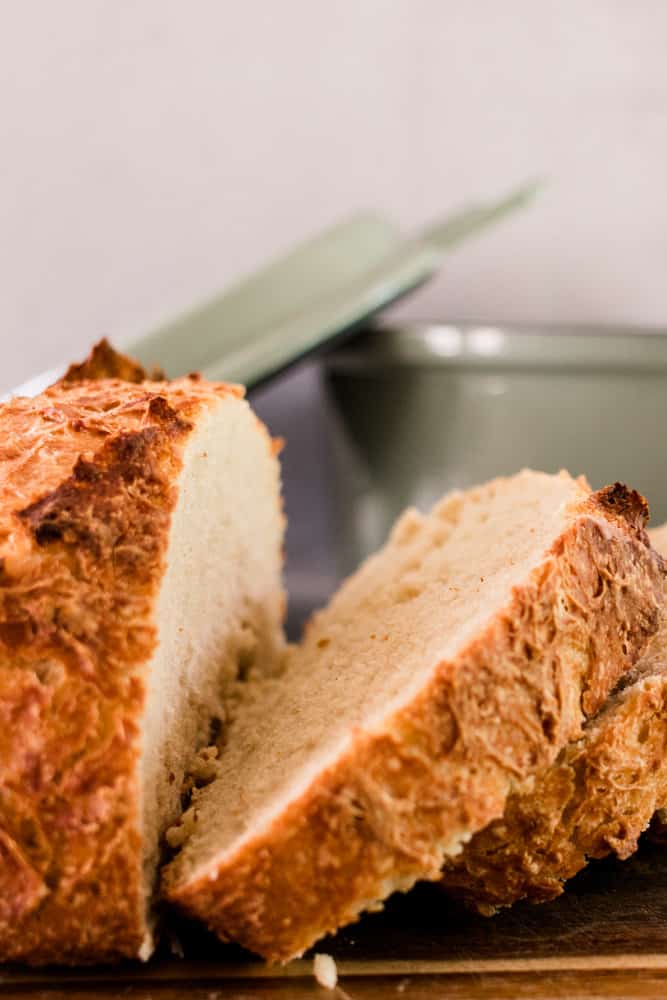
Once the bread is done, remove it to a cooling rack to cool for at least 30 minutes before cutting into it.
How to serve your rustic artisan bread
I enjoy this bread with a bit of butter in the mornings, but it’s also excellent with some of these recipes below.
- On a sandwich with pork steak or tenderloin.
- No soup is complete without a side of freshly buttered bread. Try it with venison stew, goulash, or my personal favorite; sauerkraut soup.
- Break the bread into bite-size pieces to go with your favorite brisket, chili, or pot roast.
- One of my favorite leftovers is meatloaf sandwiches. Slap a chunk of meatloaf or even meatballs between two slices of bread, and you have your lunch ready in about 30 seconds.
Tips on making the perfect no knead dutch oven bread
Make sure the dutch oven you are using is big enough to allow for the bread to expand some while baking. I used a 7-quart dutch oven which is plenty big.
Make sure you use instant yeast for this recipe. If you just have active dry yeast, you can first mix the yeast with the warm water before adding it to the dry ingredients.
Bread dough should not stick to a high-quality enameled dutch oven. If you make this bread using a cast iron dutch oven, you will want to oil the bottom first.
I have made bread in the dutch oven with and without oil with minimal differences. Neither bread stuck to the bottom even the slightest. The dutch oven that was oiled first resulted in a slightly crispier bottom. Again, minimal at best.
And lastly, never stick an enameled dutch oven into a hot oven. It needs to heat up slowly, or the enamel may crack.
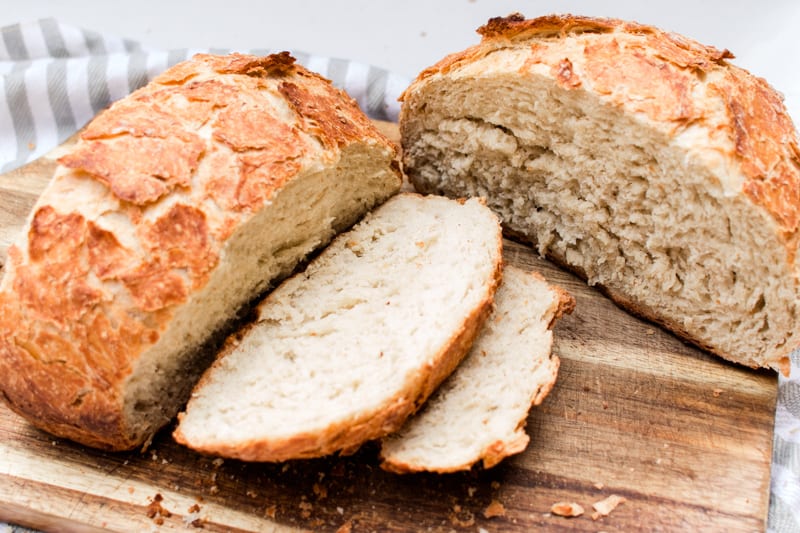
Baking bread in a dutch oven
And that’s all you need to know on how to make bread in a dutch oven. You are just a few steps away from your first rustic artisan bread.
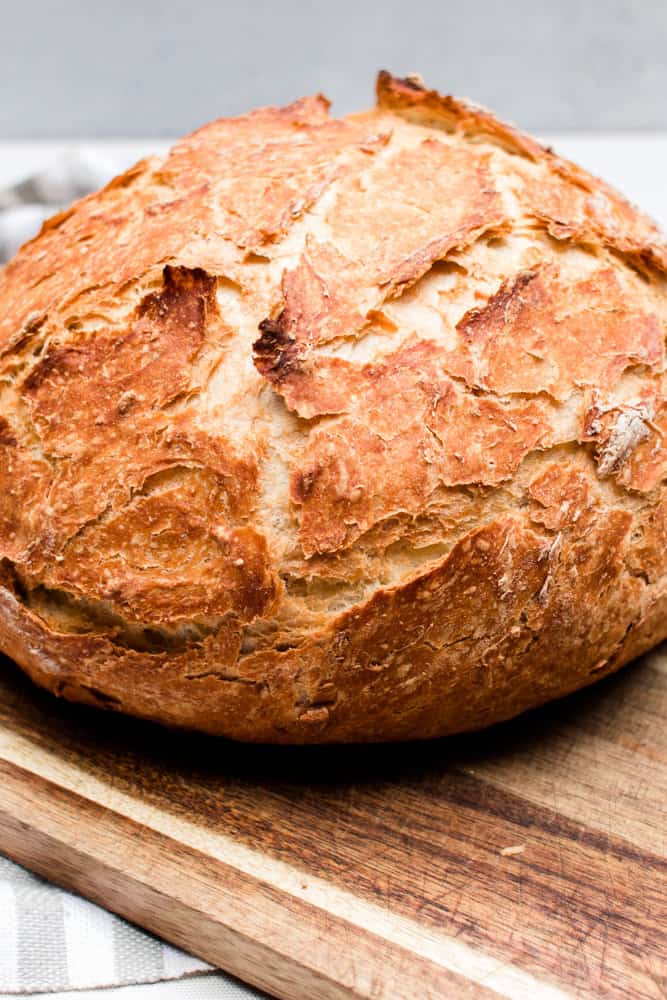
Dutch ovens are great for making artisan-style breads. They look great and taste incredible! Let me know how this recipe turned out; I’d love to hear from you!
And once you’re done with this recipe, be sure to check out one or two of these favorites below!
- Stuffed garlic bread – Korean style with cream cheese. Think game night, parties, or potlucks
- Chocolate chip banana bread – made in a cast iron loaf pan; need I say more?
- Savory baked beans with ham hock – to wow everyone at your next bbq!
- Classic cornbread – with chili or to satisfy those late-night munchies.

No Knead Dutch Oven Bread
Ingredients
- 5 cups all purpose flour or bread flour
- 2 ½ teaspoons instant yeast
- 2 teaspoons sea salt or pink himalayan salt
- 1 ½ tablespoons honey
- 2 cups warm water
Instructions
- Combine flour, yeast, and salt in a large mixing bowl.
- Stir in water and honey with a wooden spatula. This should take about a minute. The dough should be slightly sticky with no dry clumps.
- Cover with a towel and place in a warm area to rise for 2 hours.
- Place your dutch oven into the cold oven and preheat to 450°F
- Once the dough has about doubled in size, lightly flour your hands, pull the dough carefully off the sides of the bowl, then stretch the dough out, fold in half and stretch it out again several times.
- Carefully pull the dutch oven out of the oven and remove the lid.
- Shape the dough into a ball and carefully place it into the center of the hot pot.
- Cover with the lid and bake for 50 minutes.
- Remove the bread from the dutch oven to a cooling rack for 30 minutes before slicing.

Judy says
Curious, can I use bread flour and regular salt?
Thank you.
Nate A says
Yes bread flour works just fine!
Any fine grain salt will work great! If you use table salt, I would probably use 1 1/2 teaspoons rather than 2 teaspoons.
Rachael says
Will the bread stick to the Dutch oven? Should I put parchment paper in it? Or grease/ flour it? First time using my Dutch oven for bread.
Nate A says
The dough should not stick in a high-quality, enameled dutch oven. You can, however, use parchment paper, or for a more crispy crust, you can grease the bottom of the dutch oven.
Frederick Henrikson says
What size Dutch oven
Nate A says
7 qt
Tori says
This is super yummy!!
We love having our freezers full of venison so good meal ideas!