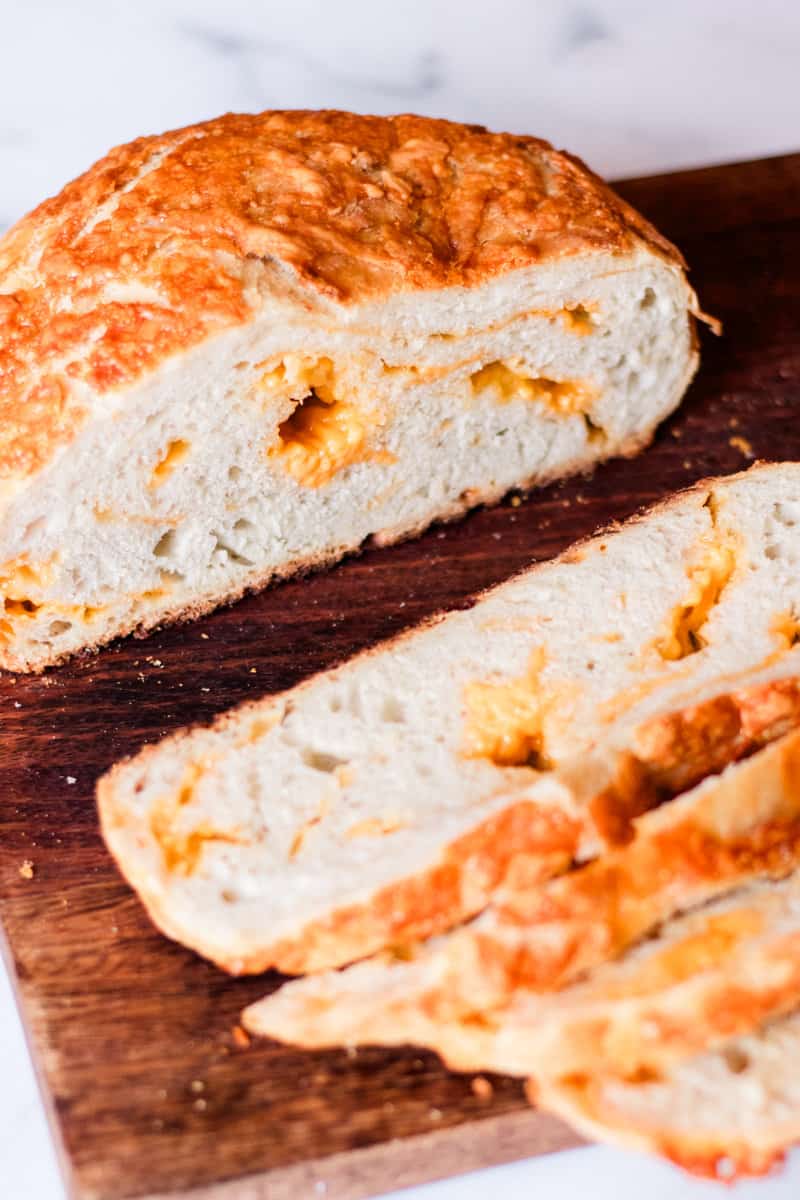
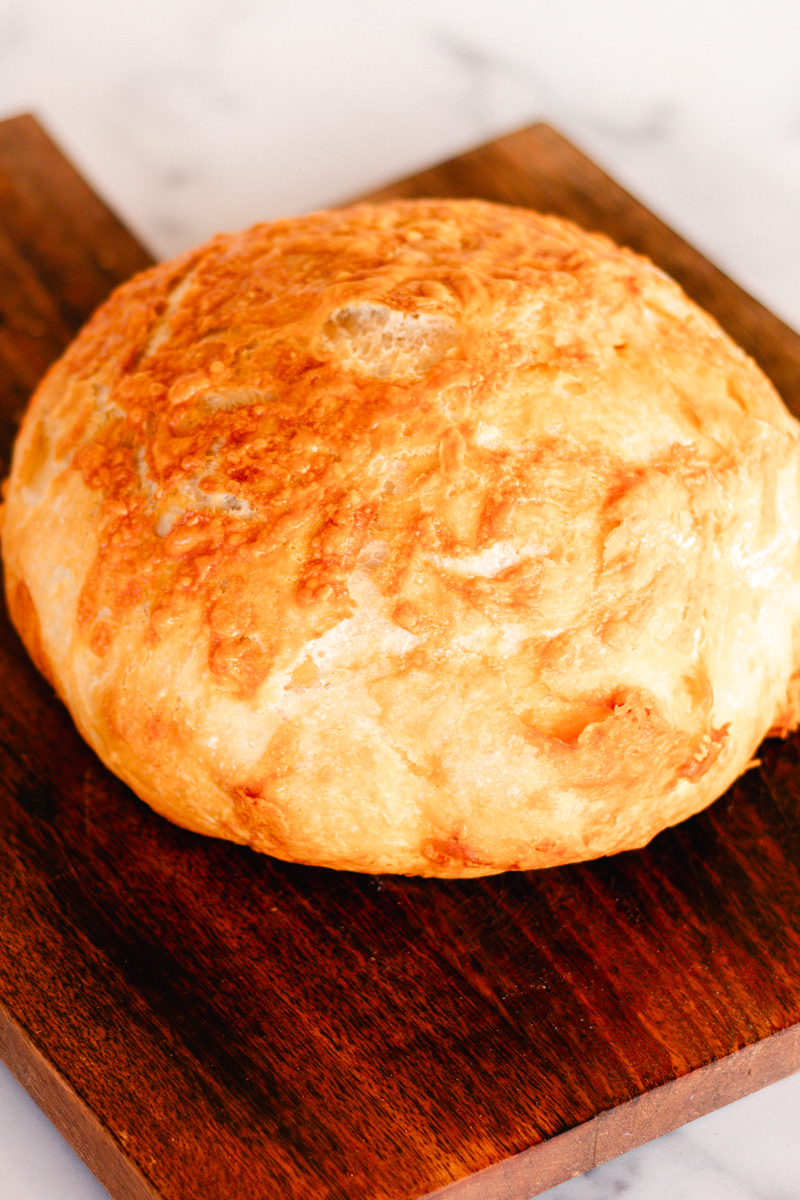
There’s nothing quite like homemade bread with a buttery, cheesy flavor to add to your meal or have as a snack! This dutch oven cheese bread is fluffy on the inside with a satisfying crunch on the crust!
Just like all my artisan bread recipes, we are using simple pantry ingredients. No need to buy bread when you can make this easy recipe.

Ingredients
3 cups all-purpose flour. To achieve precise measurements, use a butter knife to level the flour for a more accurate result.
1 packet active dry yeast (2 1/4 tsp). You can use instant yeast as well, with the same results. Just be sure to give the dough ample time to rise.
1 1/2 teaspoons of sea salt. The type of salt doesn’t totally matter, just as long as it’s a fine salt like sea salt or kosher salt. If you would rather use table salt, I would suggest cutting the amount in half.
1 1/2 cups of warm water. You want the water warm enough to activate the yeast but not too hot, approximately 110°F.
1 cup of shredded cheddar cheese. This is my personal preference, but you can use whatever cheese you like best. It also tastes best with block cheese, shredded, but feel free to use whatever you have on hand.
Dutch Oven Cheese Bread Recipe
Step 1. Combine the dry ingredients, flour, yeast, and salt in a mixing bowl.
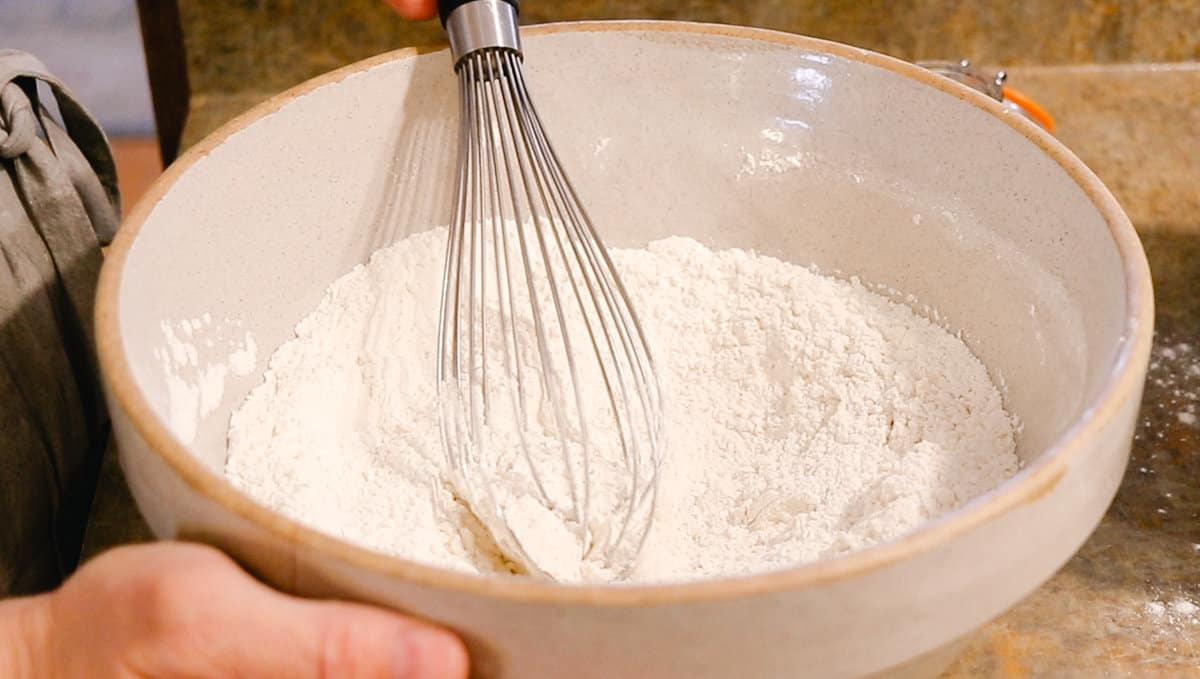
Step 2. Add water and mix until no dry clumps remain.
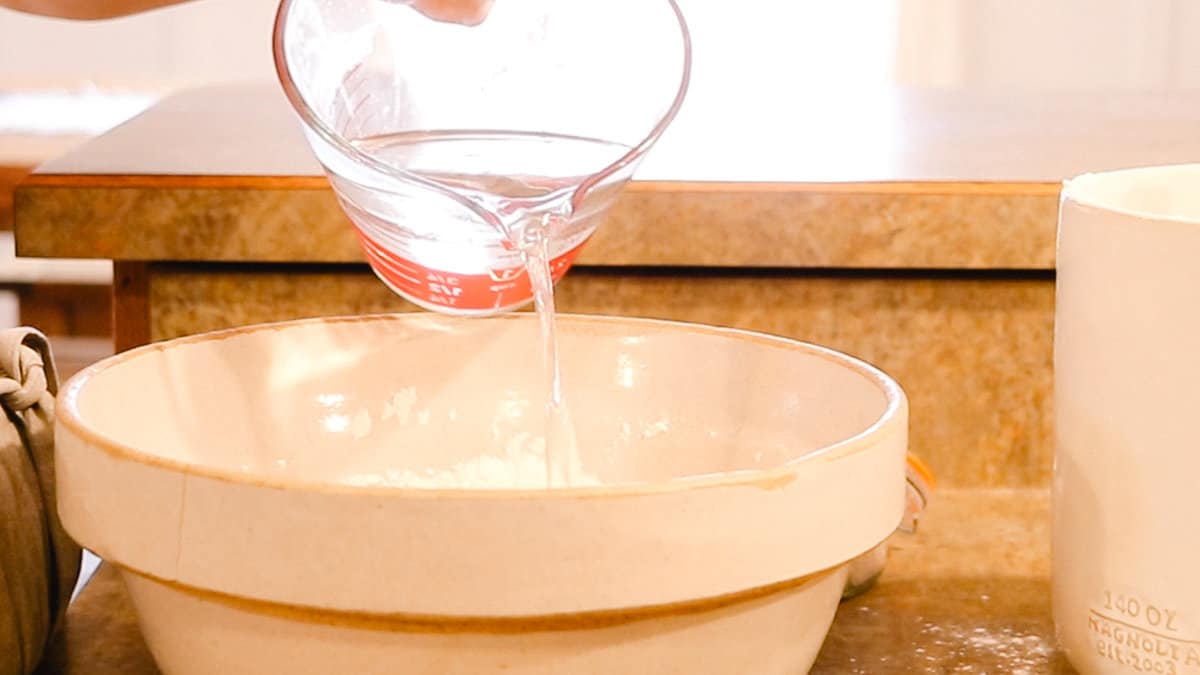
Step 3. Cover and let it rise in a warm area for 1 hour. It should double in size.
Pro tip: If the dough hasn’t risen after an hour, set it in the oven with the oven light on. It won’t be warm, but it should put off enough heat to allow the dough to rise properly.
Step 4. Preheat Dutch oven to 450°F.
Step 5. Sprinkle the surface with flour, then knead the dough for 3-5 minutes. It should be smooth and elastic but still a tad sticky.
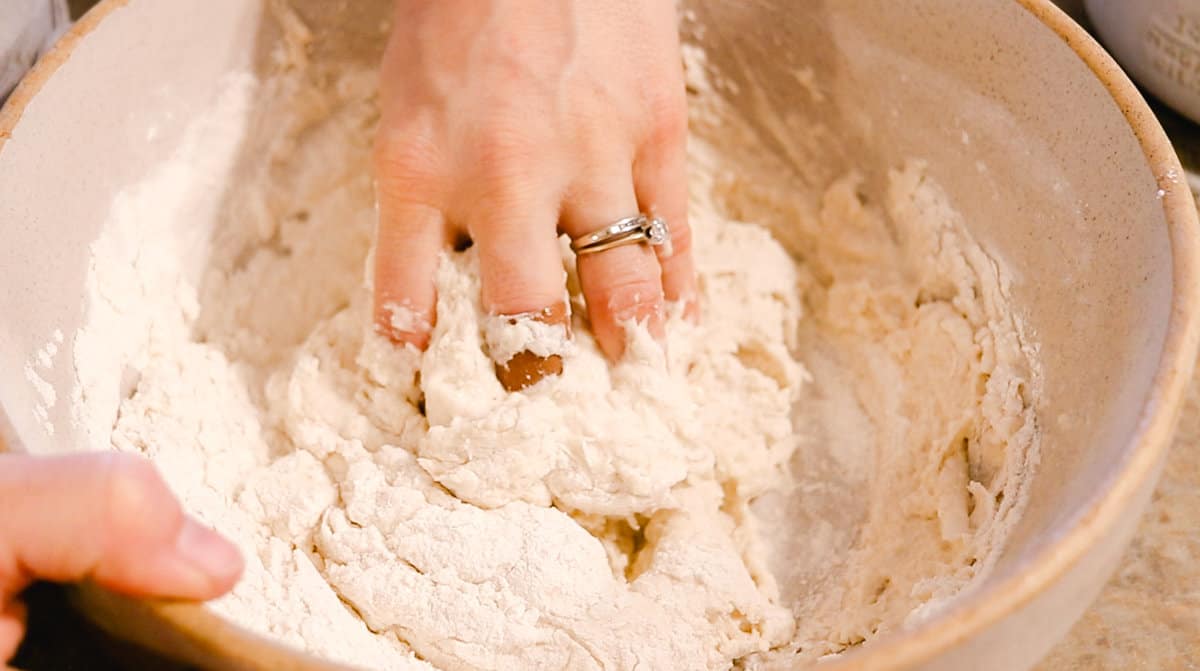
Step 6. Next, flatten the dough, add a sprinkle of cheese, fold it in half, and flatten it, then add another sprinkle. Repeat until you have about 1/8 of a cup of cheese remaining.

Step 7. Loosely shape the loaf and dot it with the remaining cheese.

Step 8. Be very cautious while performing this step; place the bread on parchment paper and carefully lower it into the Dutch oven.
Step 9. Cover and bake for 50 minutes.
This post contains affiliate links, which means I make a small commission at no extra cost to you. As an Amazon Associate, I earn from qualifying purchases. Get my full disclosure here.
Expert Tips
How to get the perfect melt
I have observed that shredded block cheese tends to melt better than pre-shredded cheese. Of course, shredded cheese is easier to work with, so feel free to experiment with it.
Variations
This is the perfect opportunity to let your creativity take over. Step 6 allows you to incorporate additional ingredients and flavors of your choice. For instance, if you want to add a spicy kick to the cheese bread, consider adding finely chopped jalapenos.
On the other hand, if you prefer a more rustic, earthy taste, dried rosemary and a drizzle of olive oil will do the trick. You could also add dried fruit.
Serving ideas
This is not your typical bread recipe. The melted cheese is incredibly flavorful, and I love savoring it on its own. However, if you want topping ideas, you can add cream cheese with everything bagel seasoning and thin slices of salami.
For a simpler option, you can smother the cheese bread in butter or even jam to create a sweet and savory combination!
This is not my first time adding cheese to bread, either. After making this recipe, you’ll have to check out my cream cheese stuffed garlic bread recipe! It’s a treat.

FAQs
What is the best way to store cheese bread?
I like to store it in a container with an airtight seal in the refrigerator for up to 8 days.
How do you bake bread in a dutch oven without burning the bottom?
The cheese bread shouldn’t stick to the parchment paper, but you can lightly oil it to be sure it doesn’t.
Should I take the lid off the dutch oven when baking?
If you prefer a crisper crust, just remove the lid for the final 10 minutes. However, personally, I do not remove the lid because the crust is crispy enough with the lid on.
Final Thoughts
If you make homemade bread a weekly tradition, there will be no need to buy it from the store anymore. The process is quite simple, and the flavor of the bread beats that of store-bought bread.
Even if you’re a beginner in baking, nobody would be able to tell with this easy recipe. So give it a try, and let us know how you liked it in the comments below!
Stay connected by following us on Pinterest and Instagram @castironskilletcooking!
Check out the posts below! You may find your next recipe.

Dutch Oven Cheese Bread
Equipment
- 6 qt Dutch oven
Ingredients
- 3 cups all purpose flour leveled
- 2 1/4 teaspoons active dry yeast 1 packet
- 1 1/2 teaspoons sea salt not table salt
- 1 1/2 cups warm water
- 1 cup shredded cheddar cheese
Instructions
- Combine dry ingredients.
- Add water and mix until no dry clumps remain.
- Cover and let it rise in a warm area for 1 hour. (it should double in size)
- Preheat Dutch oven to 450°F.
- Sprinkle surface with flour, then knead the dough for 3-5 minutes. It should be smooth and elastic, but still a tad sticky.
- Next, flatten the dough, add a sprinkle of cheese, fold in half and flatten then add another sprinkle. Repeat until you have about 1/8 of a cup of cheese remaining.
- Loosely shape the loaf and dot it with the remaining cheese.
- Carefully place the bread on parchment paper and lower it in the Dutch oven. Remember its going to be hot!
- Cover and bake for 50 minutes.

Leave a Reply