Want to learn how to make soft and buttery homemade loaf bread at home? This simple recipe is beginner-friendly and requires only a few basic ingredients.
Once it’s cooled, it can be enjoyed with butter or jam or used to make sandwiches. Follow the easy steps, and in no time, you will have a delicious loaf of bread to enjoy!
Ingredients
- 1 cup water
- 1/4 cup whole milk
- 1 packet active dry yeast (2¼ teaspoon)
- 3 1/3 cup of all-purpose flour, leveled
- 2 tablespoon sugar
- 1½ teaspoons salt
- 4 tablespoons butter, softened
- Egg wash, optional
Step 1: Activate Yeast.
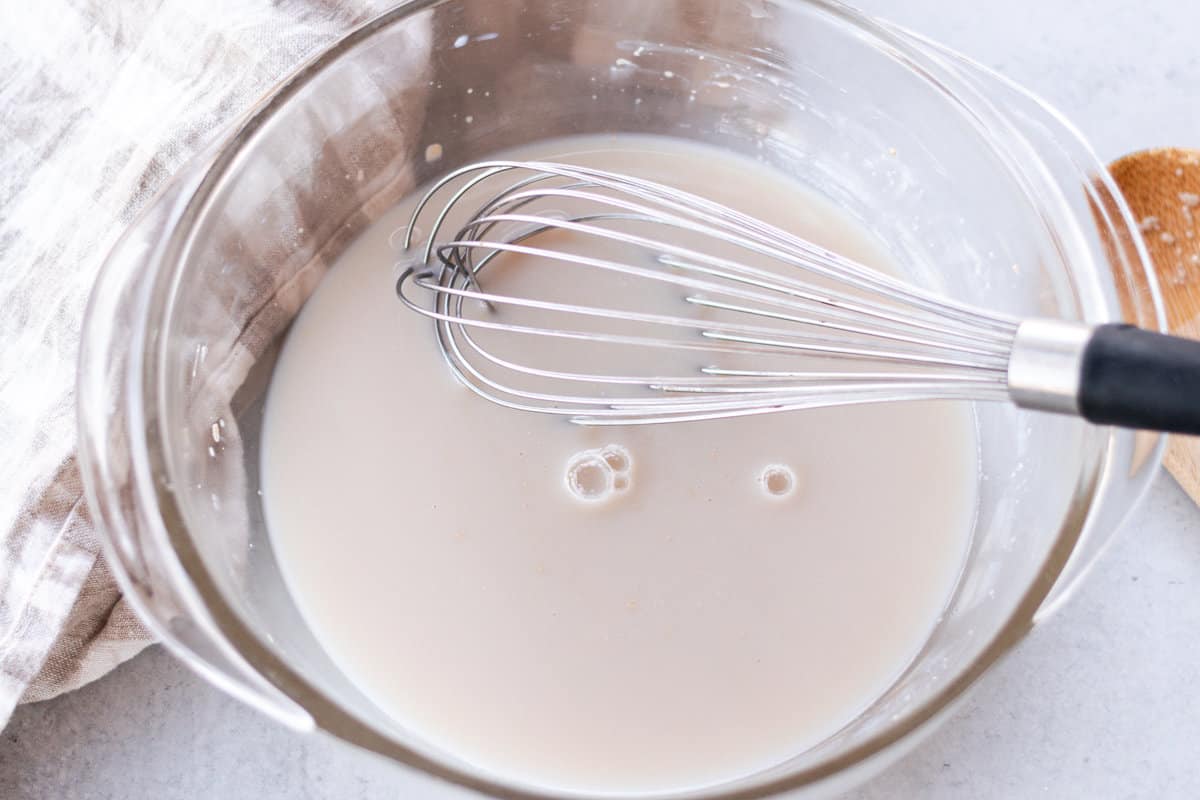
Mix water and milk together and heat to 100-110°F. Add yeast packet, whisk, and set aside.
Step 2: Prepare Dough.
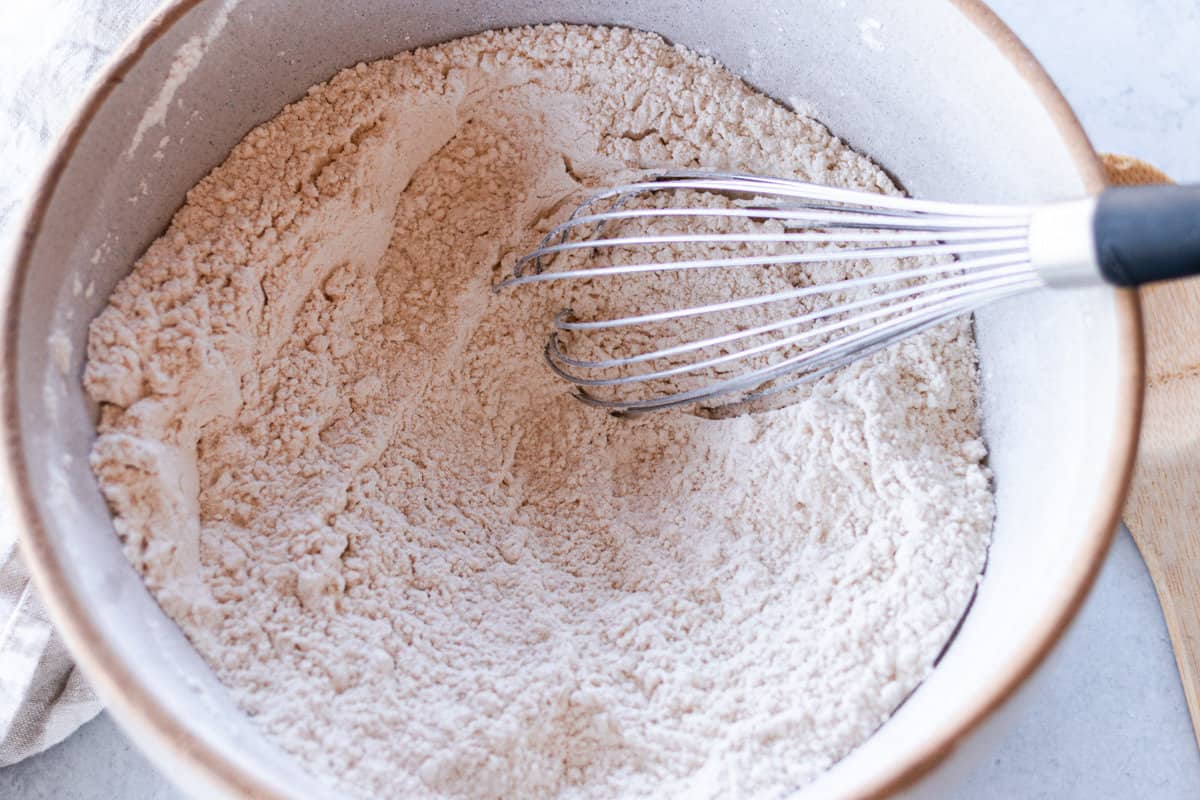
In a large mixing bowl, combine flour, sugar, and salt.
Step 3: Mix well.
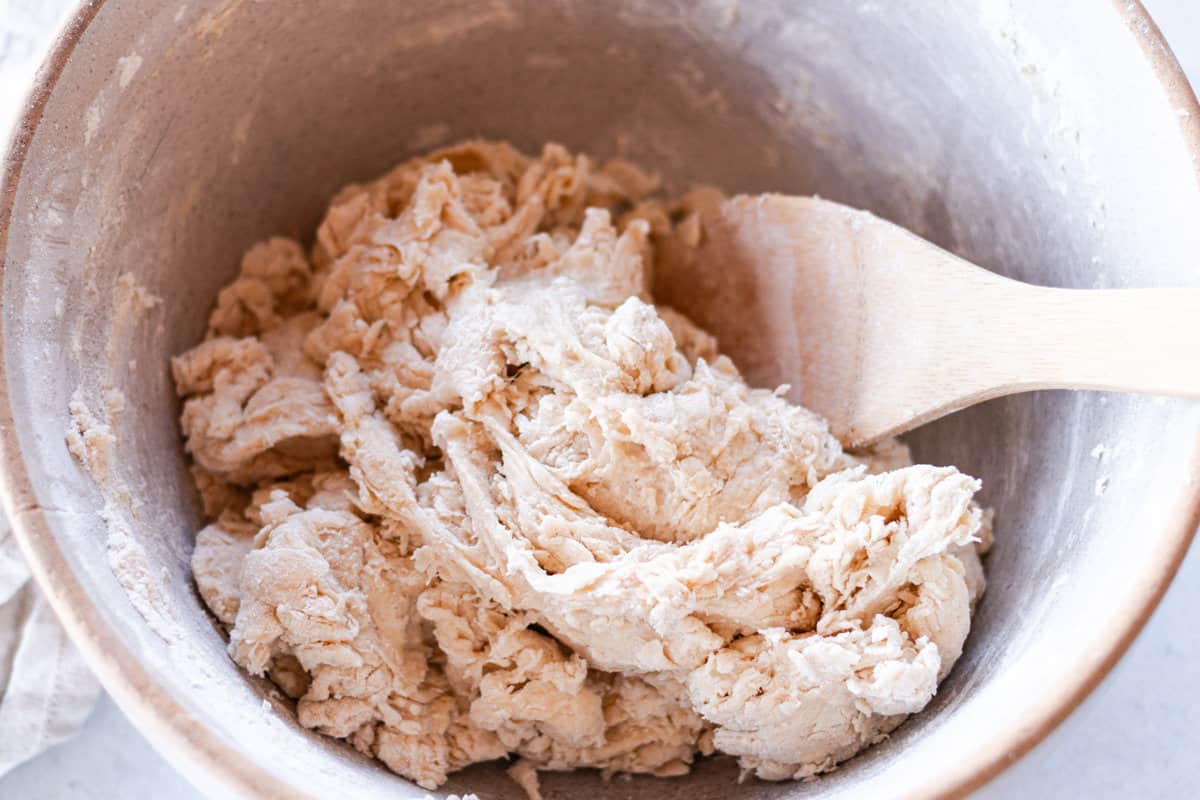
Next, add the yeast mixture and softened butter, and mix well until the dough comes together.
Step 4: Knead the Dough.
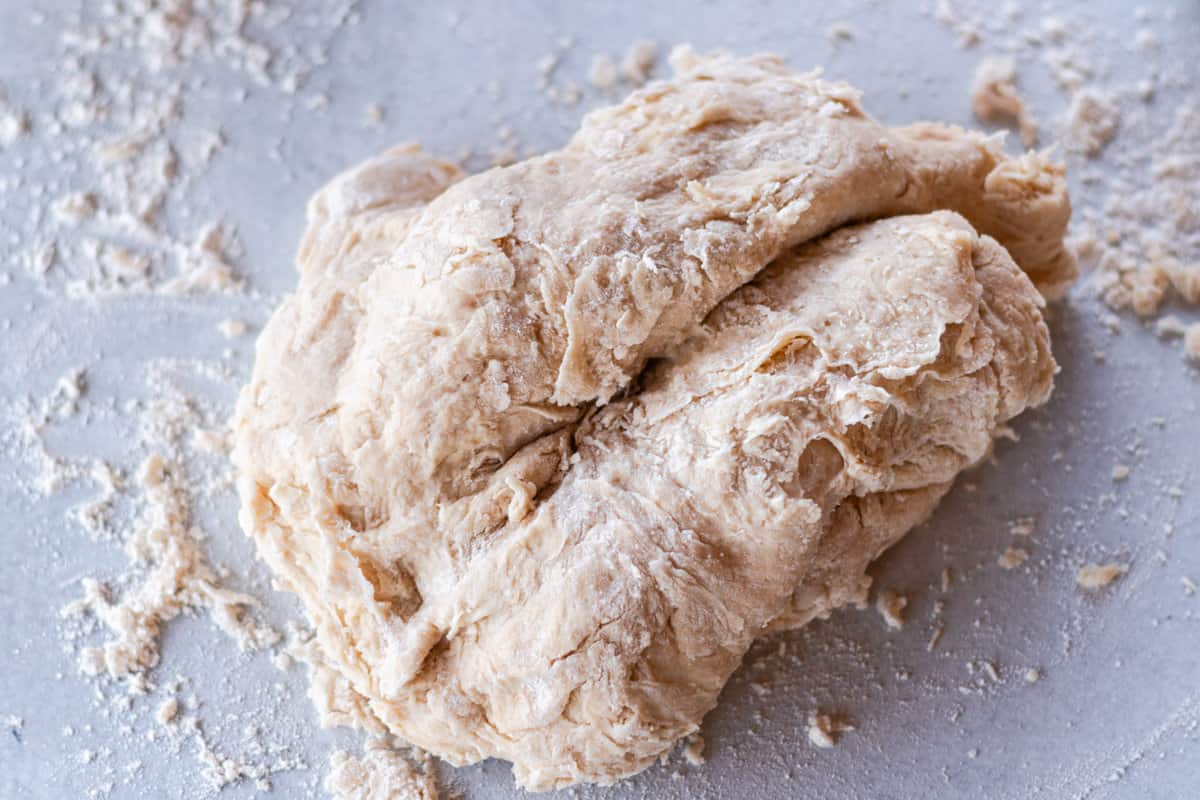
Transfer the dough to a lightly floured surface and knead for 3-5 minutes. It should be smooth and stretchable.
Step 4: Allow the dough to rise.
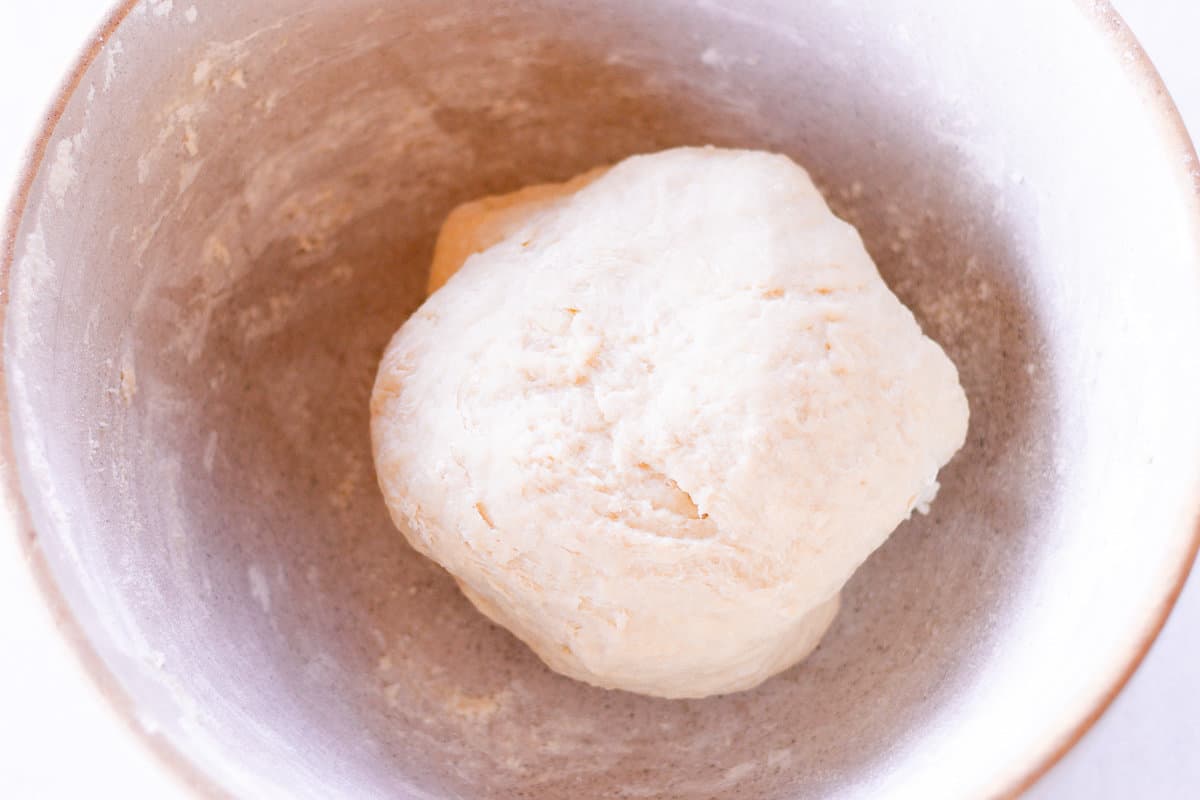
Add the dough back to the bowl, cover it, and allow it to rise for an hour in a warm area of the house. This step helps the dough achieve a light and airy texture.
Pro Tip: If it hasn’t doubled in size after an hour, heat your oven to 110°F, shut it off, and place the rising dough on the middle rack with the door slightly cracked.
Step 5: Shape the Loaf.
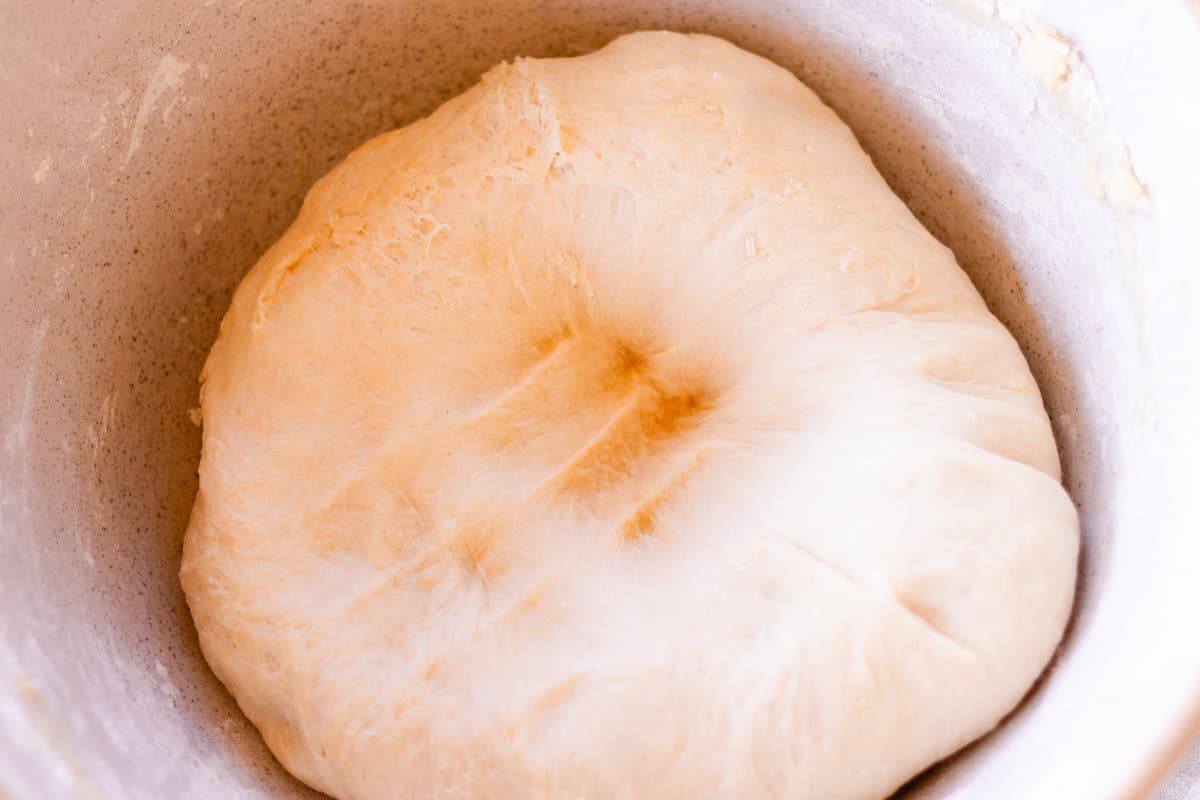
After an hour, punch the dough down and shape it into a loaf.
Step 6: Prepare for Baking.
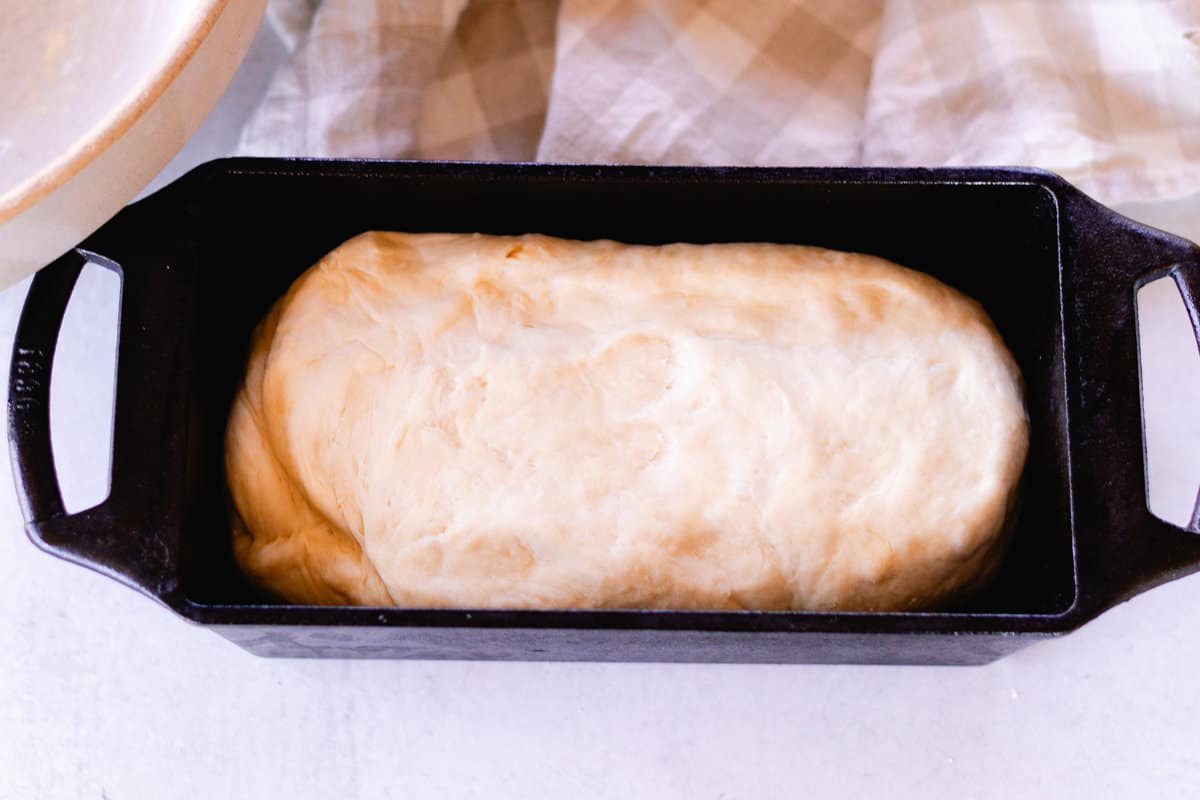
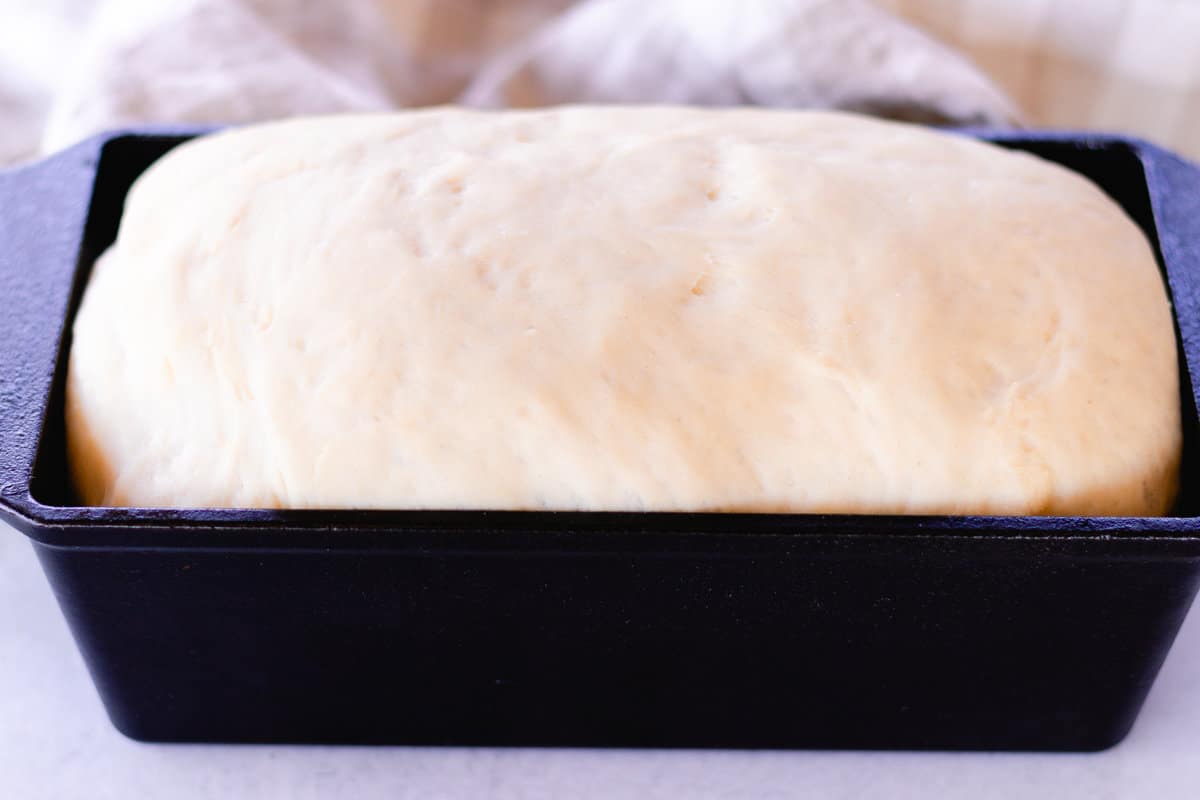
Lightly grease your cast iron loaf pan and place the shaped dough inside. Cover and allow the dough to proof for an additional 40 minutes to an hour.
Note: Keep an eye on it to prevent it from over-rising otherwise, the middle will not cook through.
Step 7: Bake.
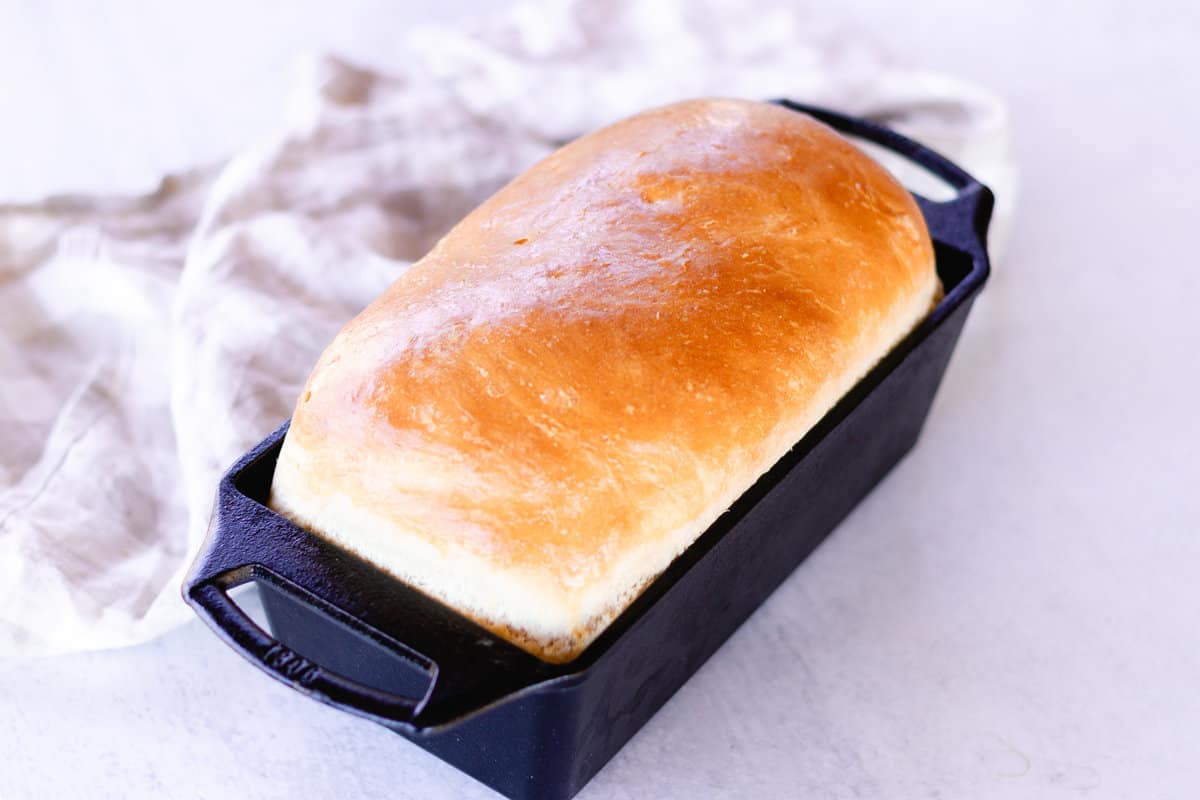
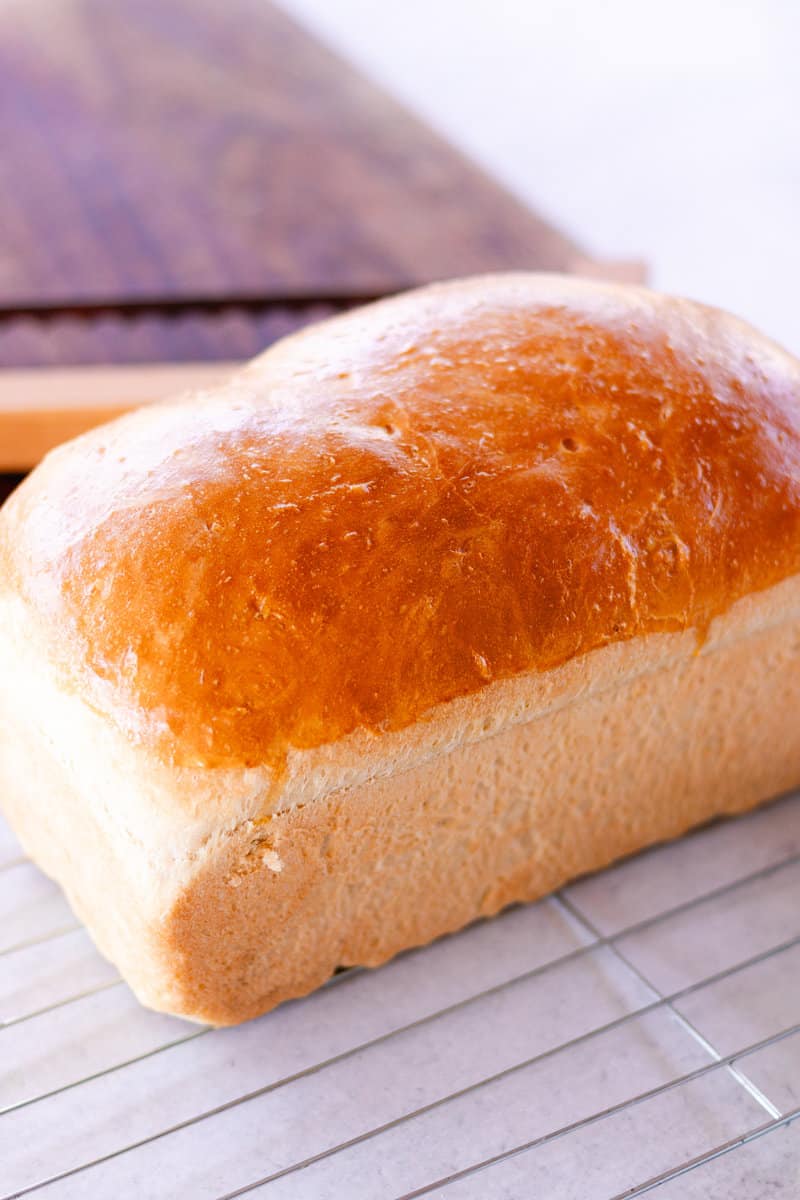
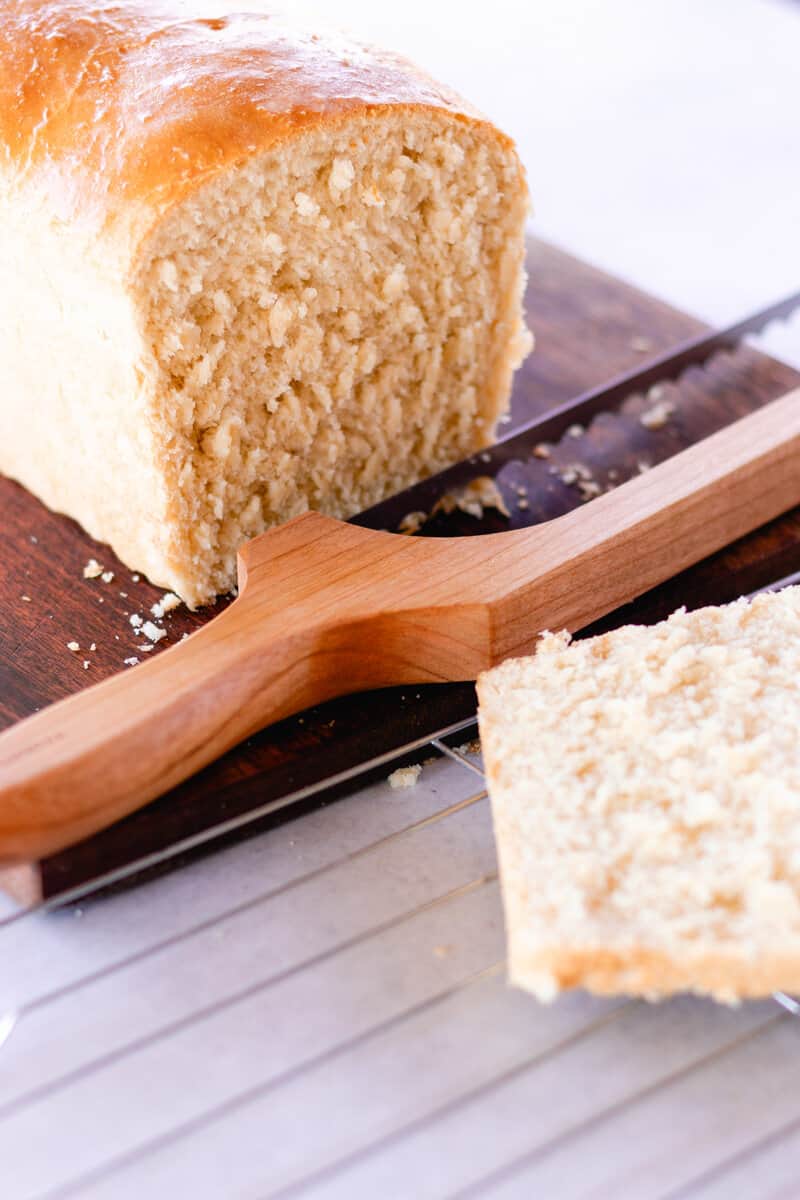
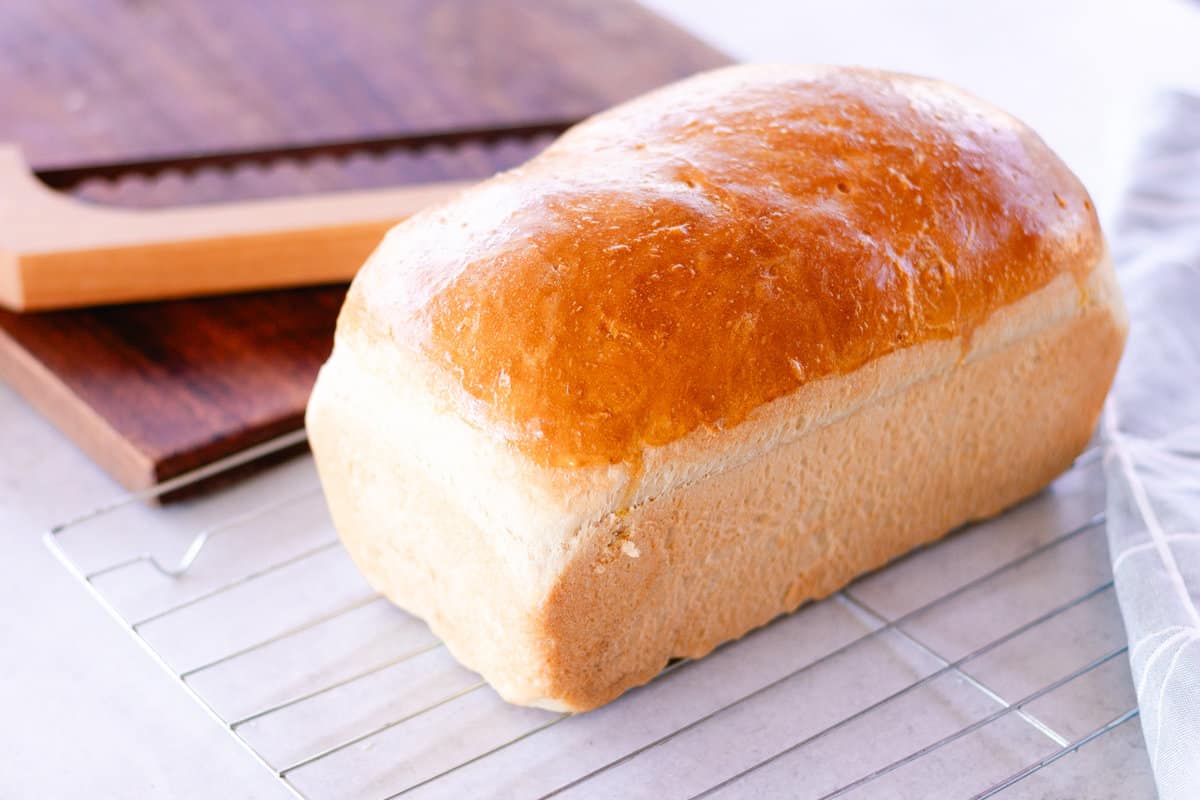
Preheat the oven to 350°F and bake the bread for 40-45 minutes. When it is done it should be golden brown, presenting a crispy crust and a soft, buttery interior.
If using an egg wash, brush it on for the last 5 minutes of baking.
Rest and Serve
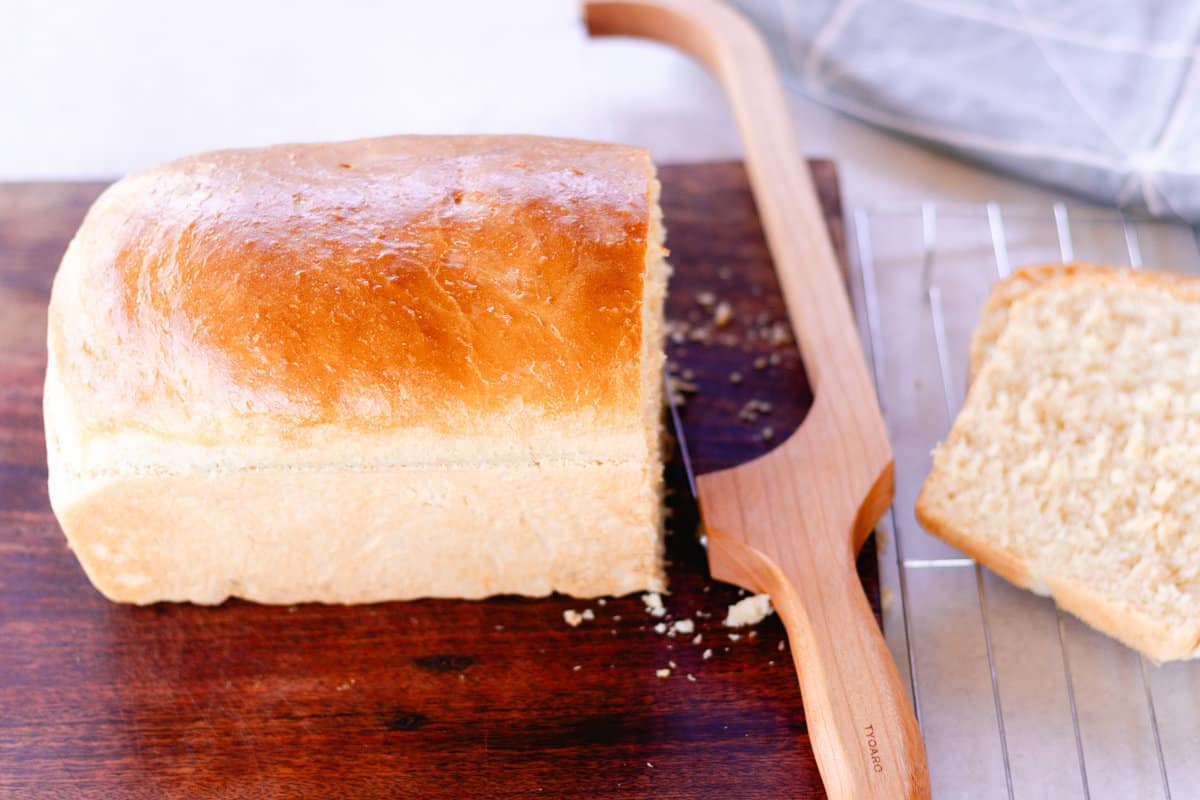
Once done, remove the cast iron loaf bread to rest on a cooling rack. Slice and enjoy!
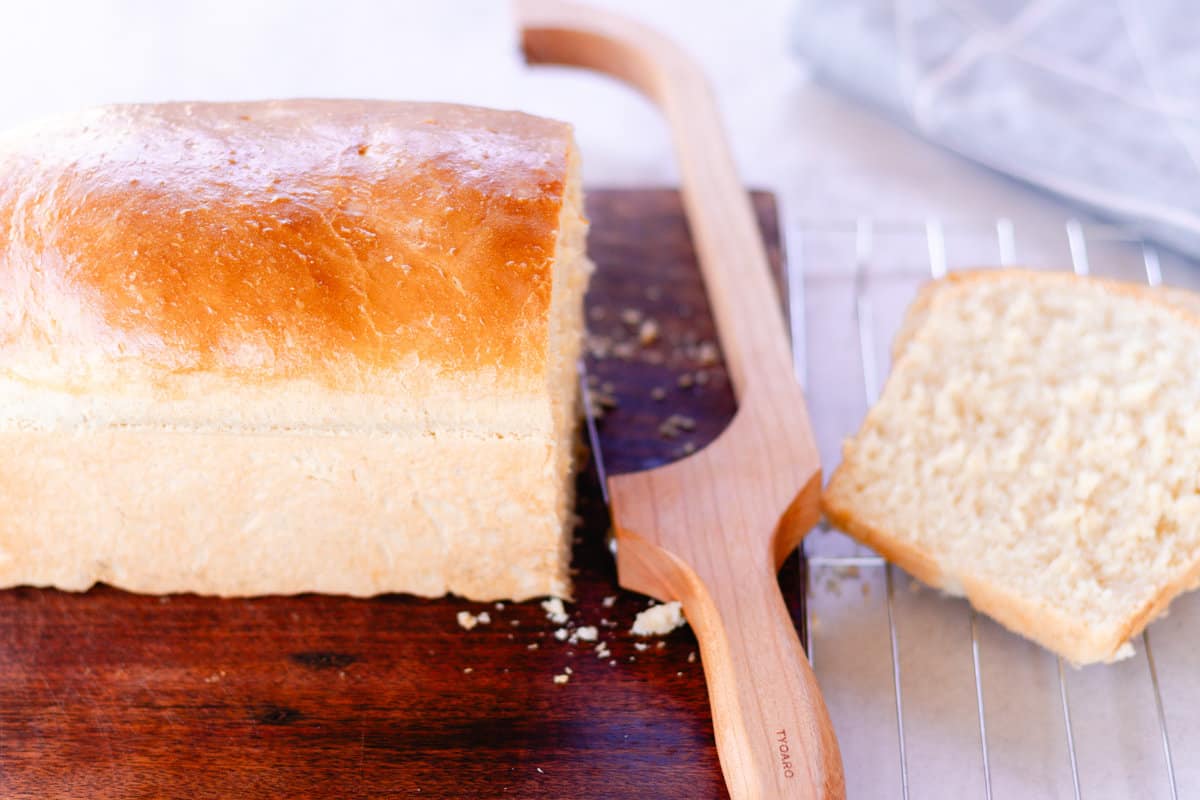
The Best Homemade Bread Loaf Recipe
I have made this recipe many times and it always turns out perfect. The secret is to use a cast iron loaf pan.
It ensures even heat distribution and helps retain heat, resulting in evenly cooked bread with a crispy exterior and a moist interior.
Another great thing about this recipe is that you can make it ahead of time and use it for lunches throughout the week.
You can turn it into French toast for breakfast or use it as garlic bread for soups and sandwiches. The possibilities are endless with this versatile bread recipe.
Frequently Asked Questions
Yes, greasing the cast iron bread pan can help prevent the bread from sticking. For oil options, you can use options you can use vegetable oil, or cooking spray.
Yes, cast iron bread loaf pans can contribute to fluffy bread due to their ability to retain and distribute heat evenly during the baking process.
No, preheating a cast iron bread loaf pan is not necessary.
Yes, though cooking times will vary slightly. for tips on cooking bread in a dutch oven, check out this dutch oven bread recipe here.
Take your bread to the next level.
Spice up your bread by trying out different variations. You can add cinnamon and sugar for a sweet twist or use herbs for a savory flavor.
To do this, simply brush the top of the loaf with melted butter and generously sprinkle the desired ingredients on top before baking.
Storing
To prevent the bread from getting stale, store it in an airtight container such as a bread box, zippered bag, or whatever else you may have.
If you want to prolong its shelf life, you can freeze it. Freeze it whole or in slices for up to 3 months. The bread stays fresher if you don’t slice it before freezing.
When you want to defrost it, you have a few options. If it’s frozen whole, you can stick it in the oven or microwave, and if it’s sliced, throw it into the toaster to defrost.
Enjoy Your Cast Iron Loaf Pan Bread!
If you want something quick and tasty, enjoy the buttery, fluffy texture that melts in your mouth. It’s a great addition to any meal or a simple snack. I love having a large slice of bread smothered with creamy butter or jam for a simple snack.
Enjoyed this post? Try more bread recipes.
- Simple French Toast Casserole
- Homemade Artisan Style Cheese Bread
- Cast Iron Chocolate Chip Banana Bread
How to Bake Bread in a Cast Iron Loaf Pan
Equipment
- cast iron loaf pan
Ingredients
- 1 cup water
- 1/4 cup whole milk
- 1 packet active dry yeast 2¼ teaspoon
- 3 1/3 cup all purpose flour leveled
- 2 tablespoon sugar
- 1½ teaspoons salt
- 4 tablespoons butter softened
- Egg wash optional
Instructions
- Mix water and milk together and heat to 100-110° F. Add yeast packet, whisk and set aside.
- In a large mixing bowl, combine flour, sugar, and salt.
- Next, add the yeast mixture and softened butter and mix well until the dough comes together.
- Transfer to a lightly floured surface and knead the dough for 3-5 minutes.
- Add the dough back to the bowl and cover to rise for an hour. (place in a warm area of the house) It should double in size.
- After an hour, punch the dough down and shape it into a loaf.
- Lightly grease your cast iron loaf pan and place in the shaped dough.
- Cover and allow it to proof an additional 40 minutes to an hour. (Note: Keep an eye on it to prevent it from over-rising otherwise, the middle will not cook through.
- Preheat oven to 350°F
- Bake the bread for 40-45 minutes. (check it after 35 minutes to see how it looks)
- If you want to use an egg wash, brush it on for the last 5 minutes of baking.
- Once it’s done, remove the cast iron loaf bread to rest on a cooling rack.
- Slice and enjoy!

Leave a Reply