This post contains affiliate links. Please read our disclosure policy.
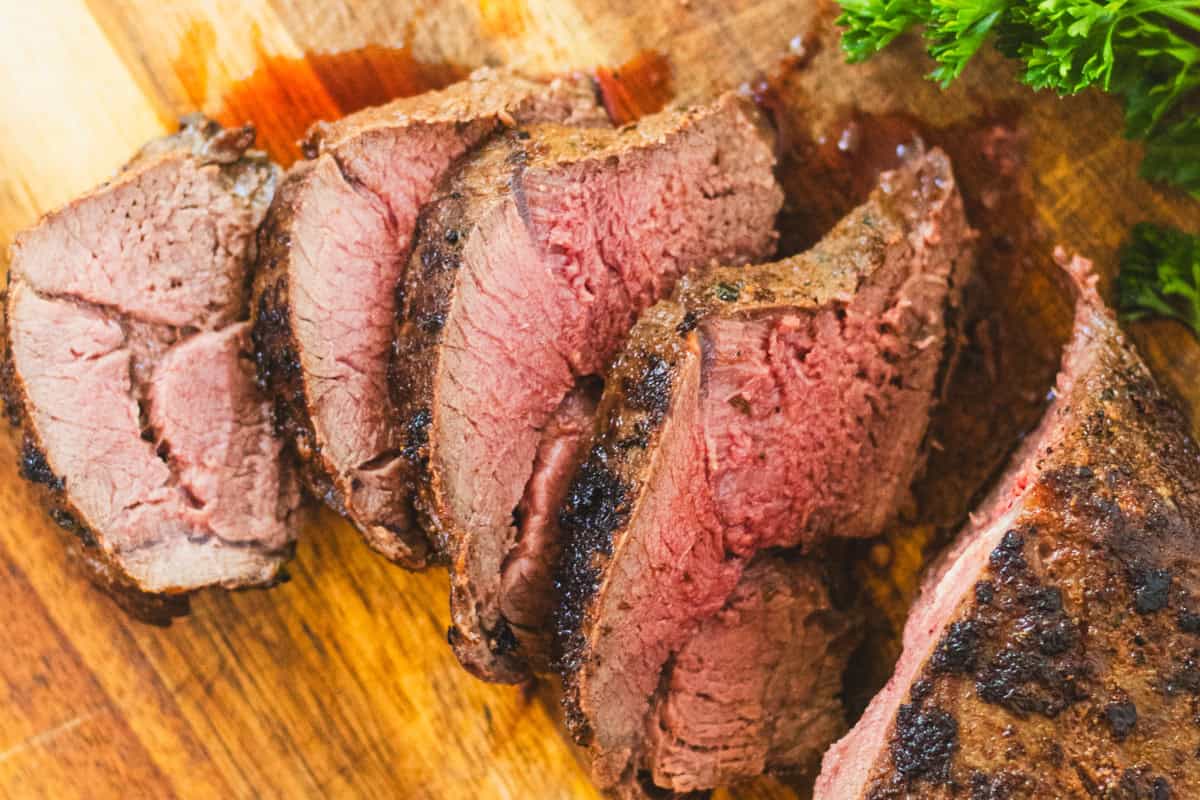
Venison backstrap is one of the best cuts of meat on a deer, and it’s easy to see why. It’s incredibly tender, full of rich flavor, and just melts in your mouth. This venison backstrap recipe, made with my favorite dry rub, takes it to the next level, bringing out all those delicious savory flavors!
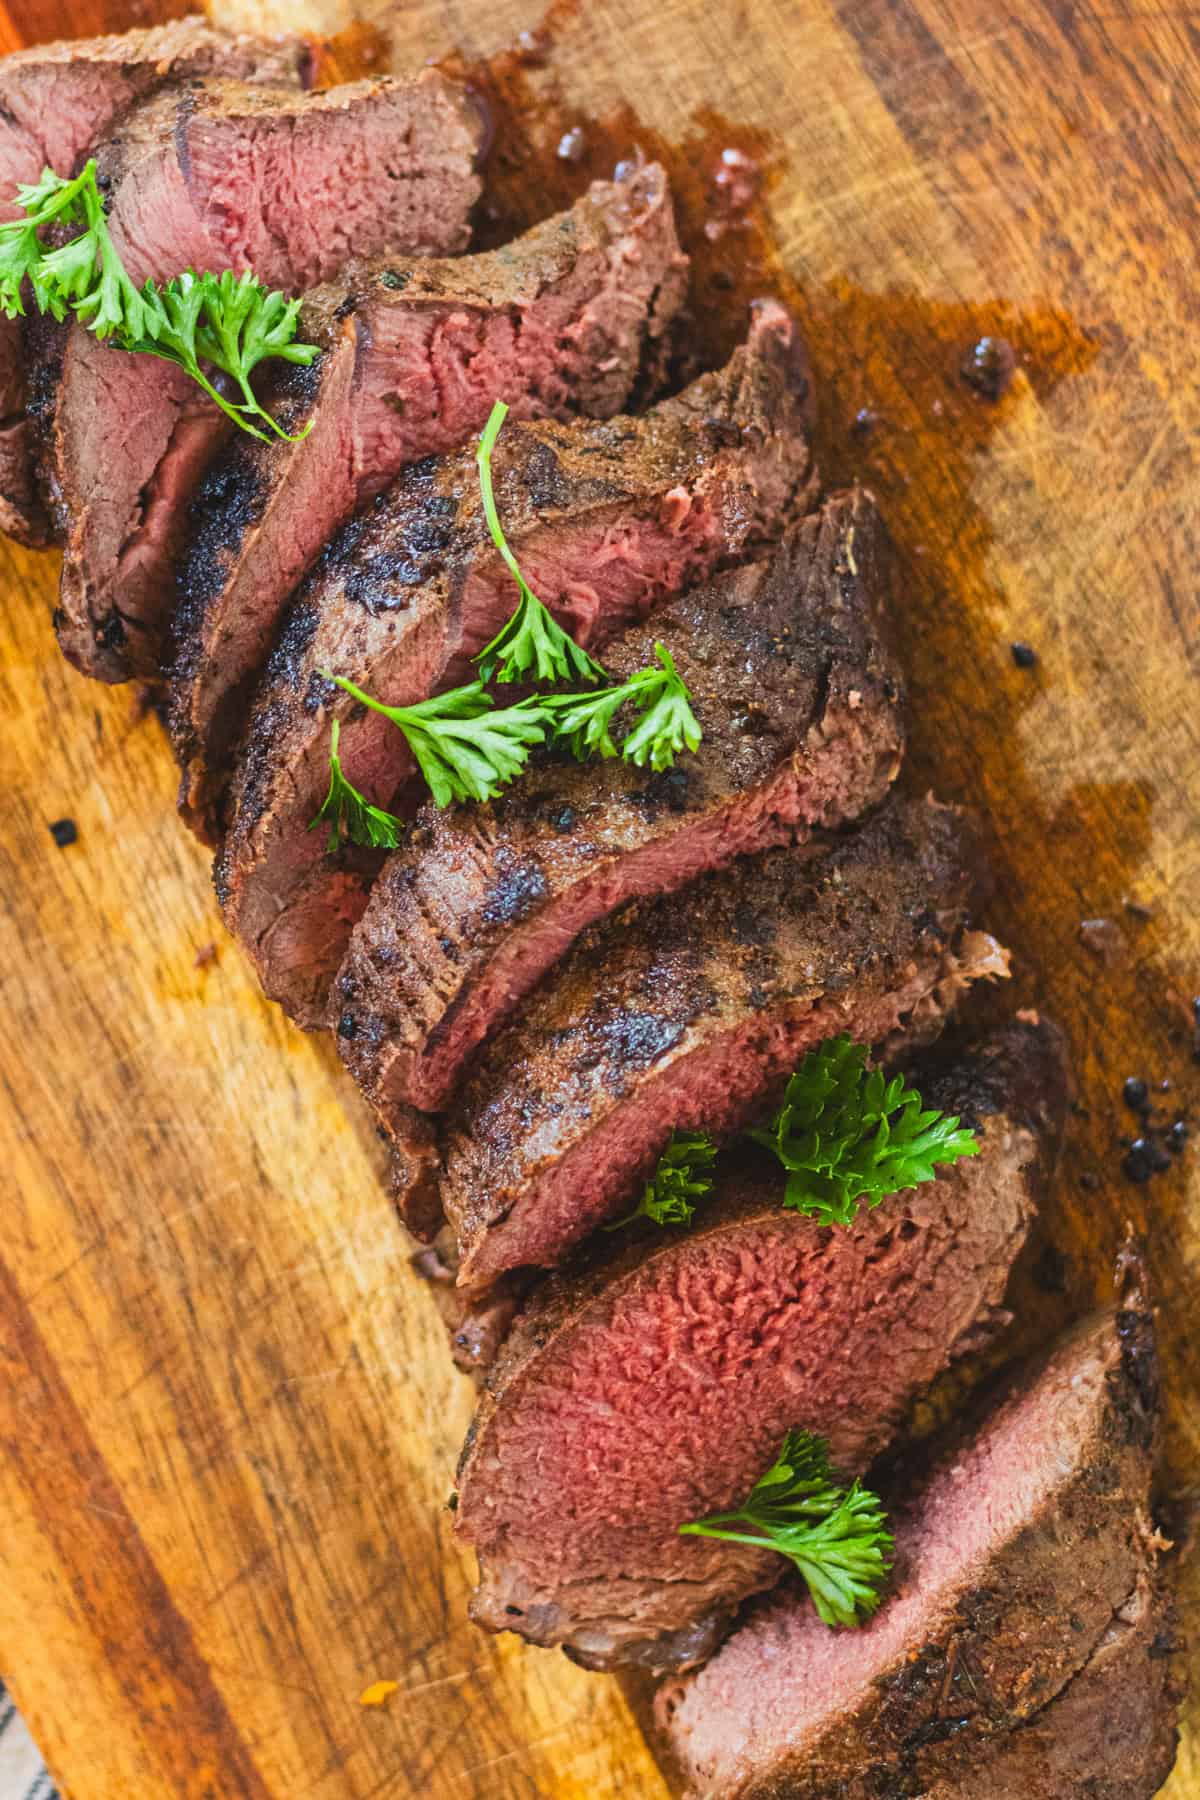
Table of Contents
Why You’ll Love This Backstrap Recipe
- Backstrap is one of the best cuts of venison, think of it like the filet mignon of deer!
- This super simple recipe results in a perfect, juicy venison backstrap every single time!
- The venison dry rub spice mix is perfectly balanced, hitting all the savory notes you need with venison.
- This recipe can be made with spices you probably already have around the house, no grocery run needed.
Recipe Ingredients

- Venison Backstrap: The backstrap I used was right at 2 pounds.
- Cooking Oil: Both olive oil and canola oil are my top choices. However, you can use whatever oil you have on hand.
- Dry Rub: For the dry rub, we are using a combination of sea salt, ground black pepper, smoked paprika, dried rosemary, garlic and onion powder, cayenne pepper, and just a touch of turmeric powder.
Note: I also have a marinade near the end of this post if you would prefer to go that route.
Venison Backstrap Recipe
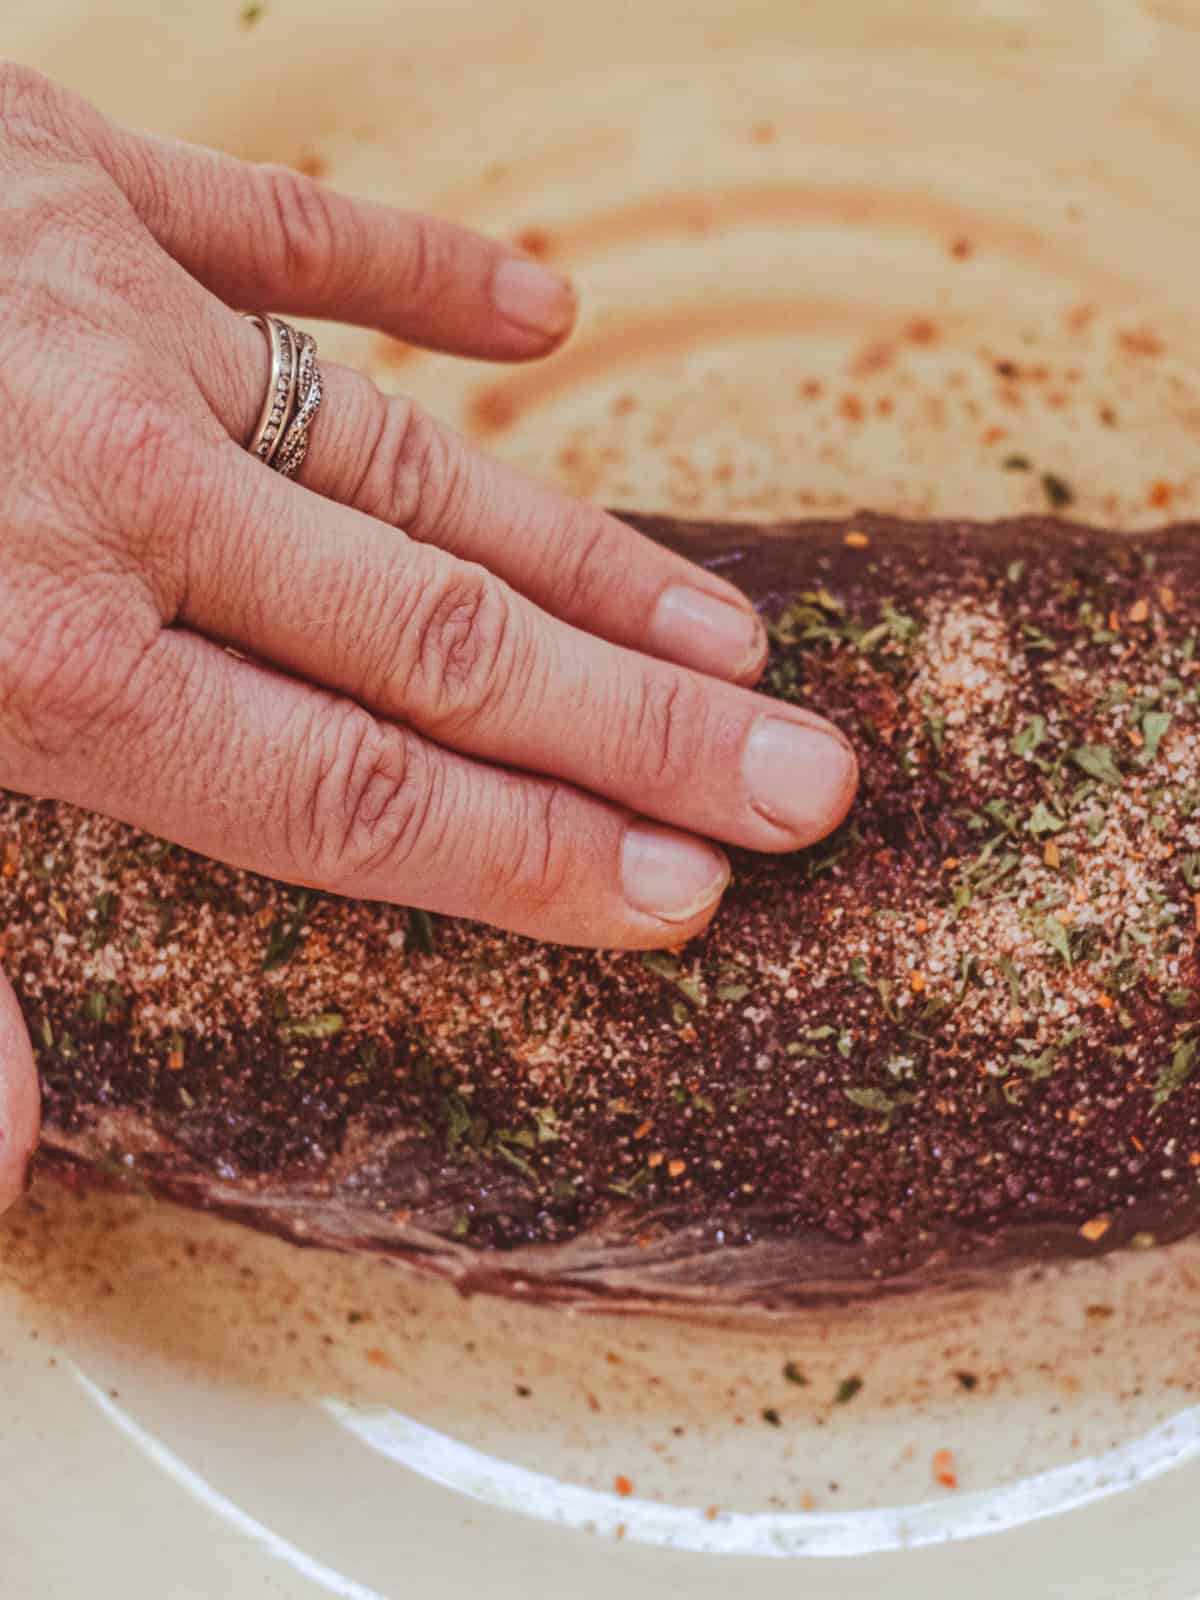
Step 1: Trim off any excess silver skin from the backstrap. Lightly coat the meat with oil, then generously season it with the dry rub, making sure to cover all sides evenly.
Step 2: Preheat the oven to 375°F. Heat one tablespoon of oil in a large cast iron skillet over medium-high heat. Once the oil is shimmering, place the backstrap in the skillet and sear each side for about one minute, being careful not to burn the meat.
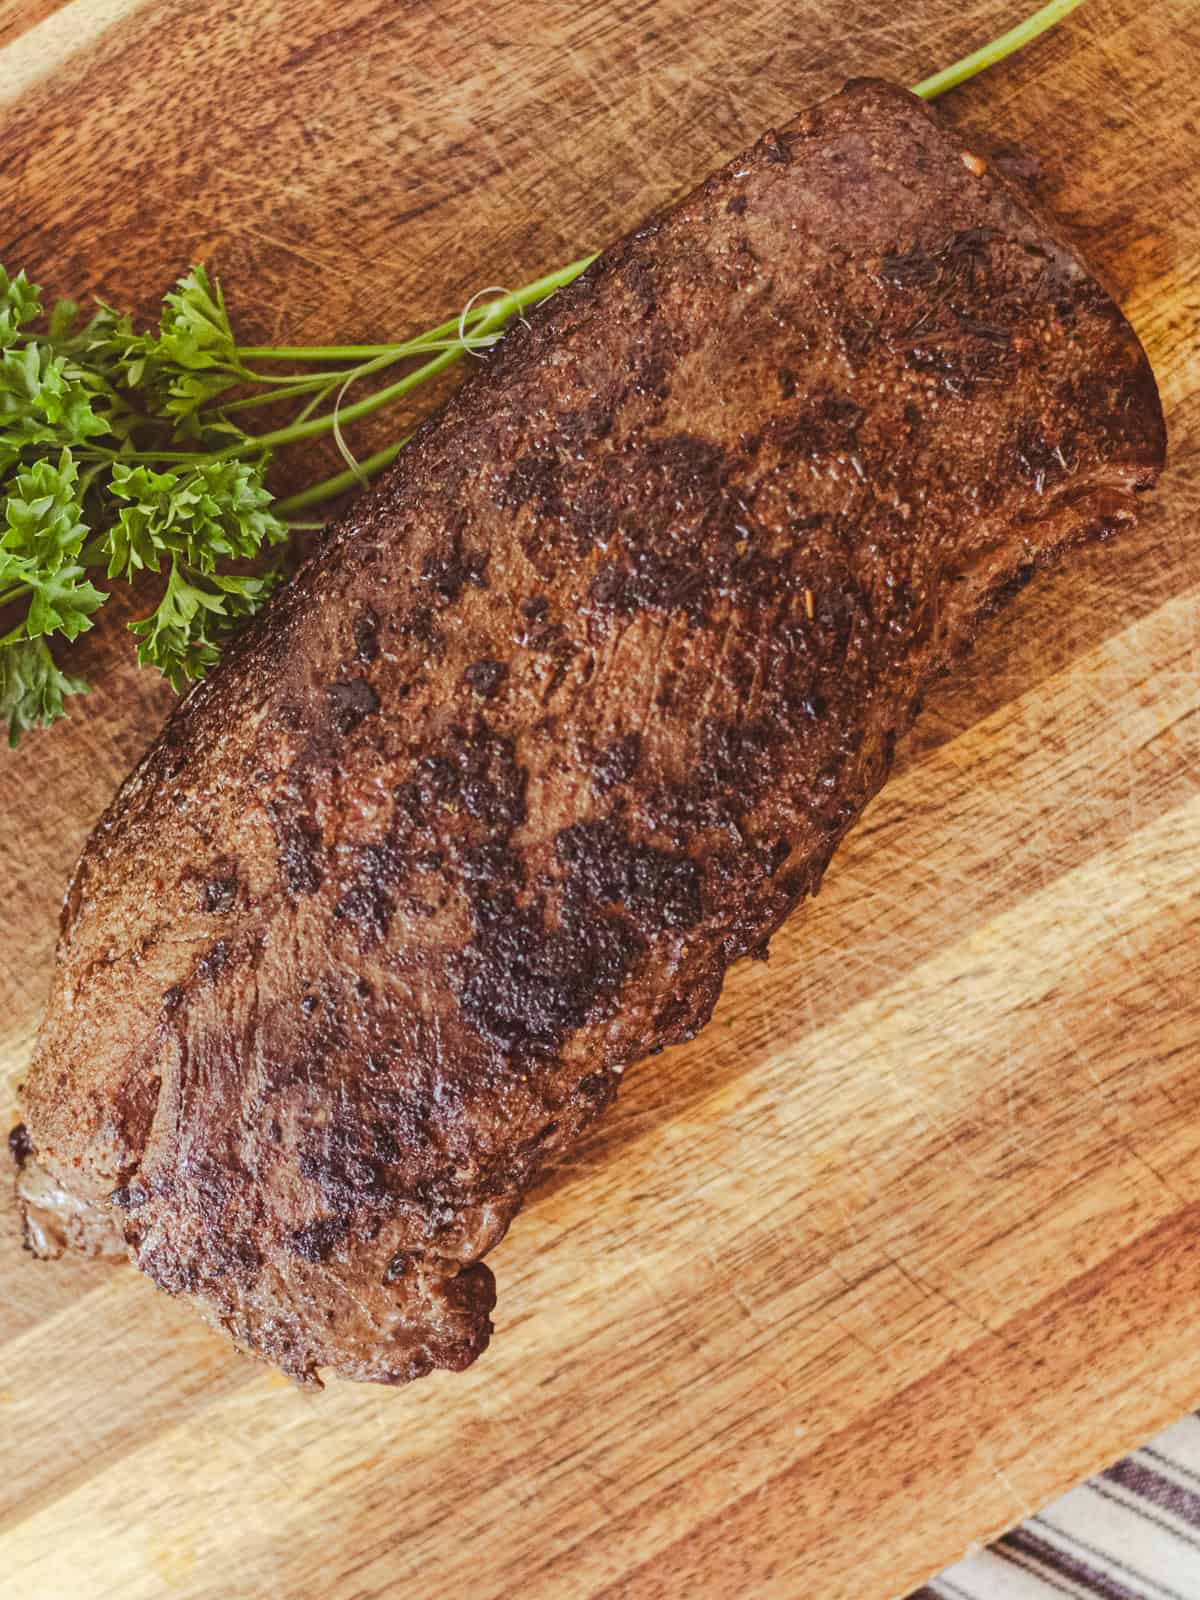
Step 3: After searing, transfer the skillet to the center rack of the oven and bake for 10-15 minutes or until the backstrap reaches your desired internal temperature. Remove from the oven and let it rest for at least 10 minutes before slicing to allow the juices to redistribute.
To check the internal temperature, you’ll need a digital thermometer. Probe the thickest part of the meat, and you are looking for a medium rare temperature of around 130°F, according to northamericanwhitetail.com.

Recipe Cooking Tips
- Use your favorite premade rub if you don’t want to make your own dry rub. Chef James dry rubs are some of my favorite blends, including their five pepper blend that brings the perfect amount of heat.
- The key to cooking wild game such as venison is not overcooking it. Venison is extremely lean meat and can quickly dry out or get tough if overcooked. The same goes for moose and elk steaks.
- A digital thermometer is your friend. Trust me, if you don’t have one, get one. You don’t want to go cutting into the backstrap to check if it’s done. I’ll probe it multiple times while on the stove and while the backstrap is in the oven baking.
- Stuff the backstrap for a unique variation! You can check out this stuffed backstrap recipe here for a recipe you won’t forget. Or try this elegant venison wellington!
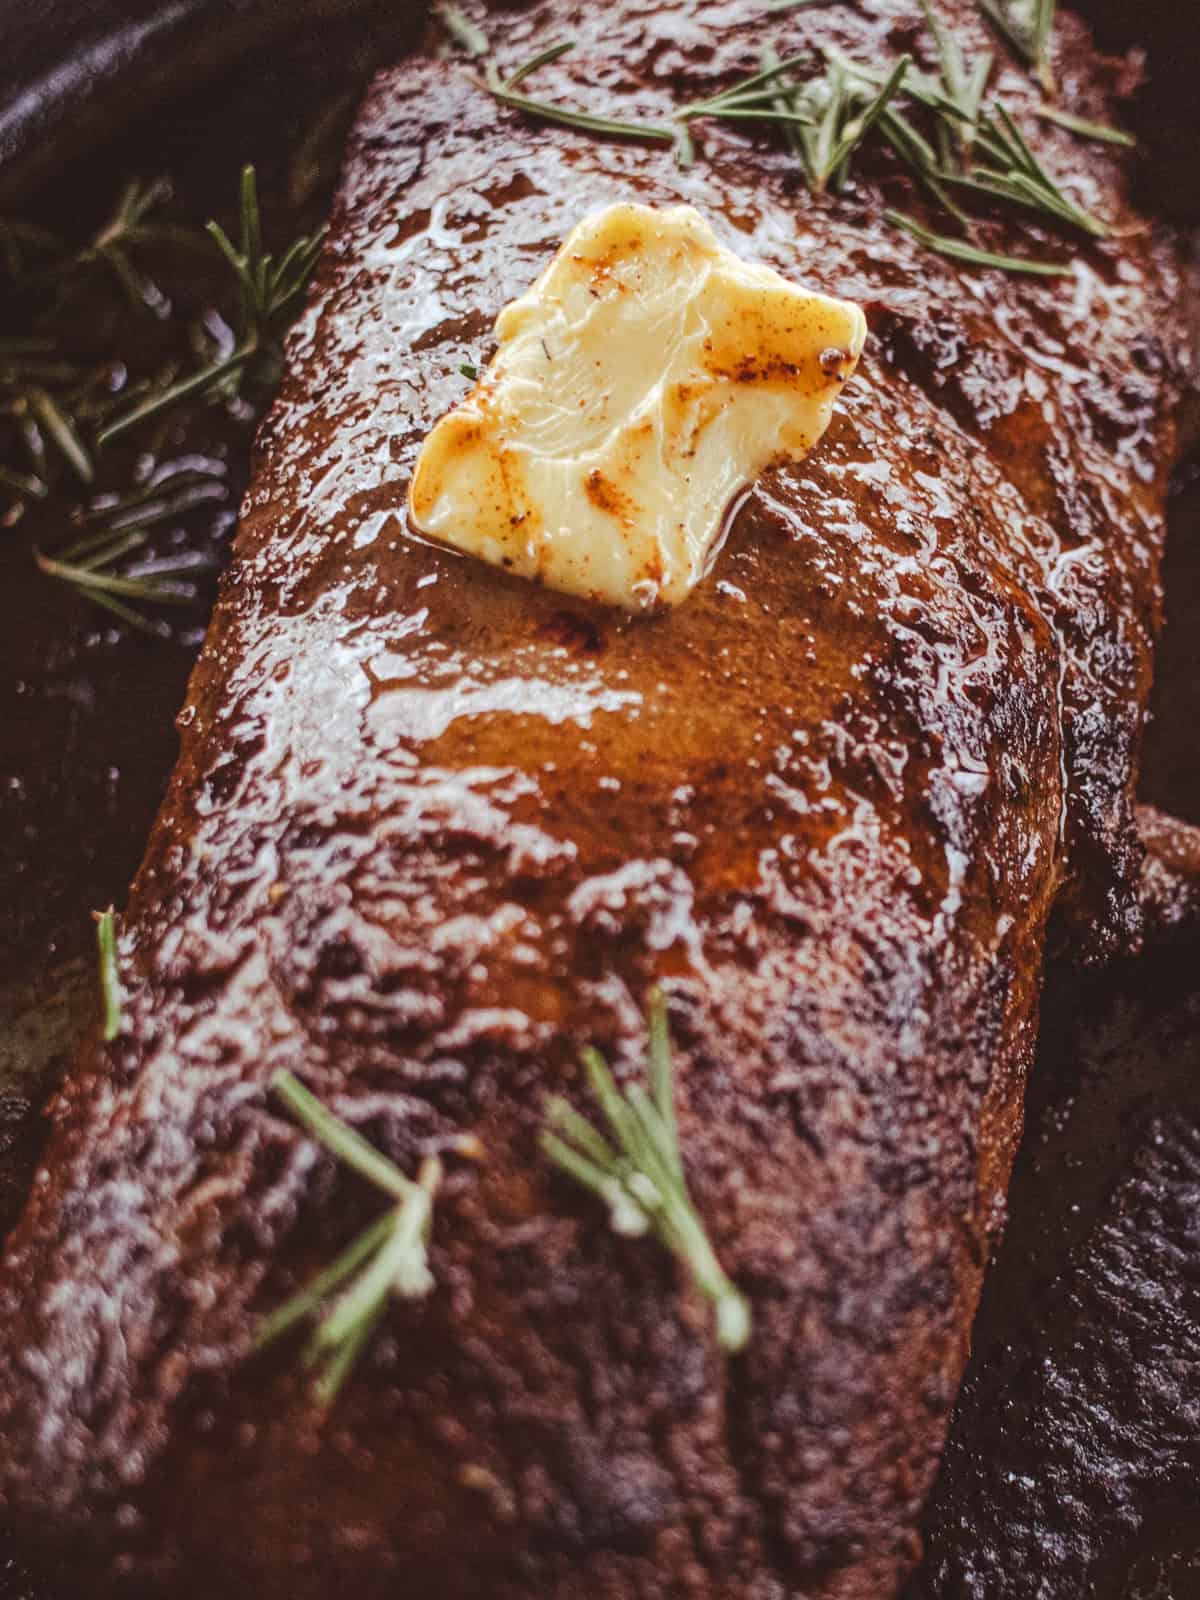
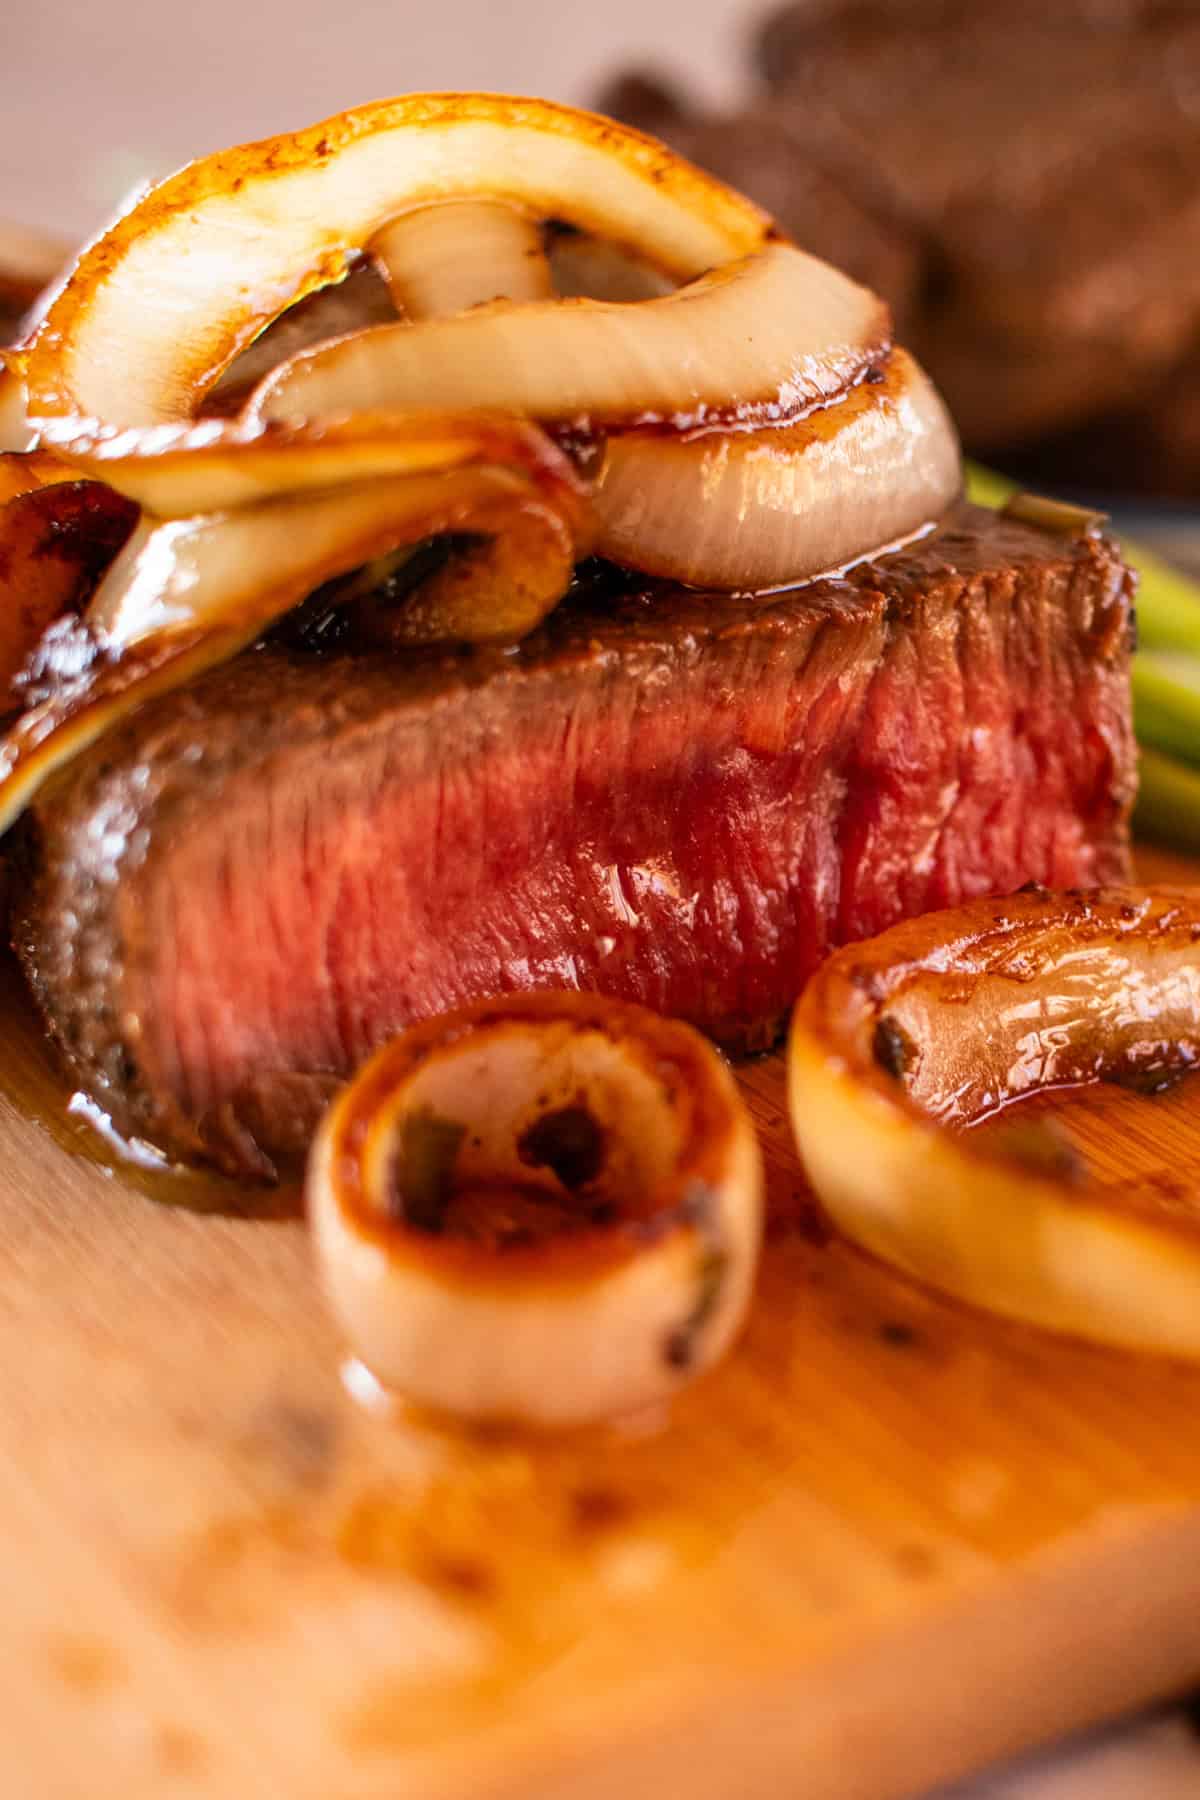
- If you’d like, you can baste it with butter and rosemary for extra flavor, but this step is optional!
Venison Backstrap Marinade
Maybe you don’t like dry rubs, or you’re just trying to get rid of some of that gamey taste. Either way, here is a pretty simple marinade to try!
For the marinade, add 1/4 cup of soy sauce, 1 tablespoon of apple cider vinegar, and 1 teaspoon of Worcestershire sauce to a gallon freezer bag.

Place the backstrap in the bag and let it marinate for at least an hour or overnight.
Check out my Venison Steak Marinade recipe, or my marinated venison backstrap for some other delicious options!
Recipe FAQs
When preparing venison backstrap, some of the most commonly asked questions are how long to marinate, what temperature to bake at, and how long to cook for.
With these simple tips, you can learn how to cook the perfect venison backstrap every time.
The backstrap is the meat that runs along either side of the spine and should not be confused with the venison tenderloin, which runs parallel to the backstrap on the underside of the spine.
Generally, it is recommended to marinade for at least 8 hours in a flavorful liquid such as apple cider vinegar or other acidic marinades.
Allow the backstrap to rest after baking before slicing so that the juices can settle back into the meat.
For baking temperatures, I’ve had the best luck between 375° and 400°F, and baking times can vary depending on size; between 10 and 20 minutes should be sufficient.
Properly packaged uncooked venison should easily last for an entire year in the freezer. Never refreeze thawed meat.
Store leftover venison in an airtight container for up to 4 days in the refrigerator. Warm in a small skillet until heated through.
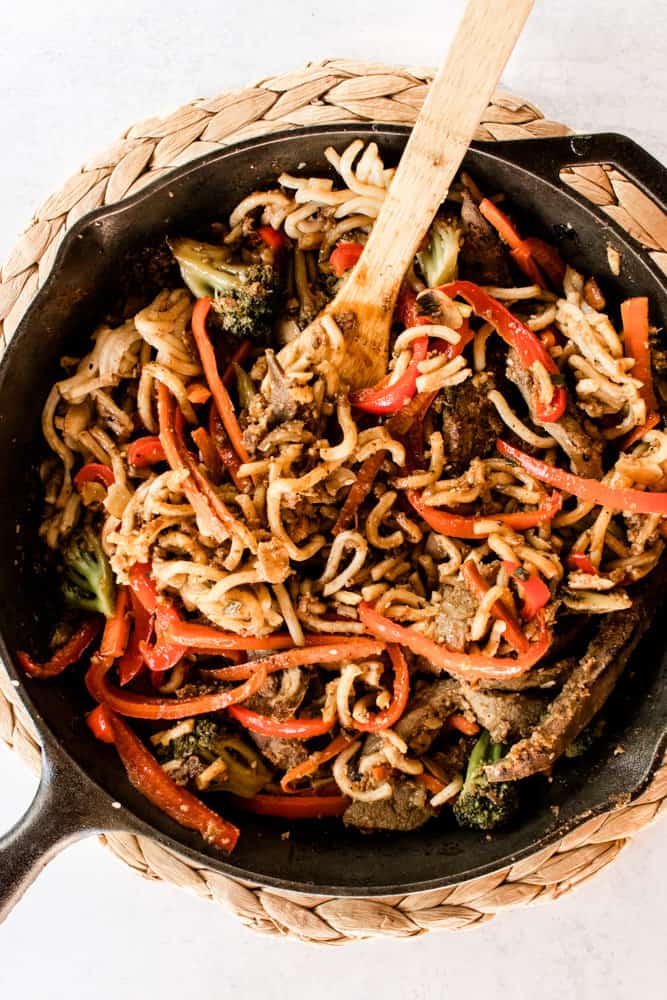
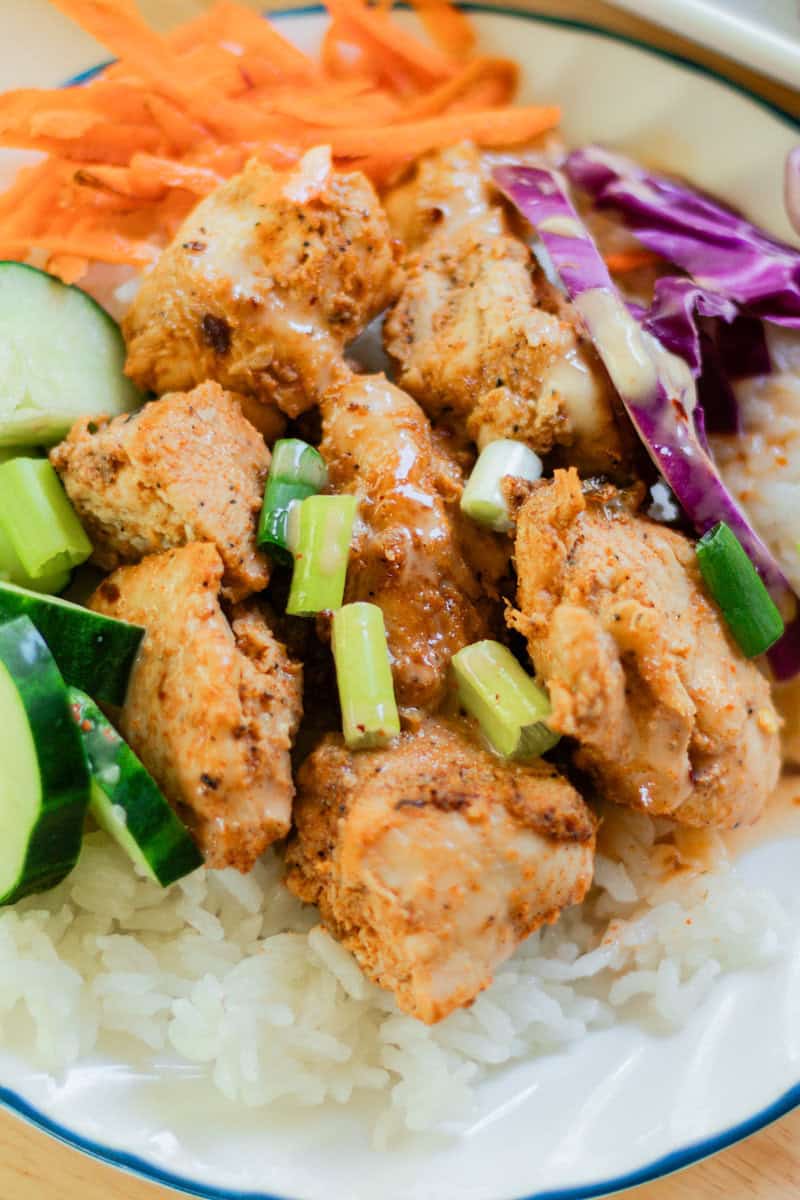
My go-to side for backstrap is rice pilaf, but there are plenty of great options. Check out my favorite side dishes for venison for more ideas!
Venison Backstrap Temperature Cooking Chart
All meats (including ground meat), such as venison meatloaf and elk burgers, must be cooked to a proper temperature in order to destroy harmful bacteria or parasites.
- Rare 125°
- Medium-rare 130°
- Medium 135°
- Medium well 140-145°
- Well done 150-155°
Just note that the meat will continue to cook even after being removed from the oven. I like to pull it out of the oven at about 130° as it will usually warm up 5-10 degrees more internally after resting.

I hope you enjoyed this recipe! While I love cooking these venison loins, I do have plenty of venison recipes that call for the not-so-tender cuts of meat. You can check out this venison stew, my Dutch oven venison roast, or my favorite venison burger recipe for ideas.

More Dinner Favorites
- Venison Medallions or Elk Tenderloin
- Cast Iron Ribeye Steak
- Slow Cooked Round Steaks
- Pan-Seared Beef Heart Recipe
- Smothered Round Steaks
- Restaurant Style Fajitas Texanas
If you tried this Dry Rub Venison Backstrap or any other recipe on my website, I would love for you to come back and leave a star rating and let me know how it went in the comments below. Thanks for visiting!

Venison Backstrap Recipe
Ingredients
- 1 venison backstrap approx 2 lbs
- 3 tbsp canola oil
- 1 ½ tsp sea salt
- ½ tsp ground black pepper
- ½ tsp smoked paprika
- ½ tsp dried rosemary
- ½ tsp garlic powder
- ½ tsp onion powder
- ¼ tsp cayenne pepper if you like it a little spicy
- ⅛ tsp ground turmeric
Instructions
- Trim away any excess silver skin missed during processing. It by no means needs to be perfect, but any thick pieces will not cook away and tend to be tough and chewy.
- Combine all the ingredients for the dry rub in a small bowl. Gently drizzle the oil over the top of the backstrap and coat the meat generously in the dry rub.
- Preheat oven to 375°F and heat up a large cast iron skillet with a splash of oil on the stove. Once hot, add the prepared backstrap to the center of the skillet and sear each side for about a minute, being careful not to char the meat. I basted in butter and rosemary, but that's optional!
- Once seared, transfer the skillet to the center oven rack and bake for 10-15 minutes or until the desired internal temperature has been reached. Let it rest for at least 10 minutes before carving or serving so the juices are reabsorbed into the meat.
Notes
- If you prefer to marinate your backstrap, check out the instructions in the post. I have also had a lot of readers use my venison steak marinade as an alternative.
- Use your favorite premade rub if you don’t want to make your own dry rub. Chef James dry rubs are some of my favorite blends, including their five pepper blend that brings the perfect amount of heat.
- The key to cooking wild game such as venison is not overcooking it. Venison is extremely lean meat and can quickly dry out or get tough if overcooked. The same goes for moose and elk steaks.
- Trust me, if you don’t have a digital thermometer, get one. You don’t want to go cutting into the backstrap to check if it’s done. I’ll probe it multiple times while on the stove and while the backstrap is in the oven baking.
- Store any leftovers in an airtight container for up to 4 days.


This was my first time cooking a backstrap, so I was nervous. I decided to try out this recipe, and it turned out great! I used half a stick of butter and some minced garlic in the pan to baste it in. It’s so worth it to use some butter. For our leftovers, we were able to pour the leftover butter in the pan onto the meat, so I think it won’t dry out as fast.
Great recipe! Try it!
That sounds amazing! Thanks for sharing! I am so happy to hear you loved it!
This is even better than I imagined!
Thank you so much! I am so glad to hear it turned out so well for you!
This was sooo good! My new favorite backstrap recipe!
That makes me so happy to hear! Thank you so much!
We just harvested a buck last night and can’t wait to make this recipe again! Its our go-to backstrap recipe for years!
That makes me so happy to hear! I am glad this is you go to backstrap recipe!
Looks delicious!
I am so glad to hear, thanks!
This is a very good recipe. I make it every year!
Wonderful! Thank you so much for the kind review!
I wonder, could I use this for a moose tenderloin?
Yes, it would work perfectly! From what I can remember, which I haven’t had moose tenderloin in a year or two, is they are pretty similar in size. (the moose tenderloin and the deer backstrap) Just keep an eye on the internal temp and pull it out when its ready.
Oh my, I was in love with this when I smelled it before cutting. Absolutely AMAZING!
Aw, thank you! I’m so glad you loved it!
there is not a better venison backstrap recipe out there!
I agree! I am glad to hear you think so!
This was so good last year! I used this exact recipe for both backstraps! I am so happy I was able to find it again in anticipation of this years harvest! Thanks so much
That makes me so happy to hear! I’m glad you were able to find it again, and I love that it worked so well for both backstraps last year. Wishing you another delicious harvest this season!
This recipe looks fantastic! Can’t wait to try it out—thanks for sharing!
Thank you! Let me know how it turns out!
This recipe sounds amazing! I love how simple it is to use just a cast iron skillet. Can’t wait to try it out on my next hunting trip. Thanks for sharing!
You are so welcome!
This venison backstrap recipe looks amazing! I love how simple and straightforward it is, plus cooking it in a cast iron skillet adds such great flavor. Can’t wait to try this out during hunting season. Thanks for sharing!
Thank you! I’m so glad you liked the look of it—cast iron really does make all the difference. Hope it’s a hit during hunting season! Let me know how it turns out!
This recipe looks amazing! I love how simple it is to prepare the venison backstrap in a cast iron skillet. Can’t wait to try it out this weekend—thanks for sharing your tips and techniques!
I had one backstrap left. Decided on this recipe and couldn’t be happier!
I am so glad to hear you loved it!
This recipe sounds amazing! I’ve been looking for new ways to prepare venison, and cooking it in a cast iron skillet seems like a perfect method. I can’t wait to try this out! Thanks for sharing!
This is unbelievably delicious and tender! We made 2 last night and followed every step to a T.
This was so tender we all loved it! Cooking time was spot on too, thanks!
I have made this recipe so many times and it always turns out great!! Highly recommend!
This recipe looks amazing! I’ve been looking for ways to cook venison, and the seasoned rub sounds like it will really enhance the flavor. Can’t wait to try it in my cast iron skillet! Thanks for sharing!
It was very tender and delicious
I am so glad to hear! Thanks!
Going to try Montreal steak seasoning.
Yes, that was fabulous.
Made this tonight and my husband and sons LOOOOVVVED IT! Perfect seasoning , perfect sear and so quick in the oven! This will be the go to every time! Thank you
Made this tonight. It was delicious! Might cut back on the salt and the cayenne just a little.
Found a frozen venison backstrap in my dad’s freezer. I generally do dry rub beef steaks so followed this method with my own rub. 1 minute per side in the skillet and 11 minutes in the oven for perfect medium rare. Mouthwatering!
I was a little nervous trying this one but it turned out absolutely perfect! Just make sure you don’t over cook it, internal temp of 130 is when I take it out. This will be my go to recipe from now on. Thank you!
Followed the dry rub recipe and very happy with the result. Let the meat to come to room temperature before searing to a dark brown. Took about three minutes per side. Reserved 1 T of the oil from the skillet and used to make gravy. Cooked for 13 minutes in the oven and allowed the meat to rest as per the recipe. So juicy and flavorful. Ends were medium and center was rare. Perfect combo for us.
How did you make your gravy?
Love to try this
Can you do the dry rub and marinade for the tenderloin?……..Meaning put the tenderloin in marinade overnight or at least 8-12 hrs. and then do the dry run before cooking. Also, is it best to let tenderloin come to room temperature as you do beef tenderloin before searing?
Delicious! Made some mods to the rub but regardless, only left in oven for 5 minutes and the strap was medium tender and juicy!!
So glad to hear! The bake time is largely affected by the size and thickness of the strap. I’m happy it turned out well for you!
Used this method tonight for an elk backstrap and it was fabulous! Of course it took longer to cook but it was just perfect.
You could reduce your cooking time. Venison is actually good medium, medium-rare since it has little to no fat marbling. Glad to know the method posted causes too much drying. Have a great holiday!
I thought it was absolutely fabulous!!!
Is it ok to dry rub and refrigerate overnight? I have done this with beef, but realize venison is a bit dryer. Thank you!
I to have done this with beef, but not with venison. I don’t see why it would not be ok though. If you try it, let me know how it turns out.
I only let it sit for an hour with your dry rub concoction and holy smokes was it outstanding! I seared it in oil & a bit of sweet cream butter. Opted for a roasting pan with rack over the cast iron. Took the pan drippings and drizzled them over the loin pre-oven; covered the bottom of the pan with water to lock in moisture – covered with foil, 15 minutes in a convection oven. It’s too cold where I am to grill but we weren’t disappointed AT ALL! Thank you! Happy Holidays:)
I made 2 pieces of red deer, one with the dry rub and one with the marinade.
Both came out fantastic for me, we really enjoyed the rosemary flavor in the dry rub!
I did let both pieces rest covered for about 15 minutes before slicing
So happy to hear you enjoyed it!
I agree! And once it warms back up, I’ll be rocking the grill as well.