


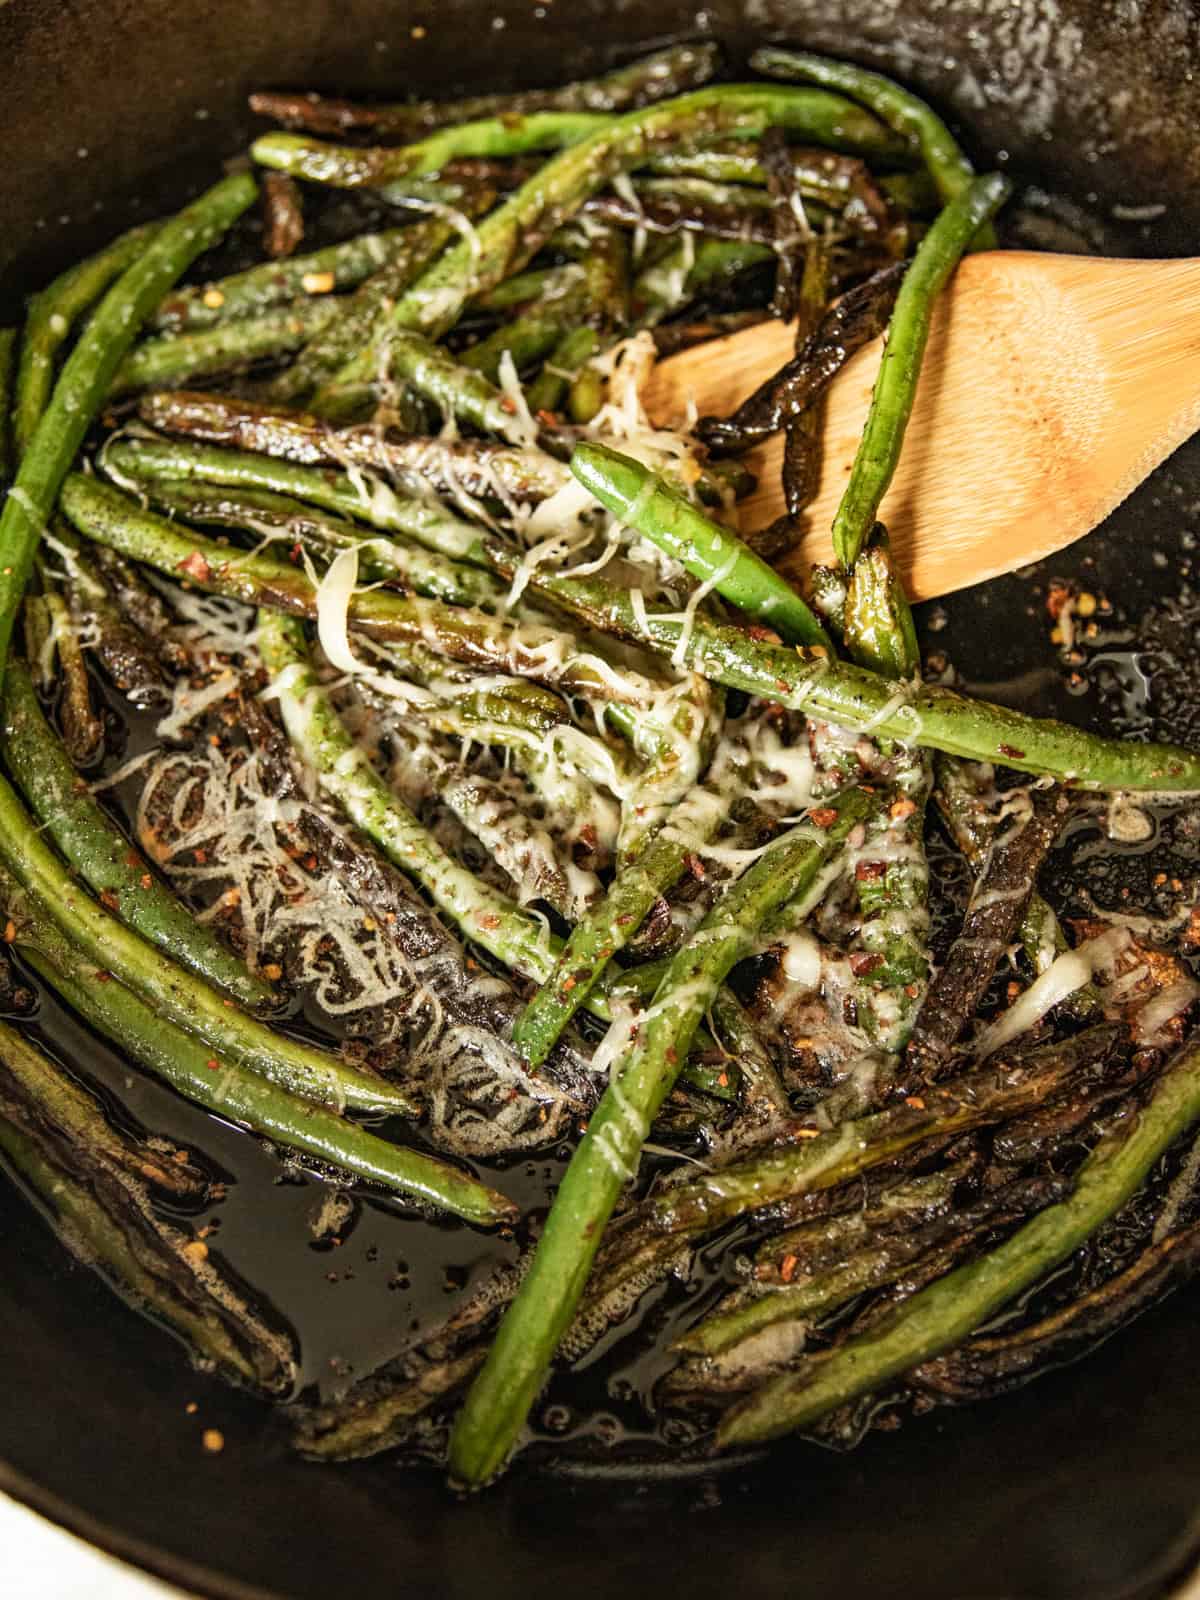
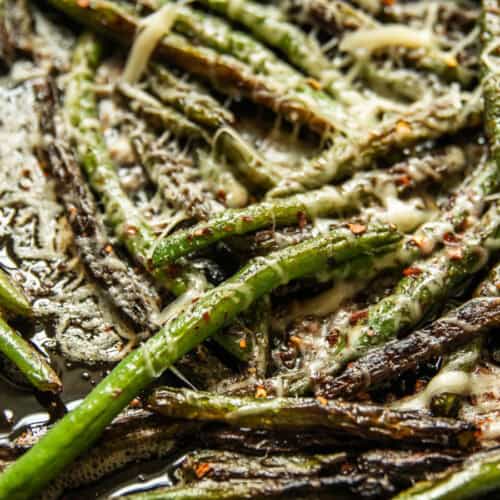
Green beans are my new favorite 15-minute side dish! These cast iron skillet green beans are perfectly charred with butter and fresh garlic, then finished with fresh lemon juice and grated Parmesan cheese. They’re flavorful, easy to make, and perfect for all occasions.
With summer upon us, I’m adding as many garden-fresh veggies to our meals as I can!
Everything from boiled zucchini to boiled okra to my favorite savory asparagus is making its way onto our plates. And I’ve found that when veggies are properly cooked, the whole family genuinely enjoys them!
These green beans are the newest favorite, and I’m certain they are here to stay. We can’t get enough of them!
Cooking your green beans in the skillet gives them that beautiful restaurant-style char and a delicious texture.
Where a lot of cooking methods yield watery or too-soft green beans, this skillet recipe leaves you with the perfect crisp yet tender bean.
I cook them with garlic, butter, and red pepper flakes and finish them with lemon juice and parmesan for maximum flavor!
Grab a bag of fresh green beans (or harvest them from your garden!) and your cast iron skillet. These will surely become your new favorite side dish!
Table of Contents
Why You’ll Love This Recipe
- 15-minute side dish: It is such a treat to have a side dish ready in a flash! It takes the stress out of dinner.
- Healthy but delicious: Nobody will complain about getting their veggies in with this green bean recipe! They are so flavorful and perfectly tender — no bland, mushy vegetables here.
- All-purpose side: These green beans are easy enough to make for a weeknight meal, but they’re also a yummy crowd-pleaser for Thanksgiving dinner, summer BBQs, and other fun occasions.
Ingredients
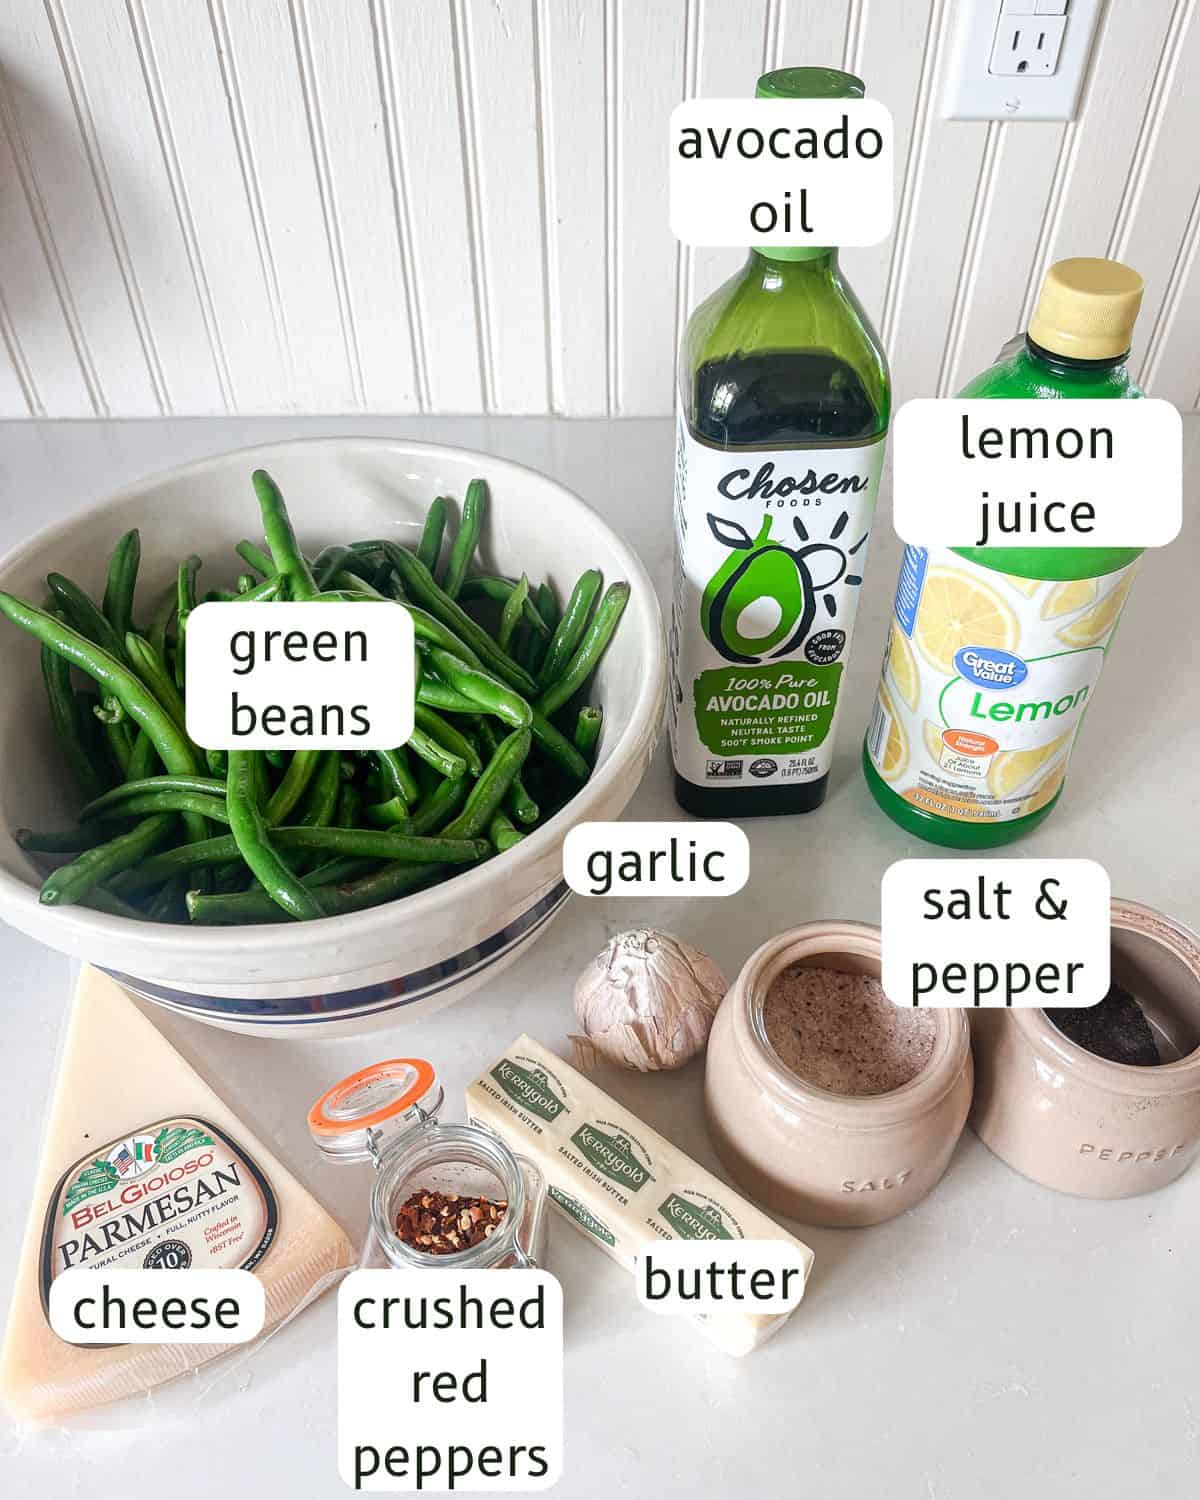
- Green beans: Fresh green beans are the best for this recipe. Make sure to wash them and trim the ends before you begin!
- Butter: We’ll be using oil to cook the beans and give them a nice color, but butter towards the end adds so much more flavor. Higher quality butter is always recommended when possible.
- Lemon juice: I recommend fresh lemon juice if you have it, but you can use bottled in a pinch.
- Parmesan cheese: You can optionally sprinkle your green beans with freshly grated Parmesan right at the end. It adds a ton of flavor!
Find the full list of ingredients, with measurements, in the recipe card below.
How to Make Cast Iron Skillet Green Beans
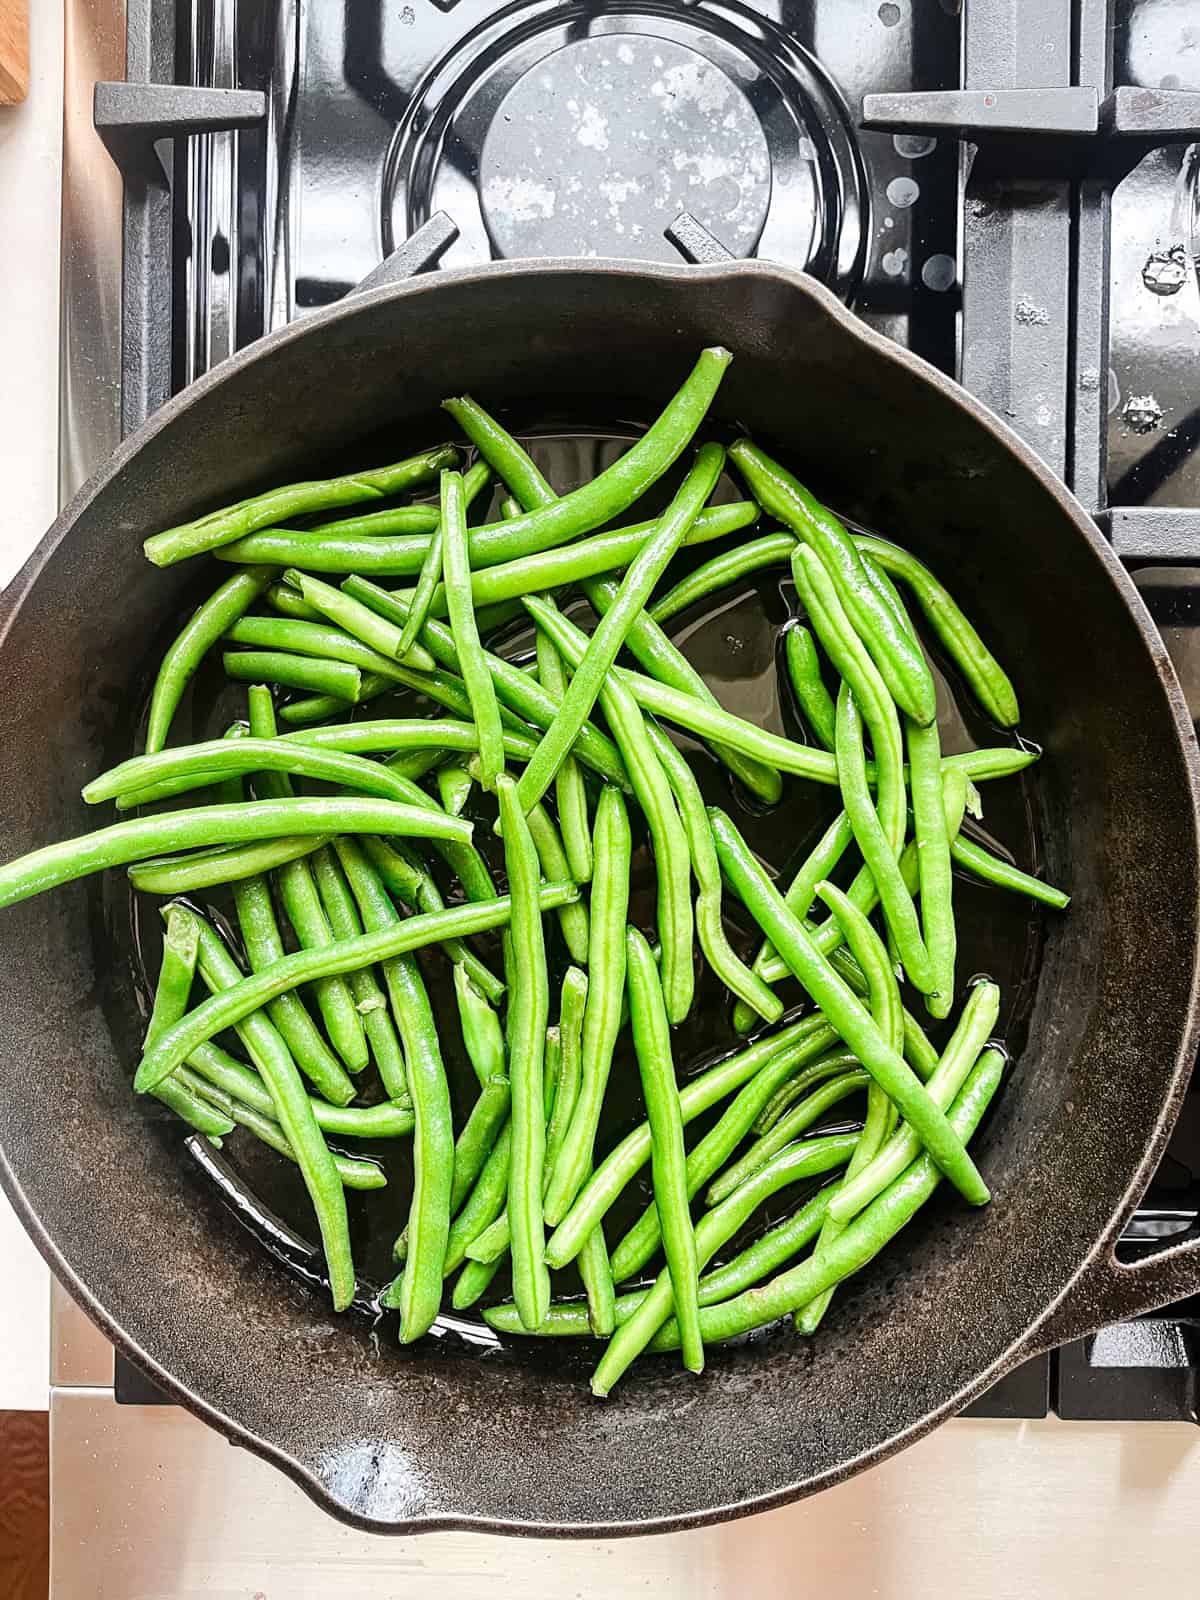
Step 1. Heat your cast iron skillet over medium-high heat until very hot, about 2 minutes. You want it just shy of smoking.
Step 2. Add the olive oil and swirl to coat. Add the green beans in a single layer. Don’t stir, let them sit undisturbed for 3–4 minutes until they blister and char on one side.
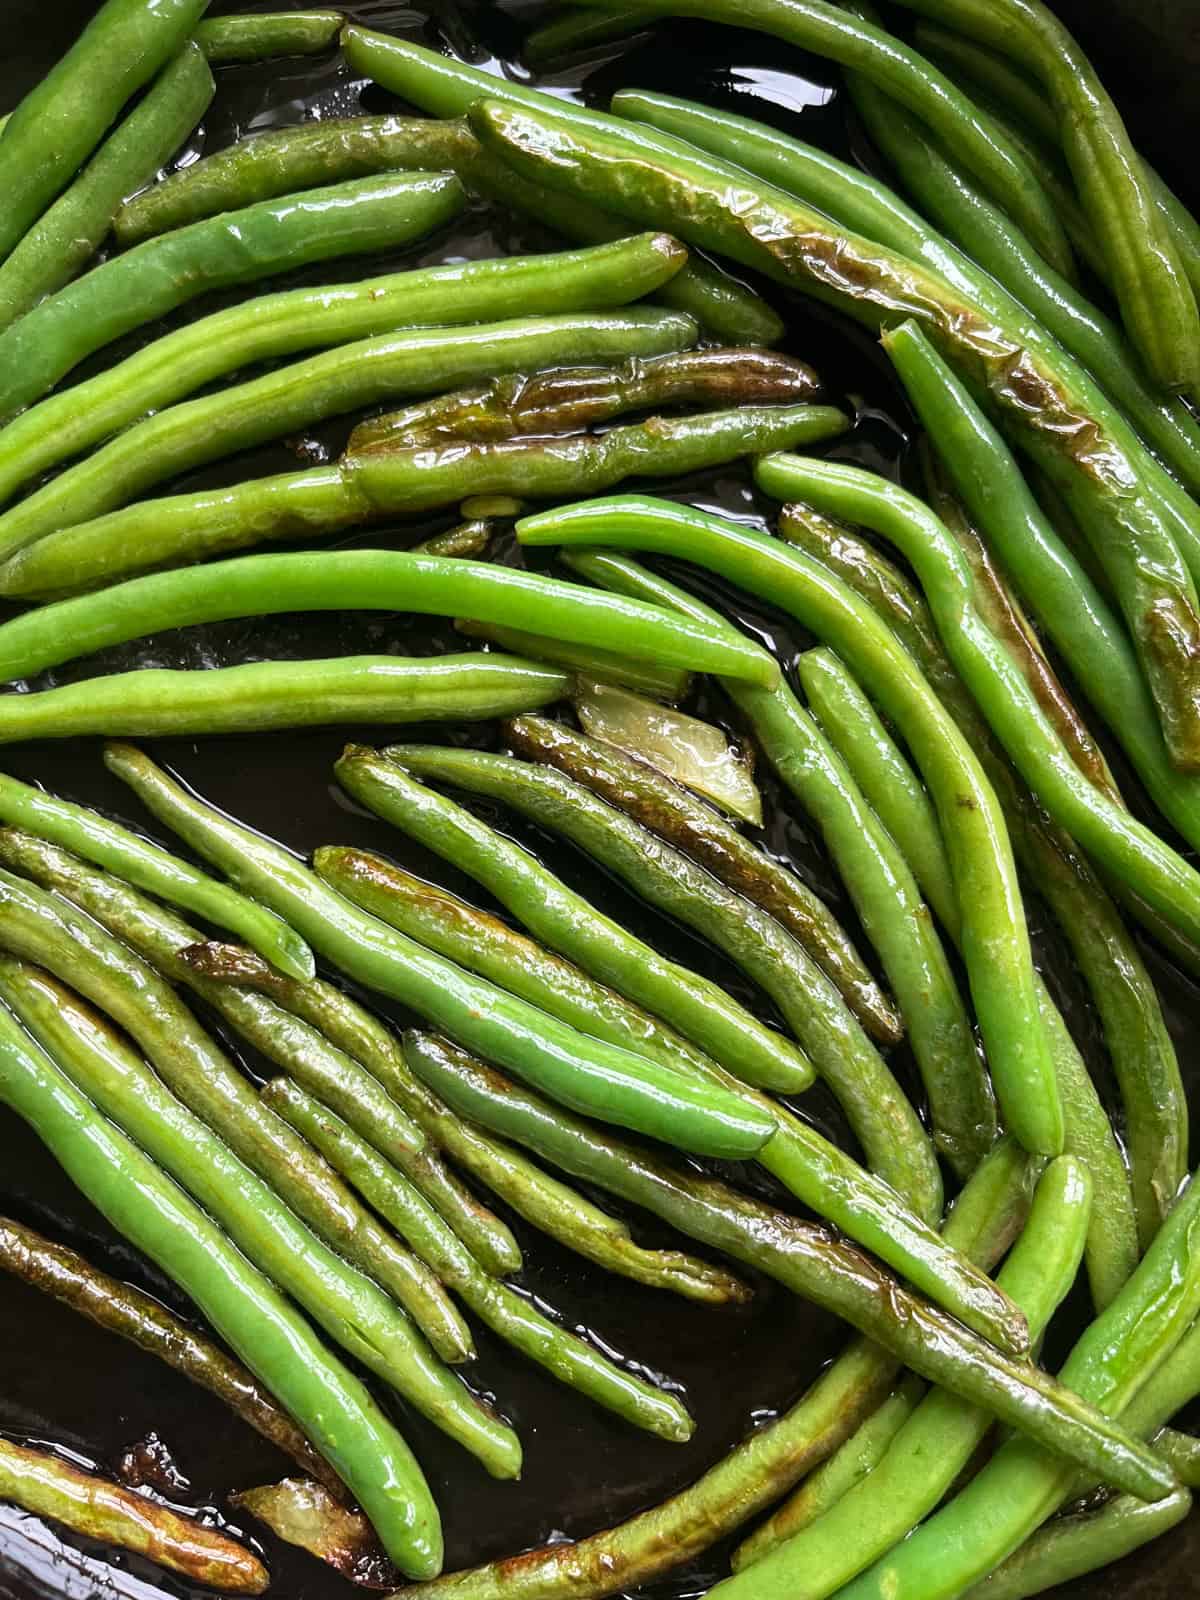
Step 3. Toss and let them sit another 2–3 minutes. You want deep color on the beans, not just a light sauté.
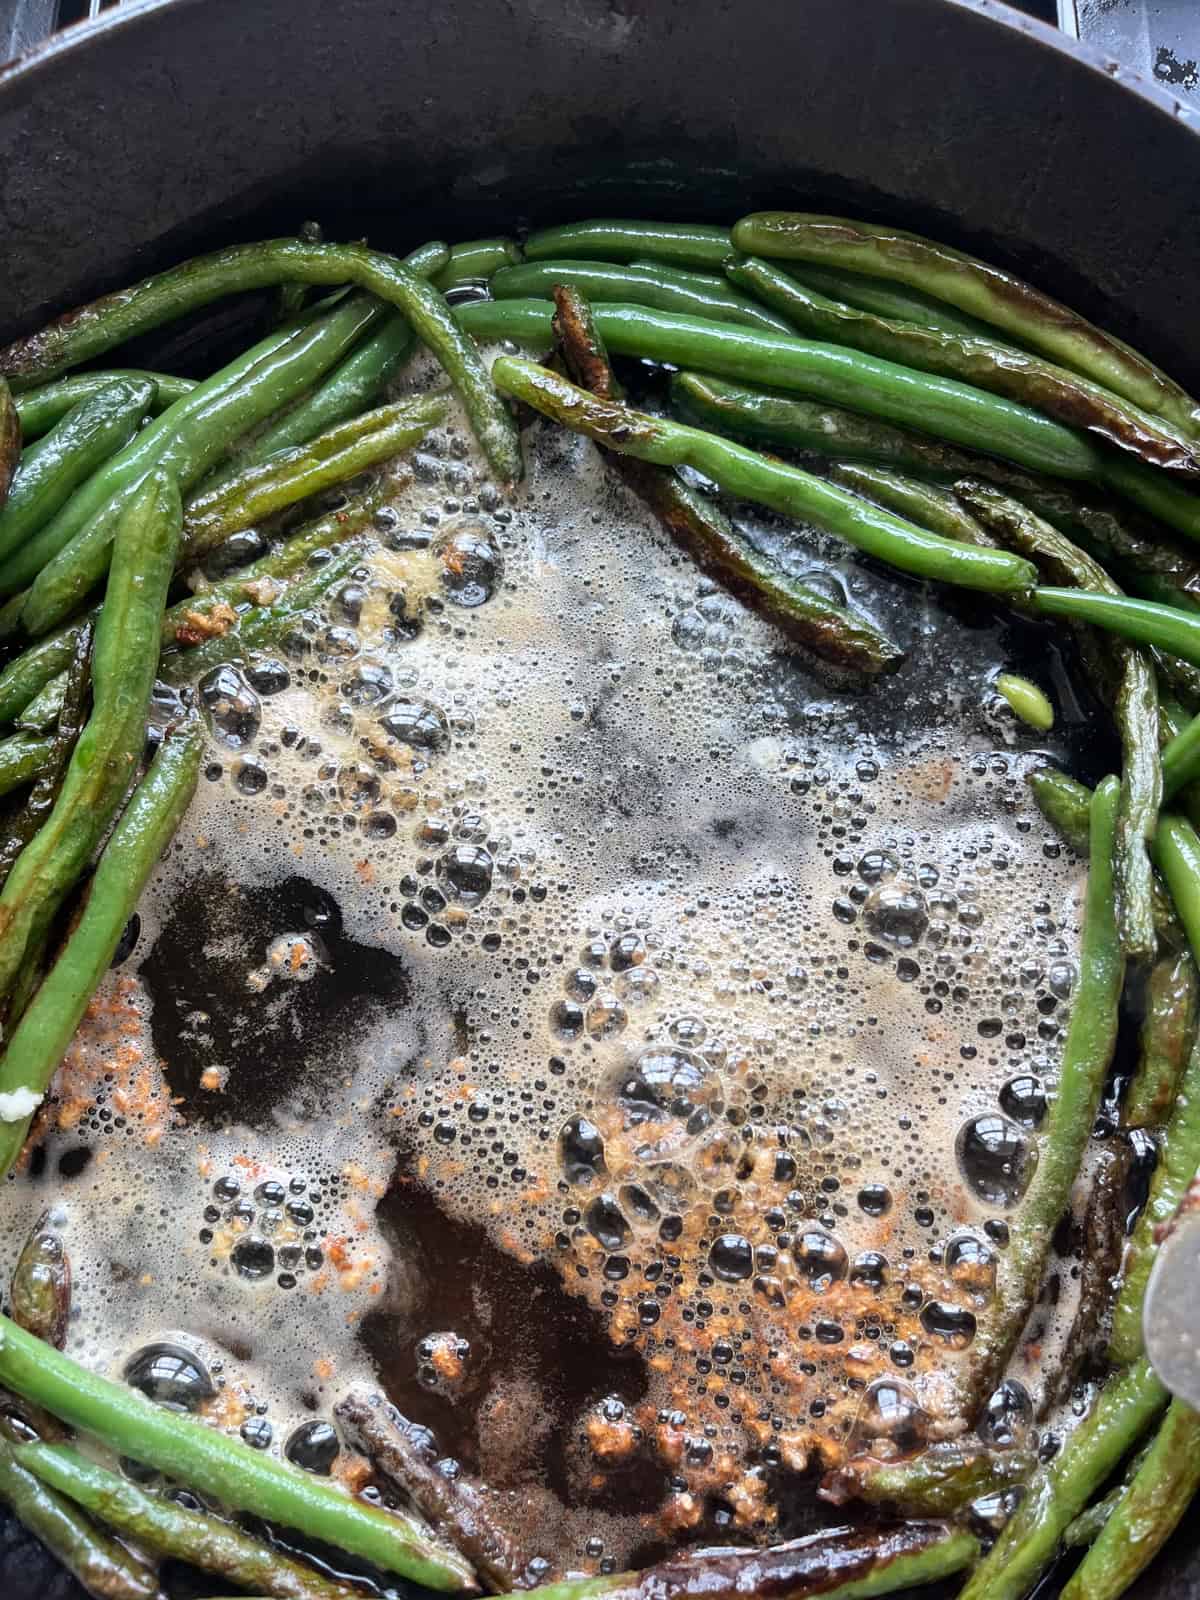
Step 4. Push the beans to the edges. Reduce heat to medium. Add butter to the center and let it melt. Add the sliced garlic directly into the butter. Cook 60 seconds, stirring the garlic constantly so it doesn’t burn.
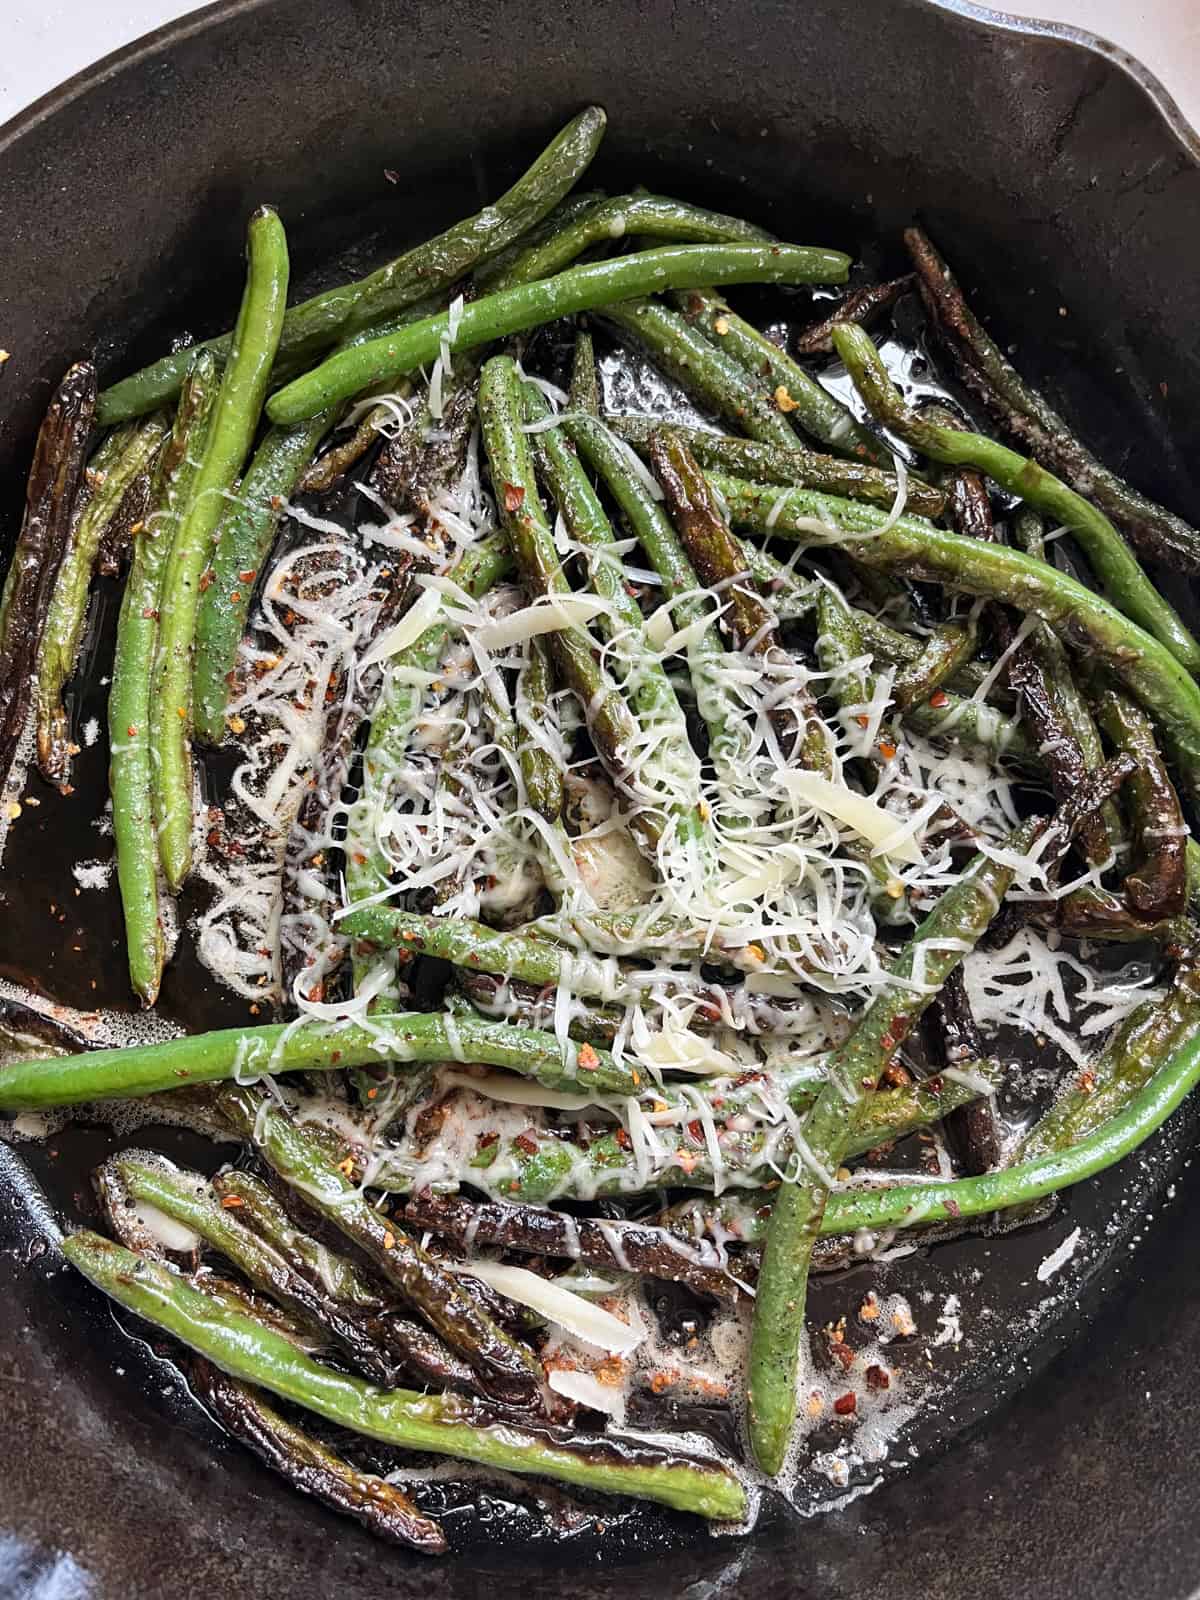
Step 5. Toss everything together to coat the beans in the garlic butter. Season with salt, pepper and crushed red peppers.
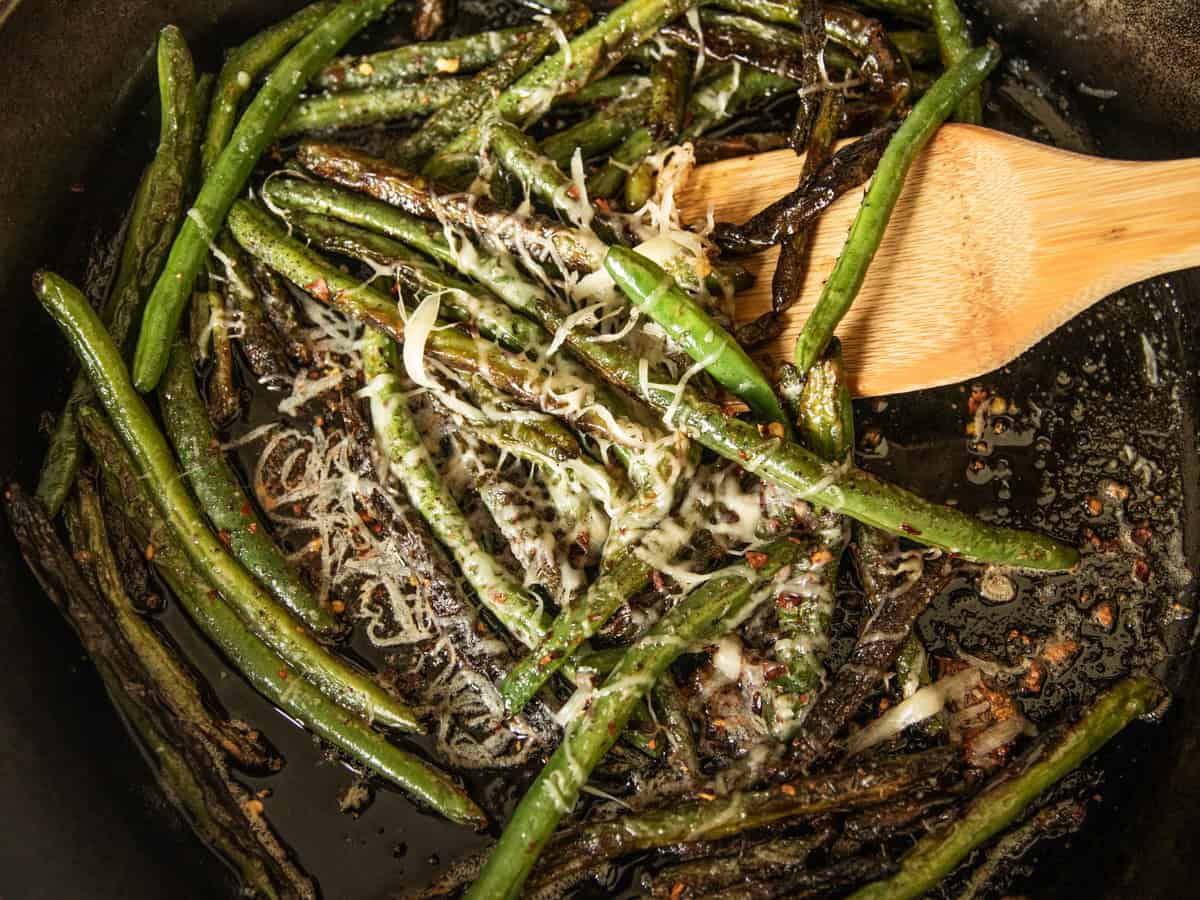
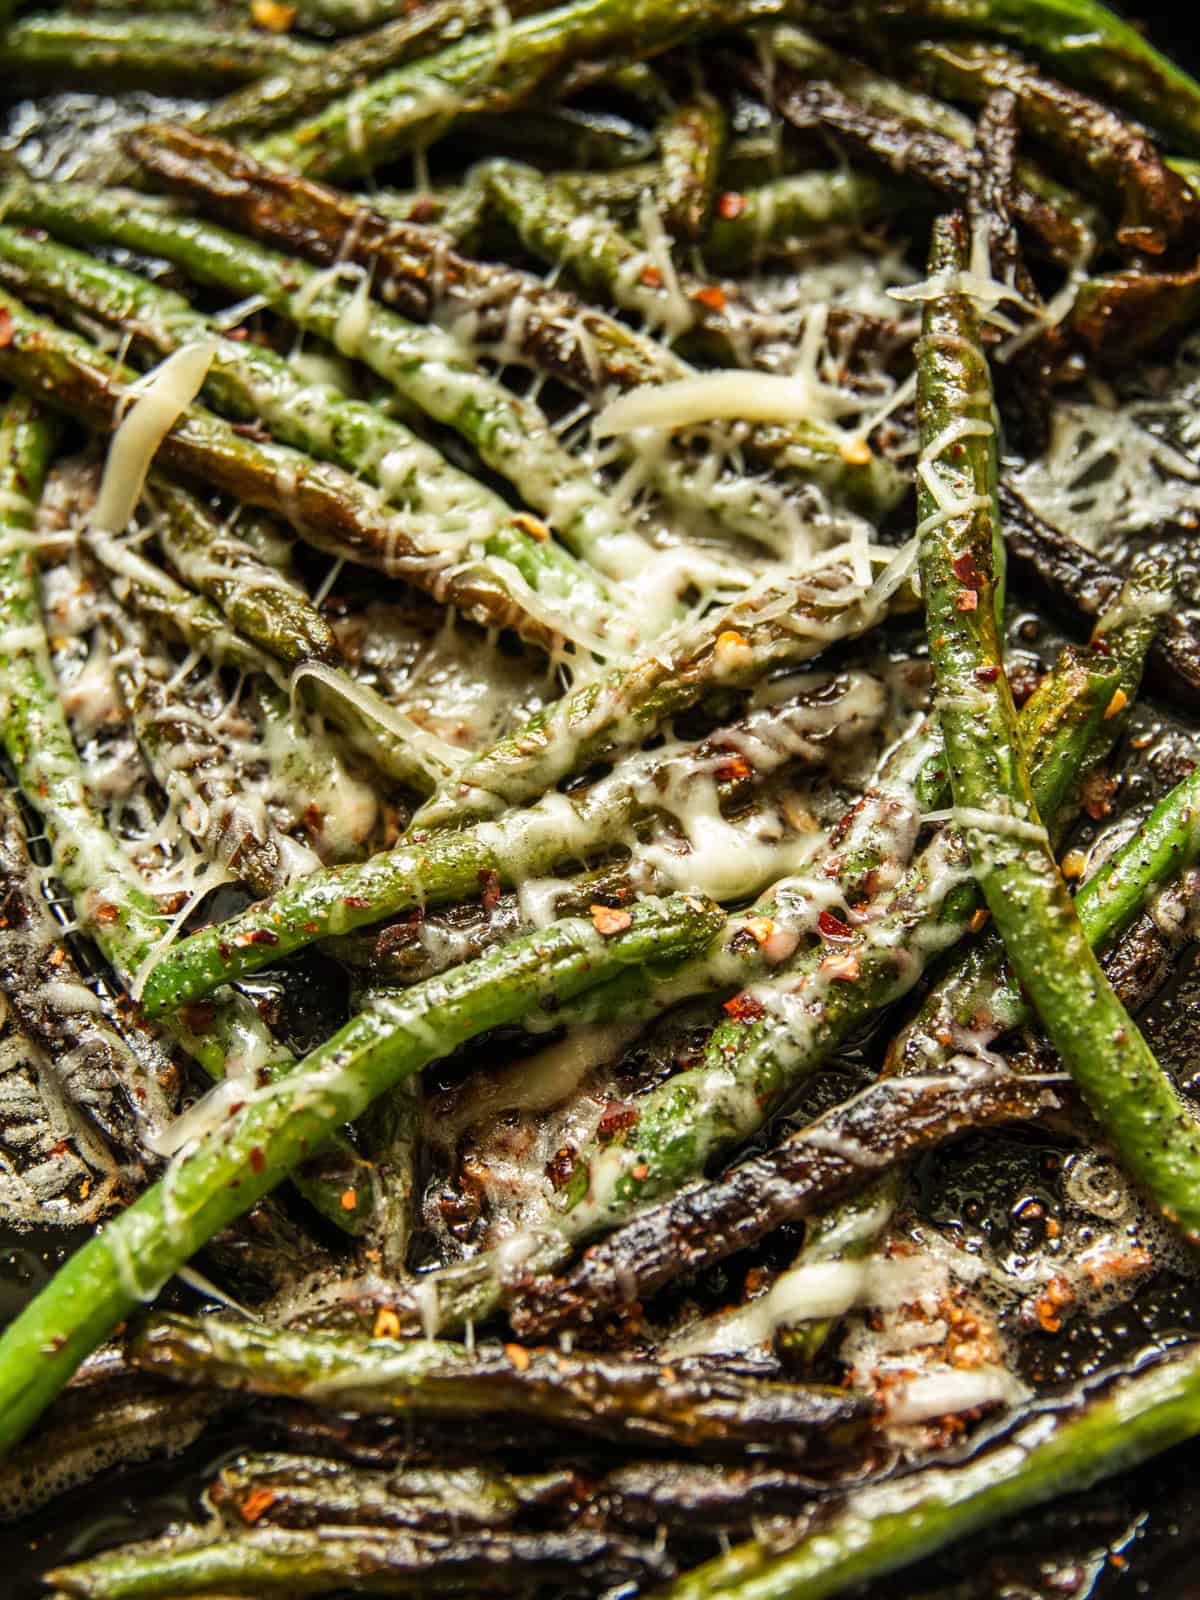
Step 6. Pull off the heat. Lightly sprinkle with lemon juice, toss once more, and top with Parmesan if using.
Tips + Notes
- I typically snap the green beans with my fingers, but if you’re making a large batch, consider cutting the ends with kitchen shears! It makes light work of prepping the beans.
- Be attentive in step 4 when you cook your garlic in butter. Both garlic and butter can burn very easily, so it’s important to turn the heat down first and cook them just long enough for the garlic to get fragrant.
- Letting the beans sit undisturbed is key to getting a nice char and a good texture.
- Make sure your green beans are dry before adding them to the skillet. Moisture can cause the oil to spit and the green beans to steam instead of blister.
- Be careful not to overcook your green beans. You want them soft and tender but with some snap left in them. I recommend taste testing when in doubt!
- Feel free to add some crunch to your green beans by sprinkling them with toasted nuts or crumbled bacon before serving.
What to Serve with Cast Iron Green Beans
Like I mentioned, these lemon garlic green beans are a side dish that will work for everything: Thanksgiving gatherings, an elegant steak dinner, or just a casual weeknight meal.
If you want the classic holiday version, I have a green bean casserole with fresh green beans too. Same fresh beans, just baked creamy with fried onions on top instead of charred in the skillet.
It’s pretty hard to find an entrée that doesn’t go well with green beans, but here are a few of my favorites to serve alongside this easy side dish:
- Pan Fried Pork Chops
- Braised Brisket
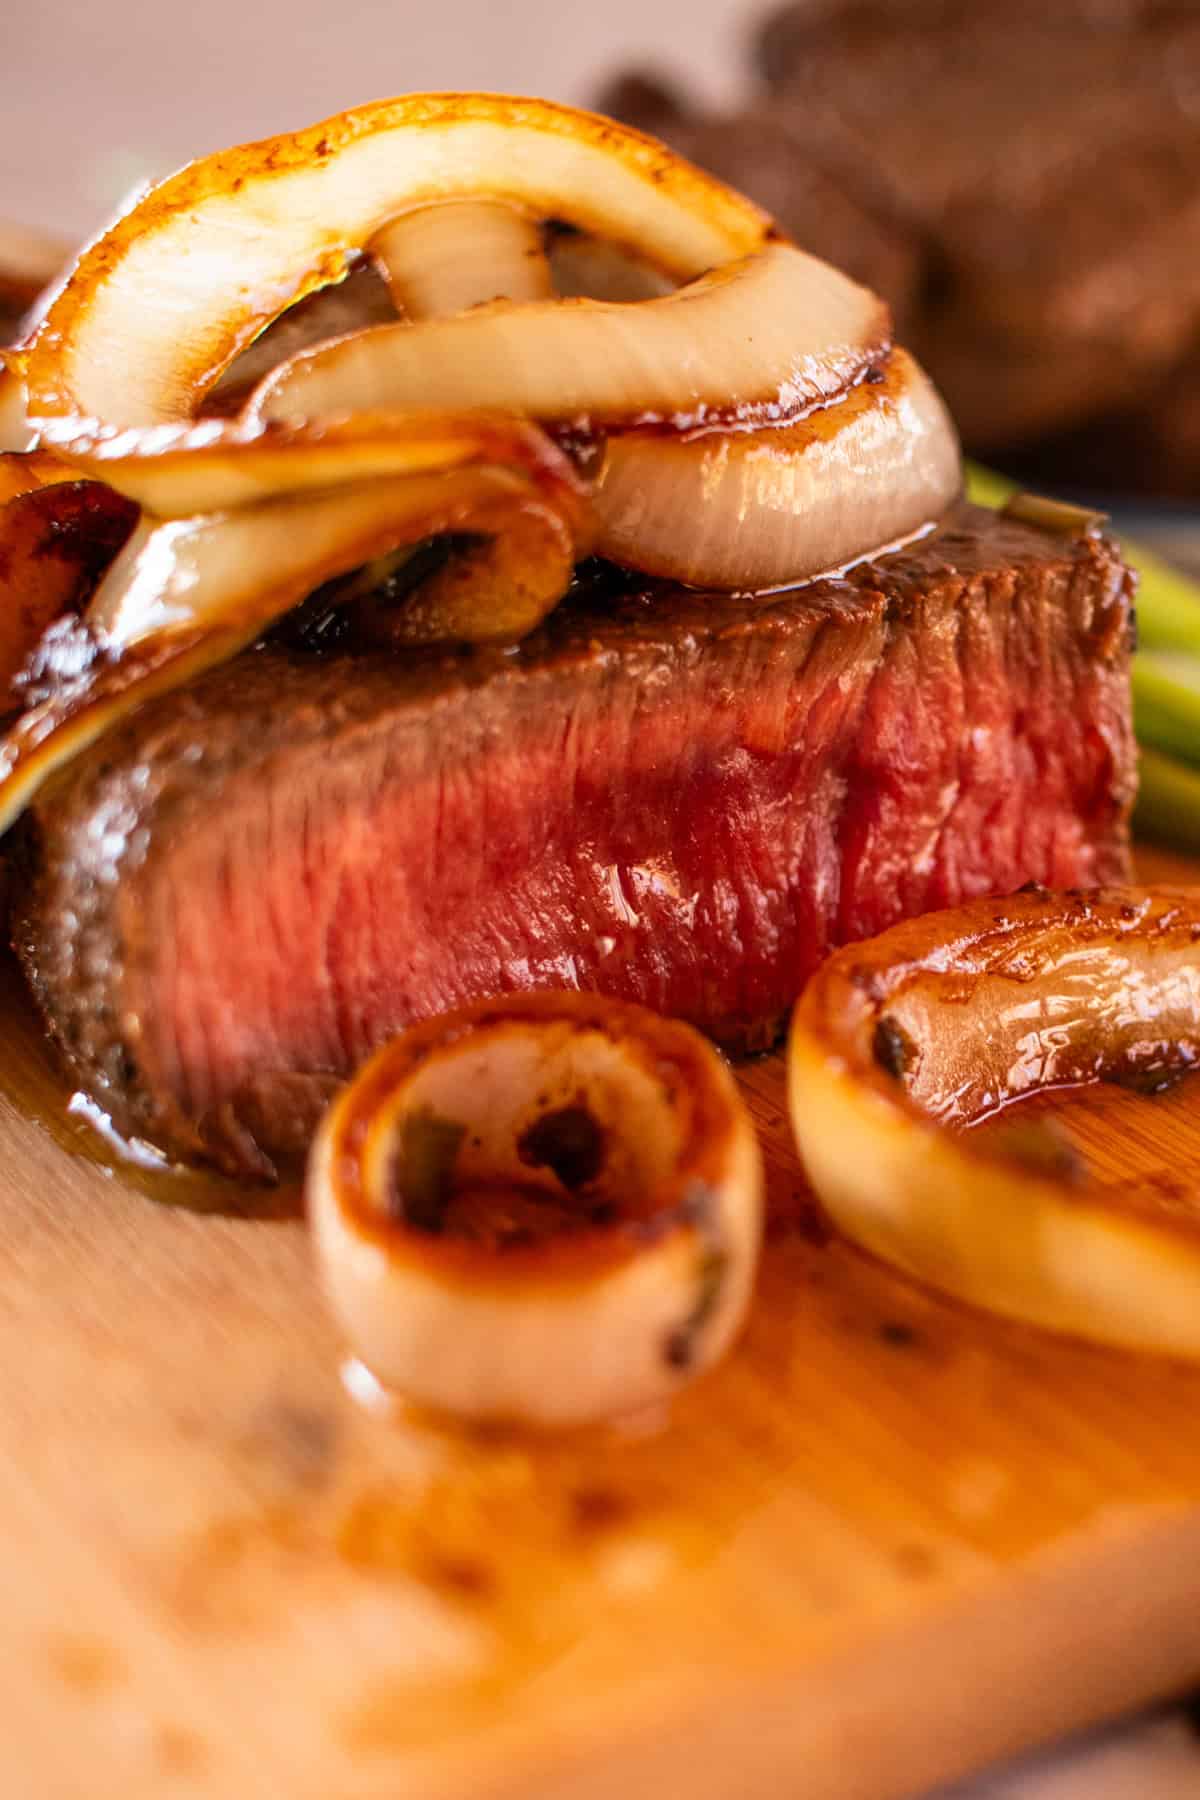
- Cast Iron Sirloin Steak
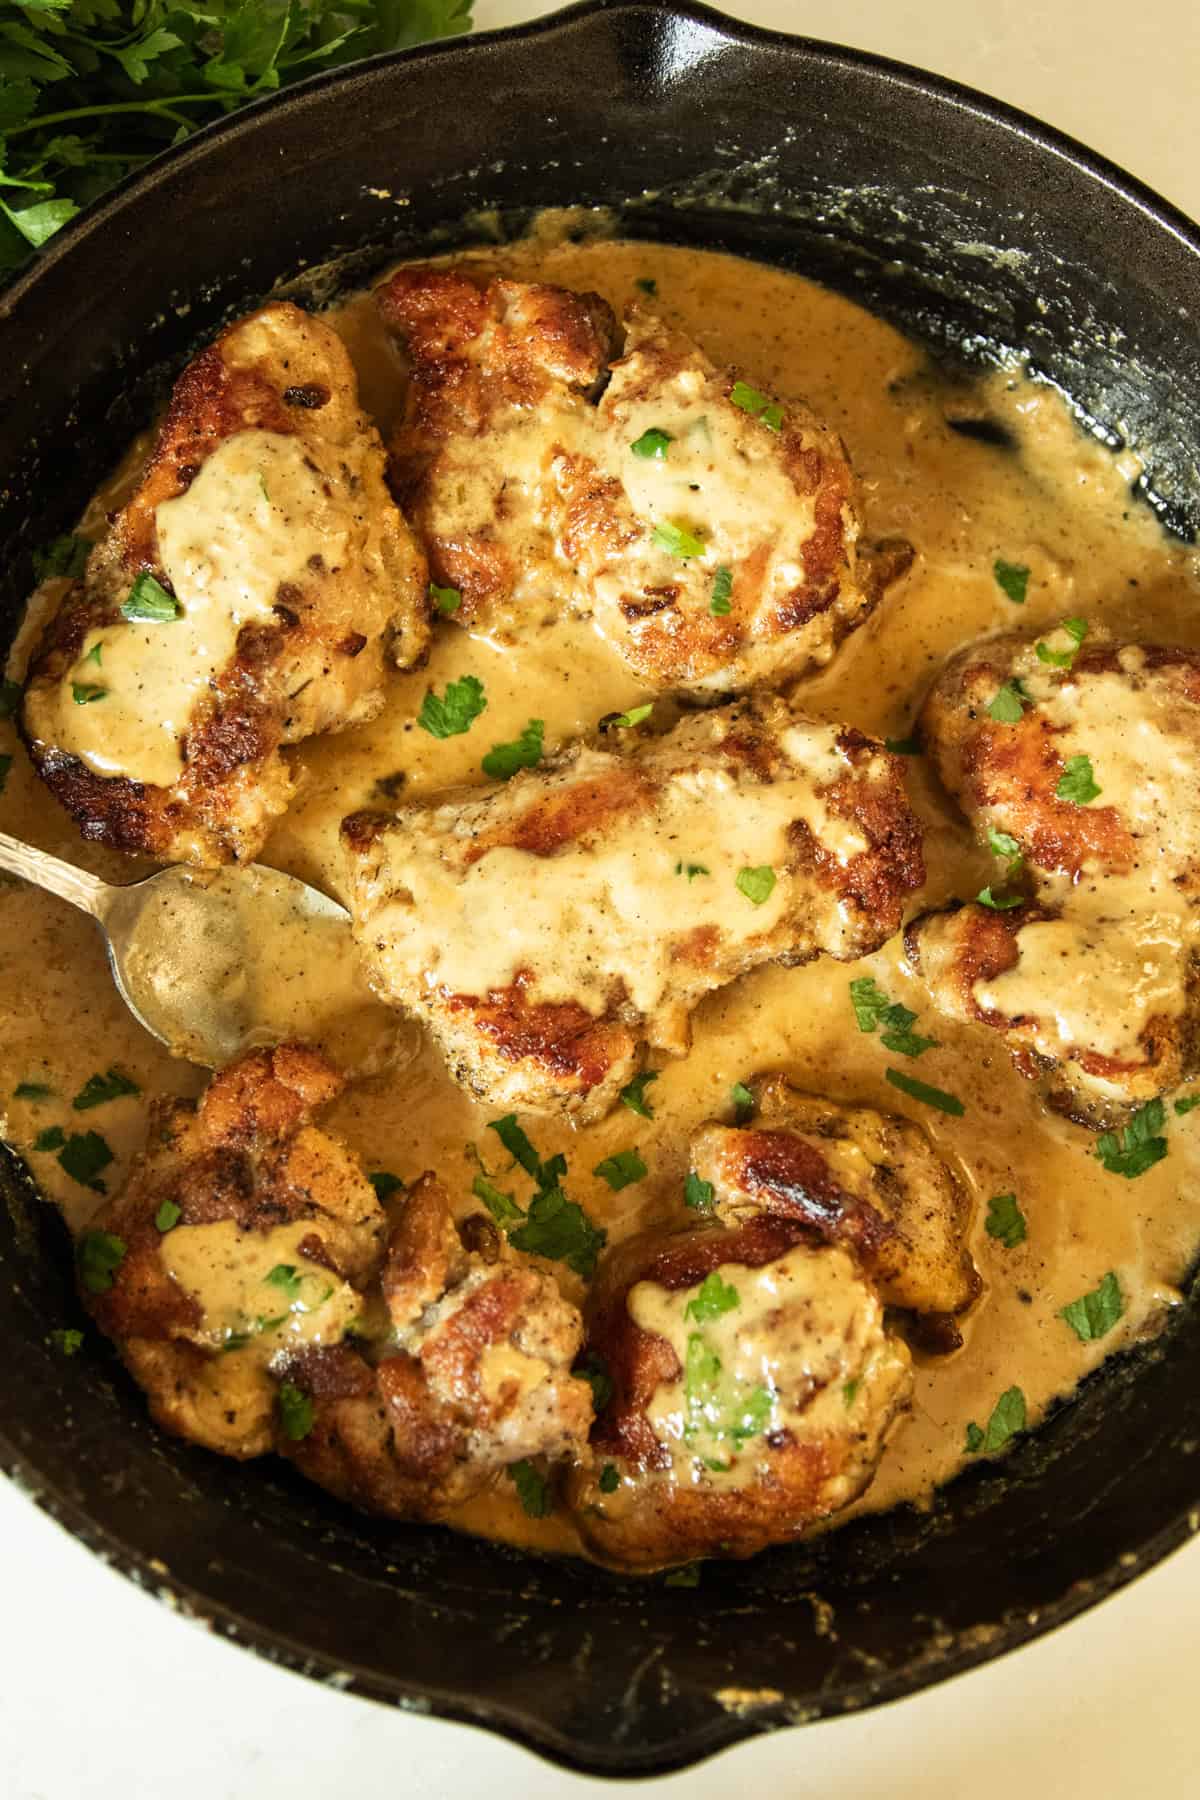
- Creamy Garlic Chicken Skillet
- Cast Iron Fried Chicken
- Cast Iron Ribeye Steak
And if you want another side to add to your spread, try my Dutch oven mac and cheese, cast iron fried potatoes, freshly milled dinner rolls, or Dutch oven mashed potatoes!
Recipe FAQs
I strongly prefer cast iron for this type of recipe, because it heats evenly and gives the green beans a beautiful restaurant-style char while maintaining a tender crunch. That said, if you don’t have cast iron, you can absolutely make them in a different skillet! Just be mindful of adjusting the temperature as needed.
Fresh green beans are by far the best choice if you want the best texture and char. If you have to use frozen green beans, thaw them first and pat them dry to remove as much excess moisture as possible before cooking them. Keep in mind, too, that they will cook faster as they’ve already been blanched before freezing.
While any green bean will benefit from the butter, garlic, pepper flakes, and lemon flavors, I wouldn’t use this cooking method with canned green beans. They won’t blister and char the same way, and they will likely end up mushy and overcooked.
These green beans are best served fresh from the skillet, but you can have them washed and trimmed up to a few days before to make the process even faster.
Related Recipes
- Garlic Parmesan Brussel Sprouts
- Roasted Cheesy Bacon Butternut Squash
- Vinegar Coleslaw Recipe
- Quick and Easy Fried Sauerkraut
- Dutch Oven French Fries
If you tried this Cast Iron Skillet Green Beans recipe or any other recipe on my website, please leave a star rating and let me know how it went in the comments below. Thanks for visiting!
Cast Iron Skillet Green Beans
Equipment
Ingredients
- 1 lb fresh green beans trimmed
- 2 tbsp butter
- 1 tbsp olive oil
- 4 garlic cloves thinly sliced
- ¼ tsp red pepper flakes
- ½ tsp kosher salt
- ¼ tsp black pepper
- 1 tbsp fresh lemon juice
- 2 tbsp freshly grated Parmesan optional
Instructions
- Heat your cast iron skillet over medium-high heat until it’s very hot, about 2 minutes. You want it just shy of smoking.
- Add the olive oil and swirl to coat. Add the green beans in a single layer. Don’t stir, let them sit undisturbed for 3–4 minutes until they blister and char on one side.
- Toss and let them sit another 2–3 minutes. You want deep color on the beans, not just a light sauté.
- Push the beans to the edges. Reduce heat to medium. Add butter to the center and let it melt. Add the sliced garlic directly into the butter. Cook 60 seconds, stirring the garlic constantly so it doesn’t burn.
- Toss everything together to coat the beans in the garlic butter. Season with salt, pepper and crushed red peppers.
- Pull off the heat. Lightly sprinkle with lemon juice, toss once more, and top with Parmesan if using.
Video
Notes
- I typically snap the green beans with my fingers, but if you’re making a large batch, consider cutting the ends with kitchen shears! It makes light work of prepping the beans.
- Be attentive in step 4 when you cook your garlic in butter. Both garlic and butter can burn very easily, so it’s important to turn the heat down first and cook them just long enough for the garlic to get fragrant.
- Letting the beans sit undisturbed is key to getting a nice char and a good texture.
- Make sure your green beans are dry before adding them to the skillet. Moisture can cause the oil to spit and the green beans to steam instead of blister.
- Be careful not to overcook your green beans. You want them soft and tender but with some snap left in them. I recommend taste testing when in doubt!
- Feel free to add some crunch to your green beans by sprinkling them with toasted nuts or crumbled bacon before serving.









i can’t wait to make it this weekend
Oh you’re going to love it! Come back and let me know how it turns out this weekend. Happy cooking!