
This post contains affiliate links. Please read our disclosure policy.
This homemade banana pudding has quickly become a family favorite dessert! It’s an easy make-ahead recipe that’s packed with sweet banana flavor. You can even make it with homemade vanilla wafers for a special from-scratch touch!
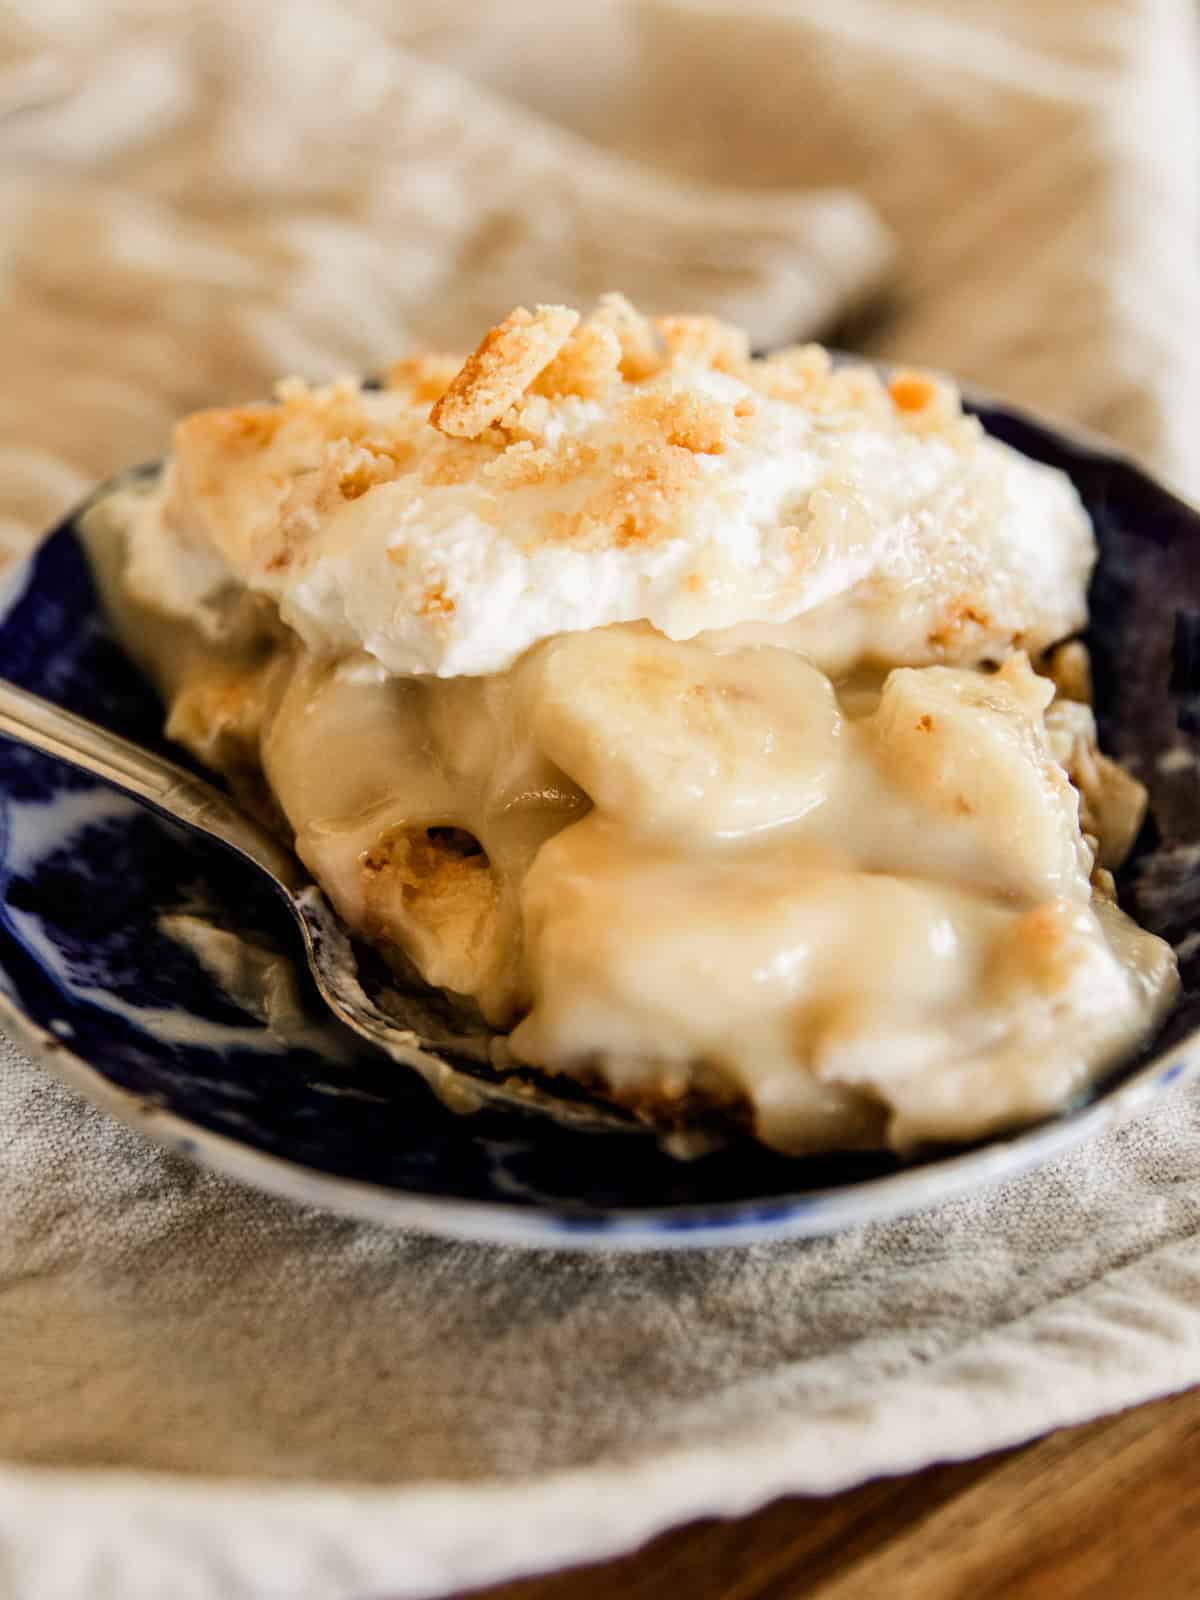
There’s something delightfully nostalgic and comforting about a good banana pudding! The simple ingredients come together to create the most delicious dessert.
Simple desserts are very much appreciated in my bustling, busy kitchen. We regularly enjoy easy favorites like Dutch oven dump cake and Dutch oven apple crisp.
My daughter made us banana pudding last week, and it was such a hit that we had it again this week!
It’s the easiest recipe — she was able to whip it up in around 15 minutes. But it was every bit as tasty as some of her more complex creations!
This banana pudding harnesses the power of some pre-made ingredients — like instant pudding, store-bought vanilla wafers, and whipped topping — to keep it simple and quick.
But if you prefer a lengthier, from-scratch recipe, that is always an option! In fact, the first time my daughter made it, she made her own freshly milled vanilla wafers for a wonderful homemade touch.
The choice is yours; either way, you are going to have a mouthwatering dessert that’s sure to please!
Table of Contents
Why You’ll Love This Recipe
- Easy dessert: With only 5 ingredients and 15 minutes of active time to make, this banana pudding is the easiest dessert ever.
- Make ahead: I love a dessert that can be made ahead of time. It makes hosting and party prep a breeze! You can make the banana pudding the day before you need it, then pull it out and serve — no additional work required.
- No-bake: As much as I love baking, sometimes you just need a quick, no-bake treat. This is a great recipe for hot days when you don’t want to turn on the oven, or for any time you need to keep it simple.
Recipe Ingredients

- Vanilla pudding: Making it is a breeze with instant pudding mix and some milk!
- Bananas: The ripeness of your bananas matters a lot with banana pudding! Check out the notes below to determine what kind you should use.
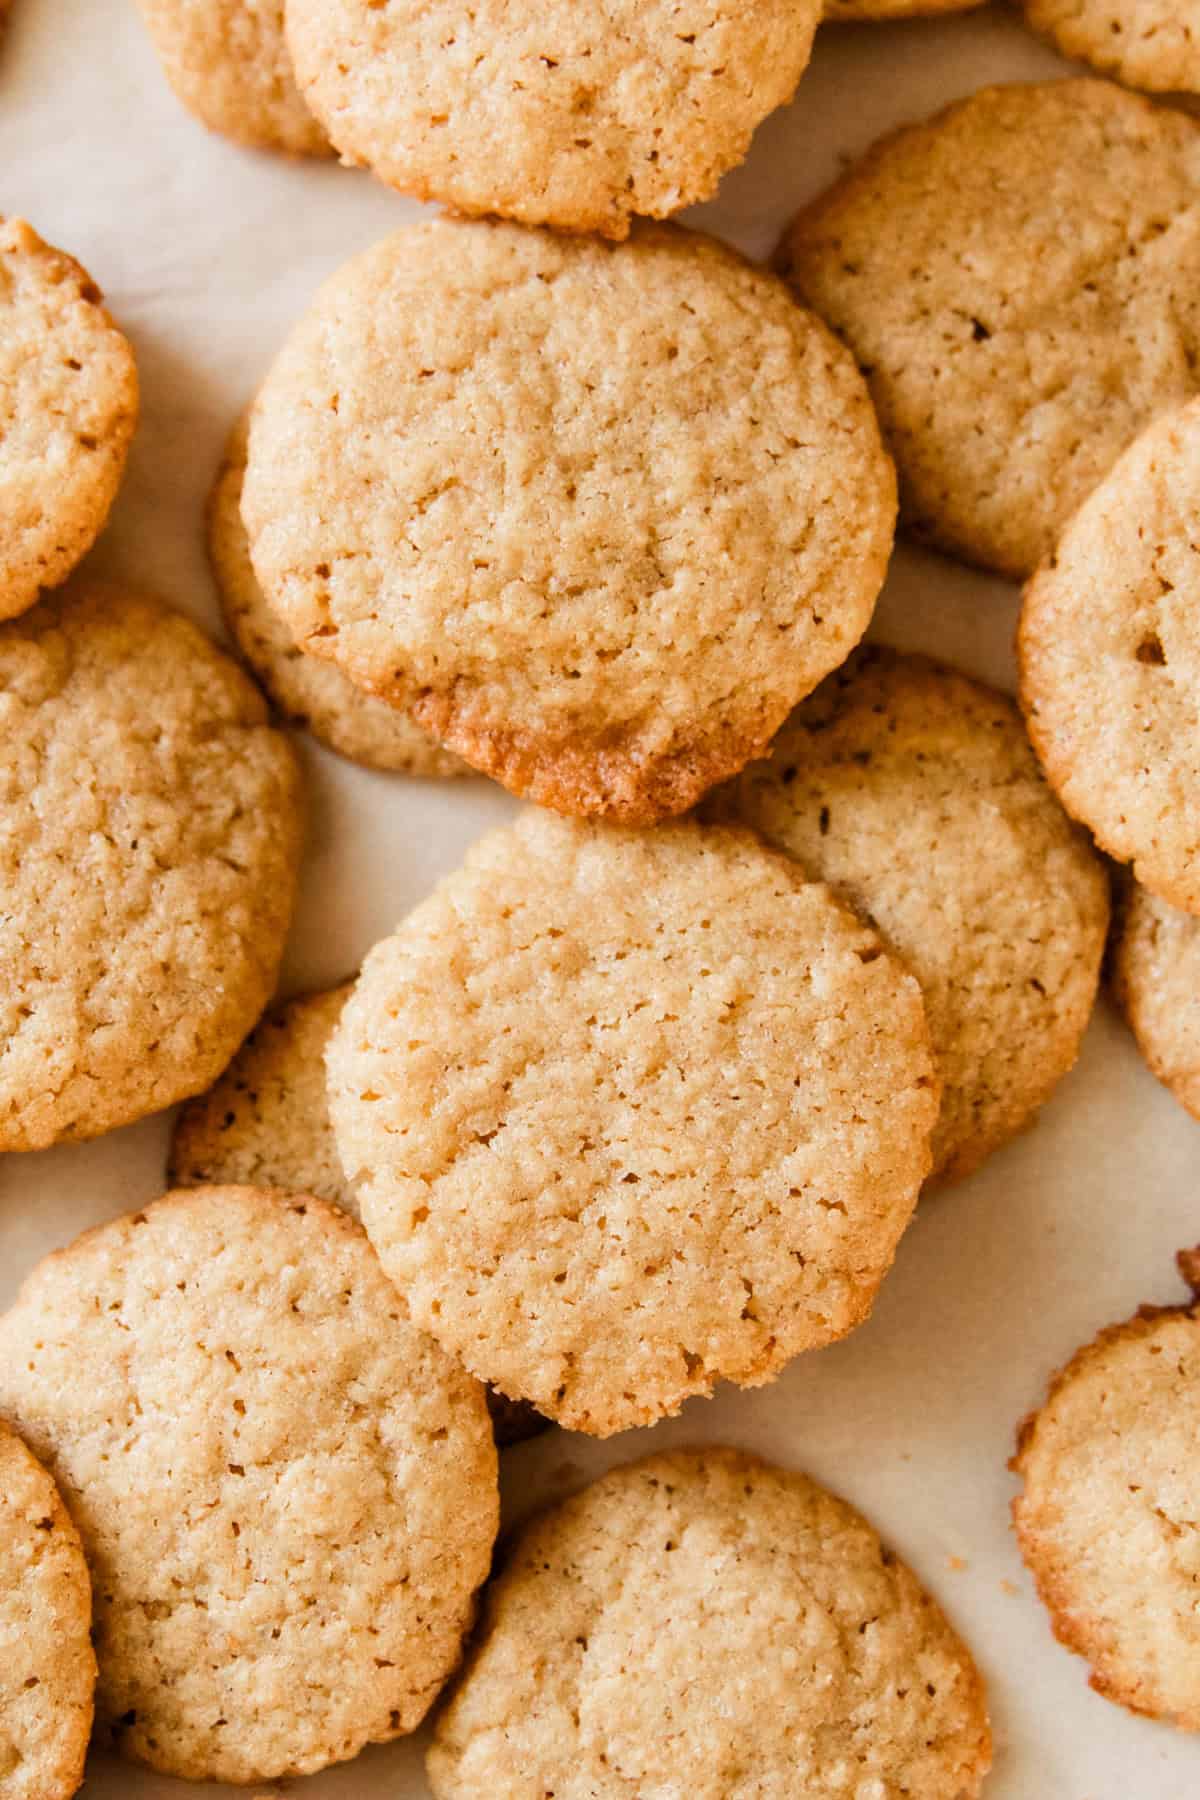
- Vanilla wafers: You can use store-bought wafers to keep this recipe as simple and easy as possible. If you’re feeling ambitious, homemade vanilla wafers are a delightful addition!
- Whipped topping: You can find this in the freezer aisle. It will need to thaw in the fridge for a few hours.
Find the full recipe with measurements in the recipe card at the bottom of this post.
How to Make Banana Pudding
Step 1. Prepare the pudding by whisking the milk and pudding mix together for about 2 minutes, until smooth. Place in the refrigerator for about 5 minutes to allow it to start to set.

Step 2. While the pudding is setting, peel and slice the bananas.

Step 3. In your dish, add a single layer of Nilla wafers.

Step 4. Top with a layer of sliced bananas, followed by a layer of pudding.

Step 5. Repeat the layers, starting with Nilla wafers, until the dish is filled, leaving about 1 inch of space at the top.

Step 6. Spread the whipped cream evenly over the top.

Step 7. Crumble Nilla wafers over the whipped cream. Chill for at least 2 hours before serving.

Tips + Notes
- The vanilla pudding may not be fully set after 5 minutes, and that’s perfectly fine. As long as it has started to thicken, you’re good to go. It will continue to set as it chills.
- Make sure you use instant pudding, not ‘cook and serve’ pudding. Using the wrong kind will leave you with runny pudding that won’t set.
- If you are planning on serving this right away, use fully ripe bananas. If you are making this ahead of time, use semi-ripe bananas. No green, but little to no brown either. If you plan to let this sit in the fridge for 8 or more hours, slightly under-ripe, green bananas will be fine, as they won’t brown as quickly.
- I also like to make my own vanilla wafers for this. If you have the time, definitely give it a try! They are even better than store-bought.
- I made this in a glass bowl. You can also use a casserole dish, trifle dish, or another clear serving dish.

Recipe FAQs
You can, but whipped cream may deflate as it sits in the fridge. If you want to use whipped cream, I recommend adding it to the banana pudding right before serving. Homemade whipped cream will give you the most similar consistency, but whipped cream from a can will also work.
Leftover pudding can be kept covered in the fridge for 2-3 days. The bananas will continue to brown, so I recommend eating it sooner rather than later.
No, I don’t recommend skipping the chill time. A couple of hours in the fridge gives the pudding time to set up and allows the cookies to soften into an irresistible cake-like texture.
Related Recipes
- Cast Iron Peach Cobbler
- The Best Apple and Strawberry Crumble
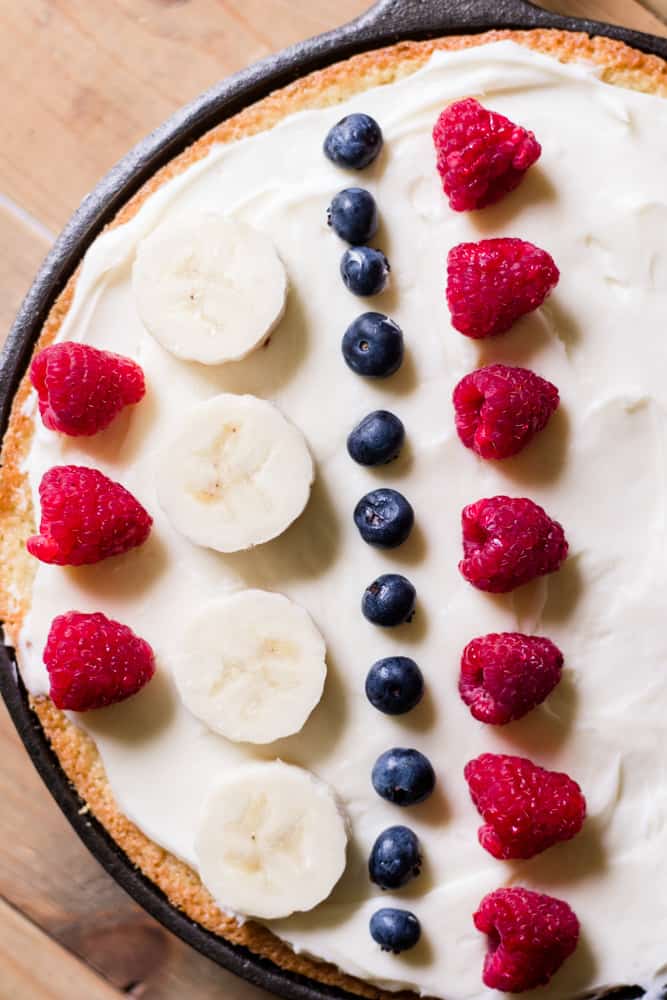
- Cast Iron Strawberry Kiwi Fruit Pizza
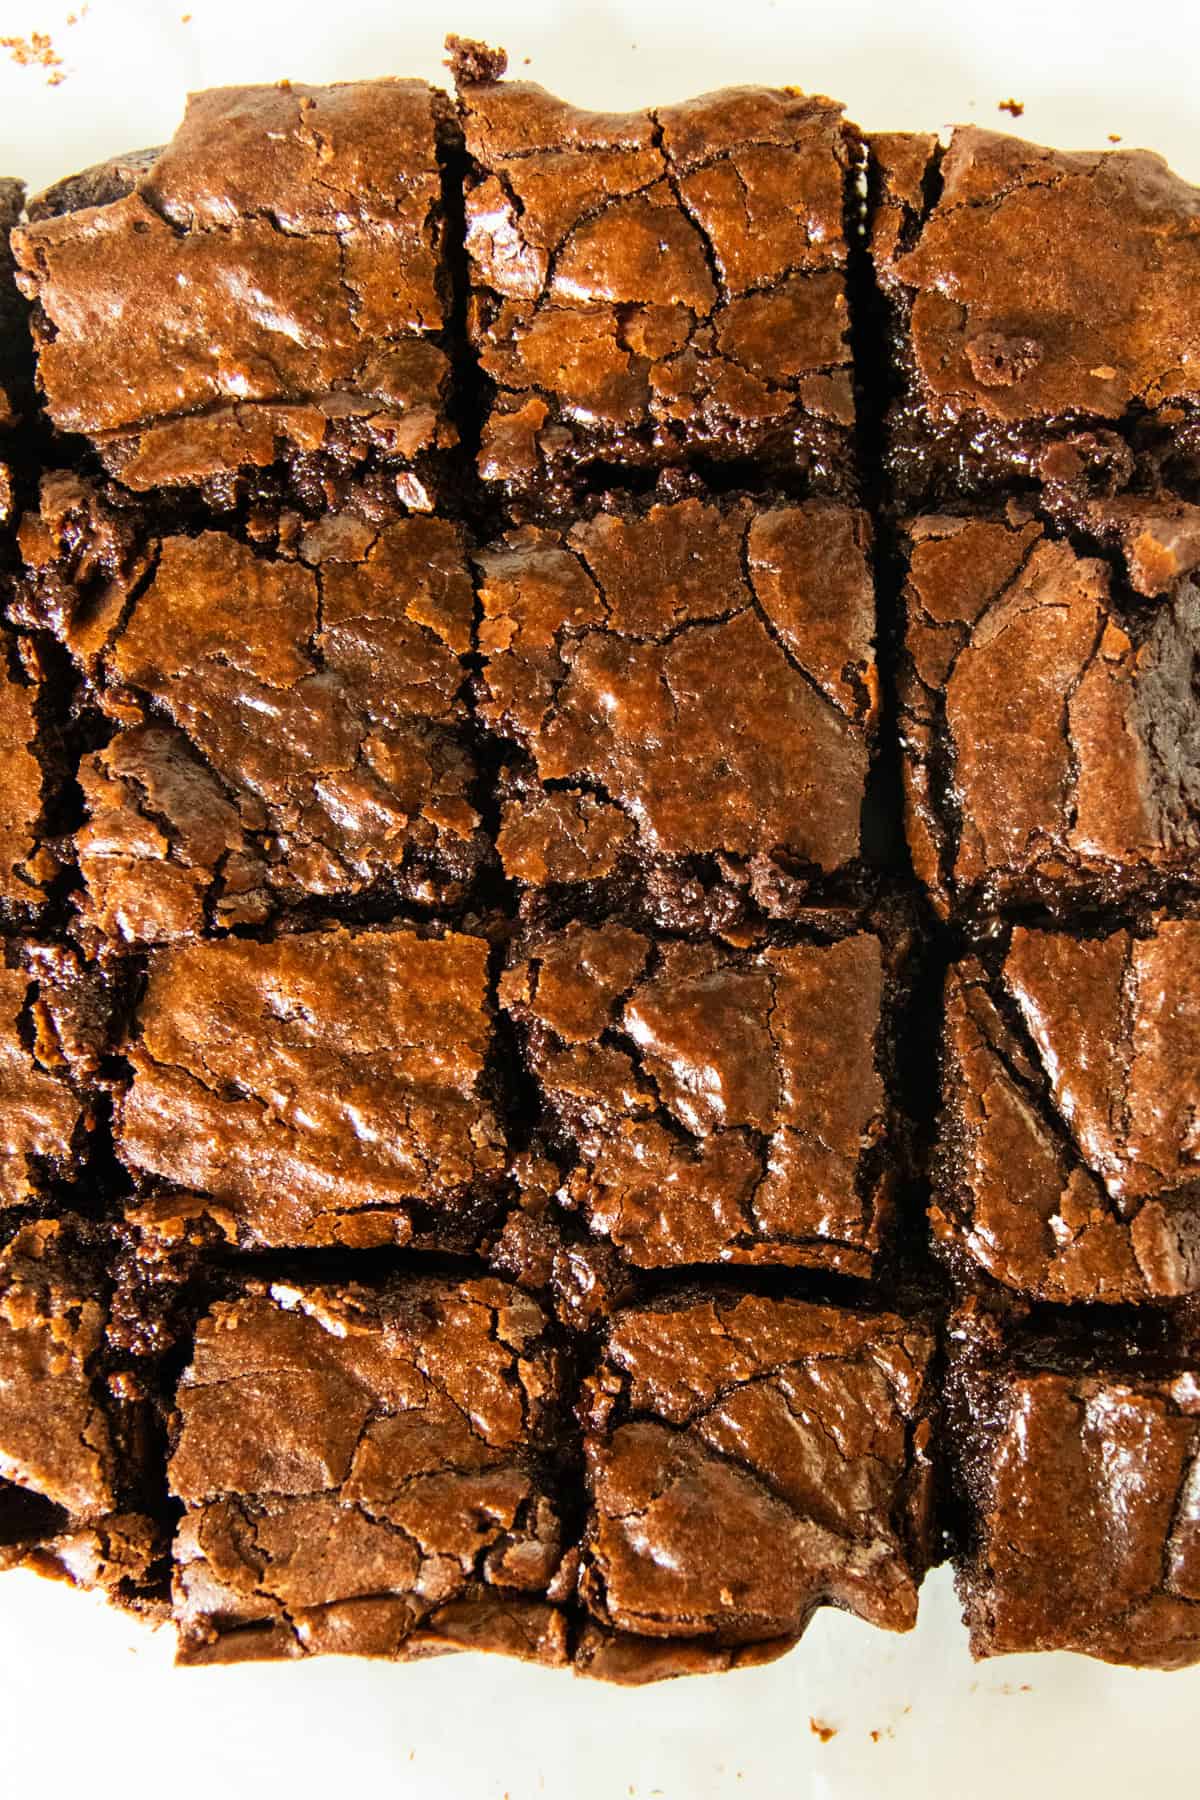
- Double Chocolate Cast Iron Brownies
- Chocolate Chip Cookies With Freshly Milled Flour
If you tried this Banana Pudding or any other recipe on my website, please leave a star rating and let me know how it went in the comments below. Thanks for visiting!

Banana Pudding Recipe
Equipment
- Glass bowl or casserole dish for serving
Ingredients
- 1 3.4-oz box instant vanilla pudding mix
- 2 cups milk
- 1 box Nilla wafers or a batch of homemade vanilla wafers
- 5 Semi-ripe bananas see notes
- 1 8-ounce container whipped topping
Instructions
- Prepare the pudding by whisking the milk and pudding mix together for about 2 minutes, until smooth. Place in the refrigerator for about 5 minutes to allow it to start to set.
- While the pudding is setting, peel and slice the bananas.
- In your dish, add a single layer of Nilla wafers.
- Top with a layer of sliced bananas, followed by a layer of pudding.
- Repeat the layers, starting with Nilla wafers, until the dish is filled, leaving about 1 inch of space at the top.
- Spread the whipped cream evenly over the top.
- Crumble Nilla wafers over the whipped cream.
- Chill for at least 2 hours before serving.
Video
Notes
- The vanilla pudding may not be fully set after 5 minutes, and that’s perfectly fine. As long as it has started to thicken, you’re good to go. It will continue to set as it chills.
- If you are planning on serving this right away, use fully ripe bananas. If you are making this ahead of time, use semi-ripe bananas. No green, but little to no brown either. If you plan to let this sit in the fridge for 8 or more hours, slightly under-ripe, green bananas will be fine, as they won’t brown as quickly.
- I also like to make my own whole wheat vanilla wafers for this. If you have the time, definitely give it a try! They are even better than store-bought.
- I made this in a glass bowl. You can also use a casserole dish, trifle dish, or another clear serving dish.
- Make sure you use instant pudding, not ‘cook and serve’ pudding. Using the wrong kind will leave you with runny pudding that won’t set.












oh my gosh! i can’t wait to try this with the homemade wafers recipe!
Yay! So happy to hear!
This looks so delicious! Banana pudding has always been one of my favorites but I have yet to make it myself!
Thanks!