

Make the perfect summer kabobs without a grill! These Hawaiian Chicken Kabobs are perfectly sweet and savory with pineapple, vegetables, and deliciously marinated chicken. They’re an easy and flavorful dish that can be made right on your cast iron.
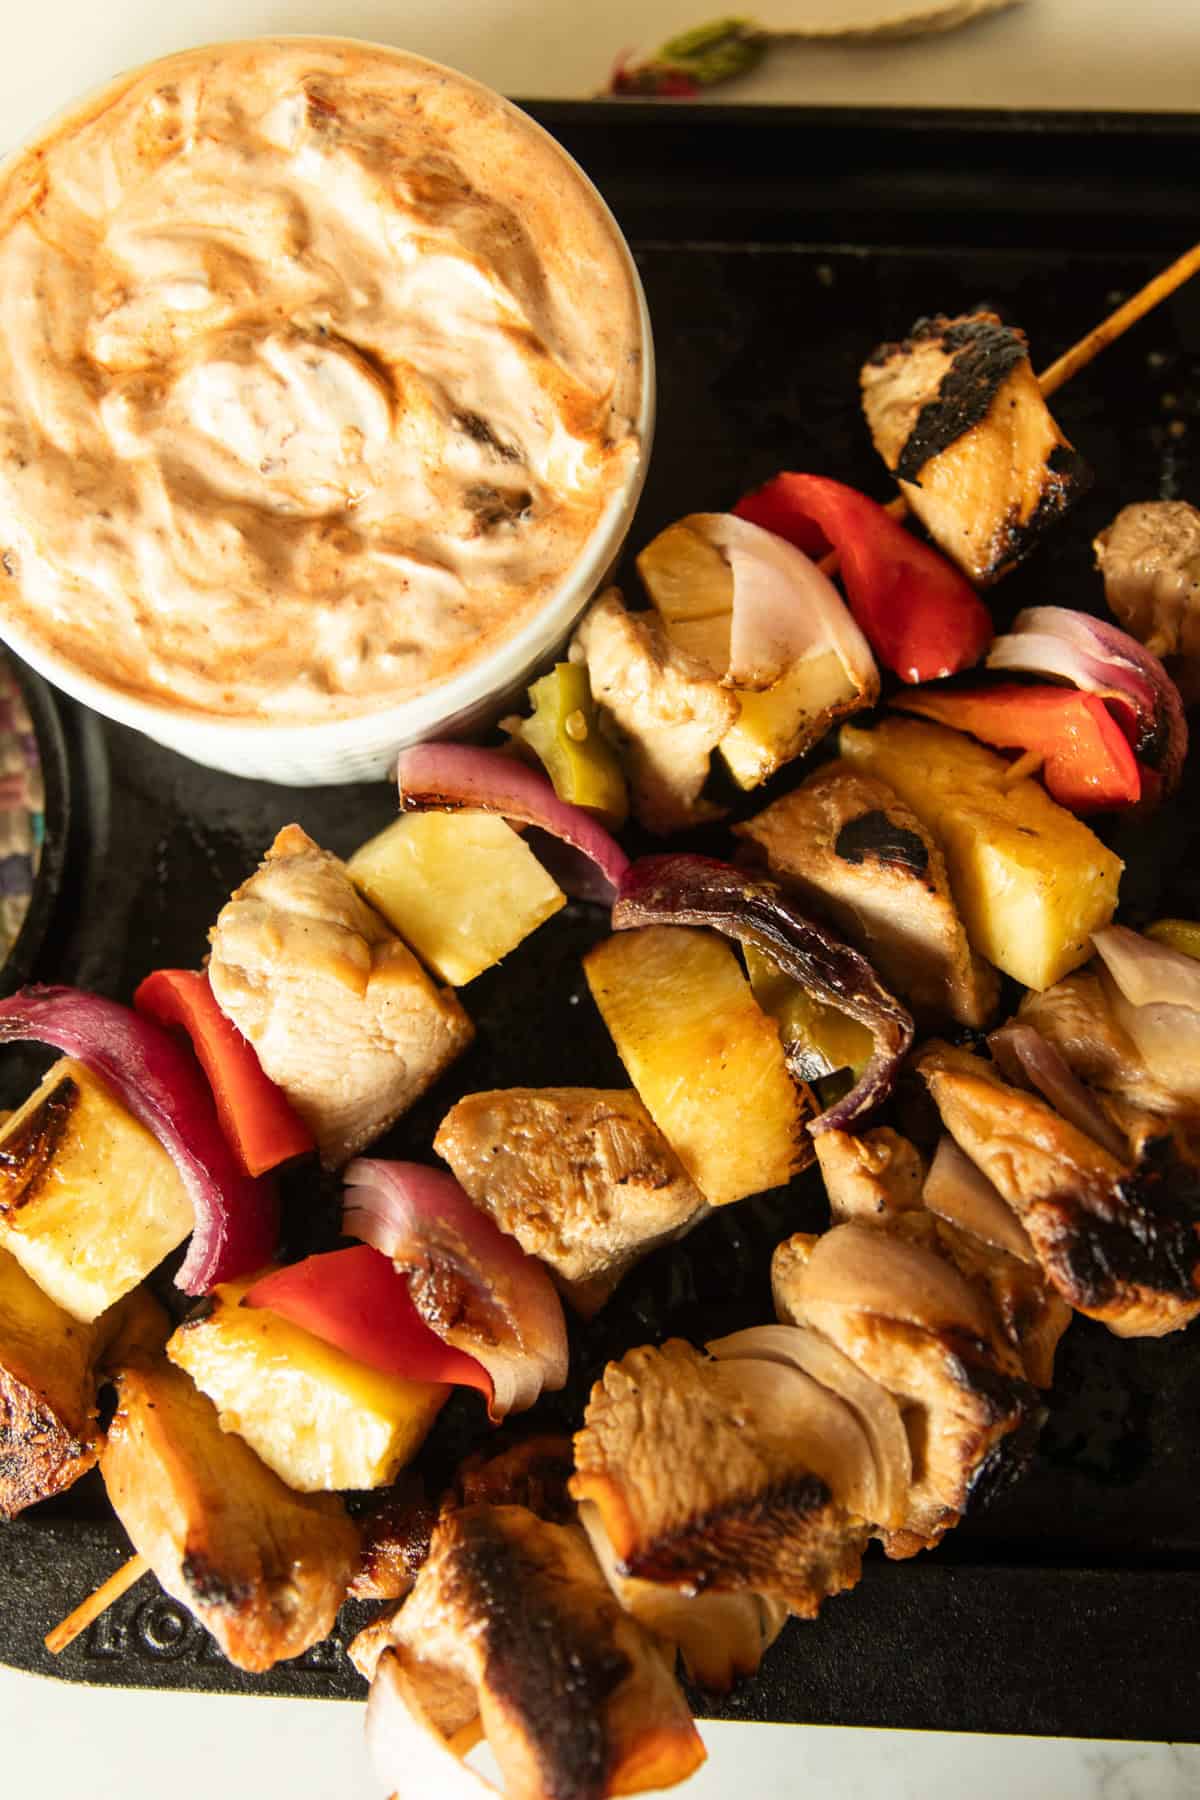
I’m all about bold flavors and fresh ingredients in the summer! Kabobs are exactly what comes to mind when I think of that.
The tangy marinated chicken, tender veggies, and caramelized pineapple chunks are truly a match made in heaven.
And while grilled kabobs are always delicious, I’ve found the best way to make pineapple chicken skewers indoors without a grill!
This recipe can be made any time with your regular kitchen tools: a cast iron skillet and an oven. To me, that just means I can eat them even more often, and that’s a win in my book!
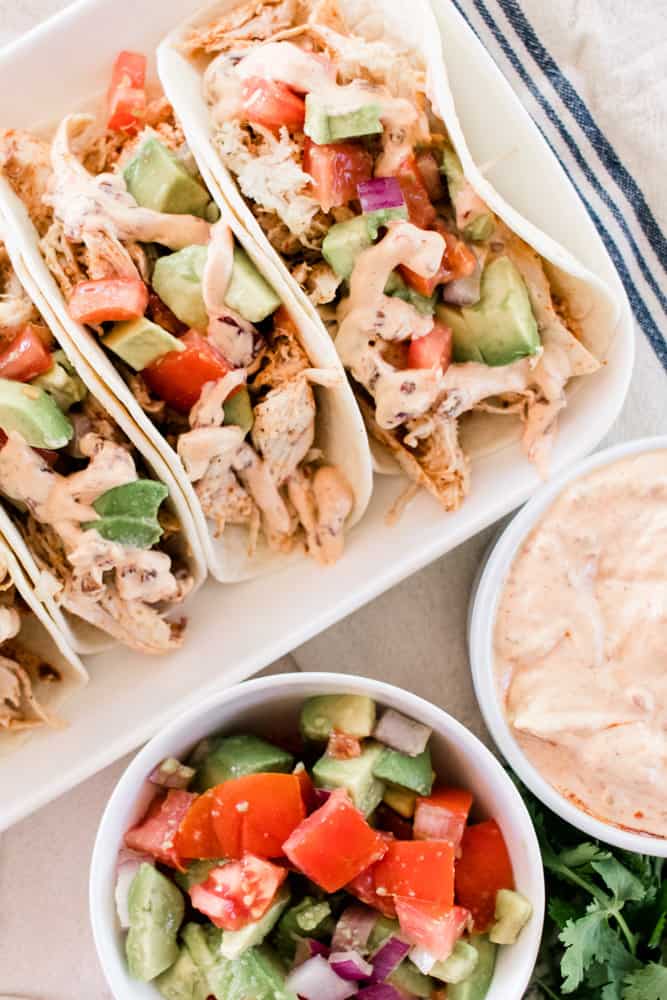
Give these pineapple kabobs a try — you’re going to love them. And if you like Hawaiian flavors, make my buffalo Hawaiian tacos next!
Table of Contents
Why You’ll Love This Recipe
- No grill needed: Whether you’re out of propane, the weather is bad, you don’t own a grill, or you live in an apartment, you can still have the perfect kabob. Grilling them on a cast iron grill pan or skillet gives them lots of yummy flavor and charred spots, and you don’t even have to leave the kitchen.
- Fresh and healthy: I love how light yet filling kabobs are. You get plenty of protein and veggies without having to force them into a meal. No one in my family ever complains about kabobs for dinner!
- Customizable: Don’t like an ingredient or have a different meat thawed? You can mix it up easily with different proteins and veggies!
- Allergy-friendly: These kabobs can easily be gluten-free and dairy-free, making them perfect for a group with allergies or other dietary restrictions! Just swap tamari for the soy sauce and keep the chipotle cream sauce on the side.
Ingredients
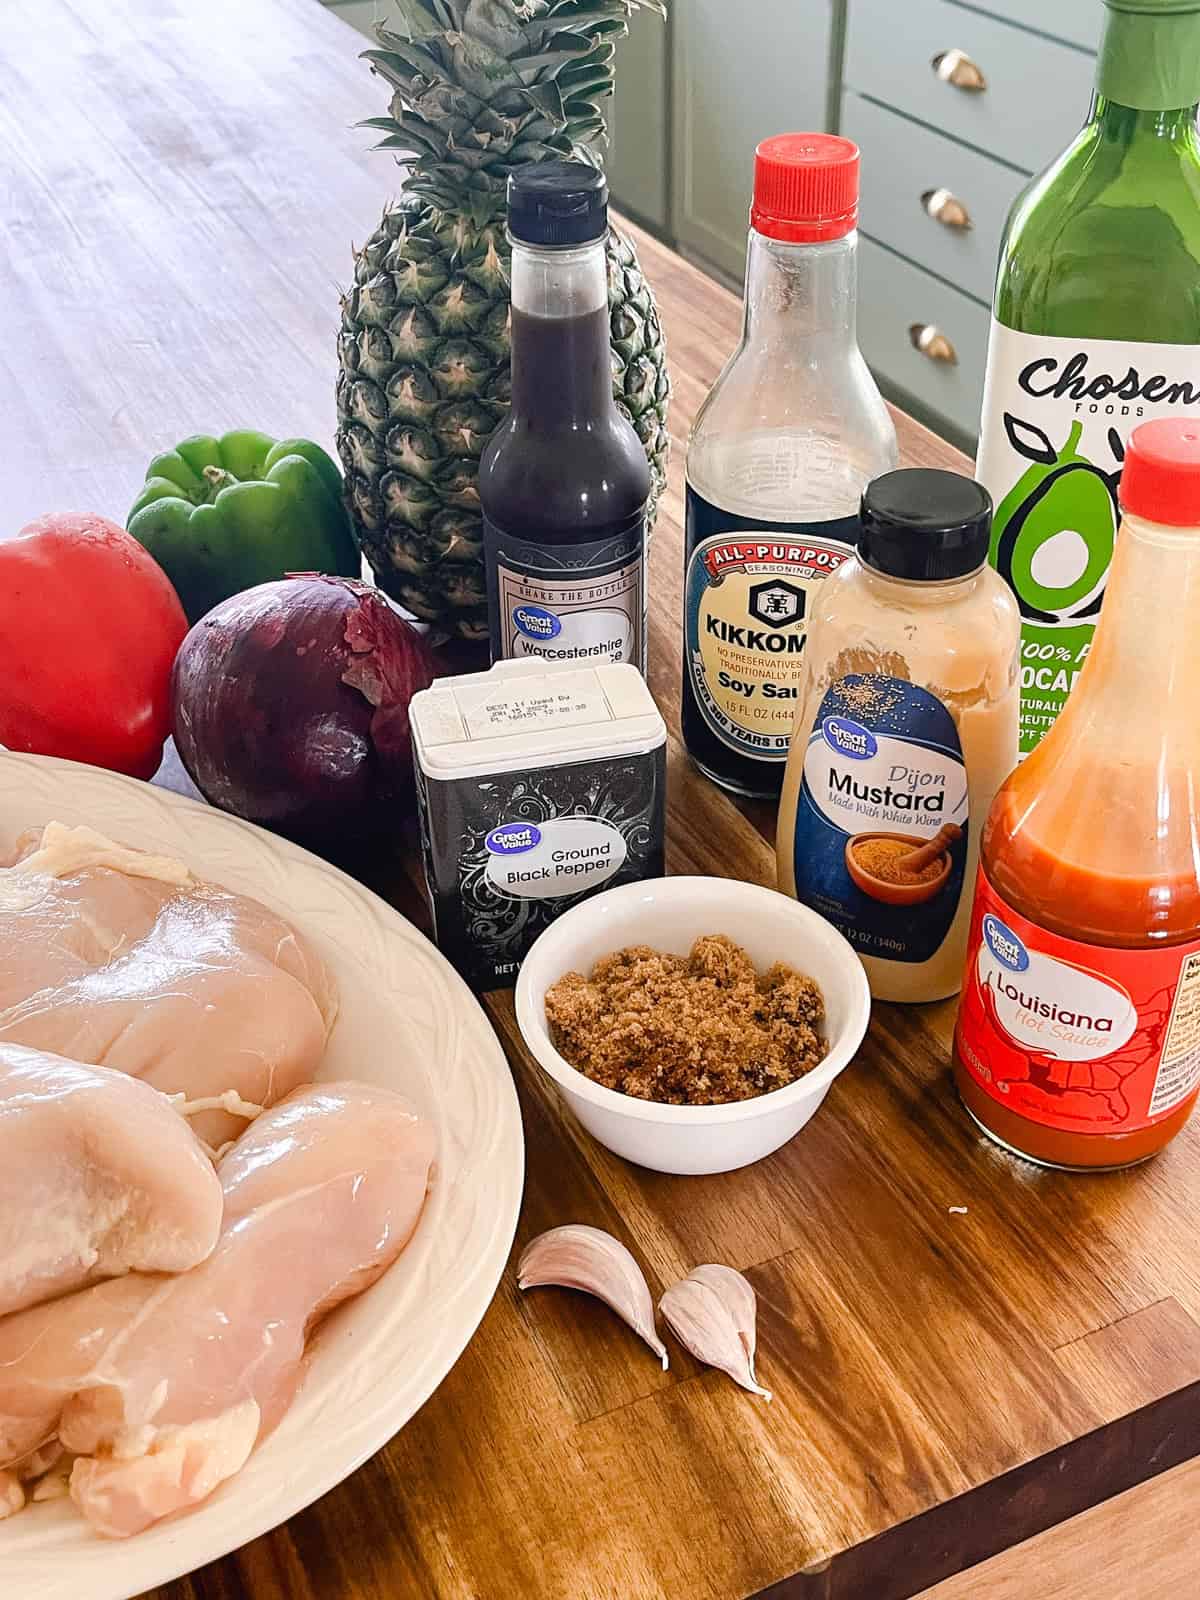
- Chicken: I used boneless, skinless chicken breast. Thighs will also work!
- Pineapple: You’ll want fresh pineapple for this recipe if possible — it grills up much better than frozen, and canned gets too soft.
- Veggies: A rainbow of bell peppers and red onion make your kabobs just as pretty as they are yummy!
- Marinade: A simple marinade with soy sauce, brown sugar, hot sauce, and a few other ingredients gives the chicken loads of flavor and a perfectly tender bite.
Get the full recipe with all ingredients and measurements in the recipe card at the bottom of this post!
How to Make Hawaiian Chicken Kabobs
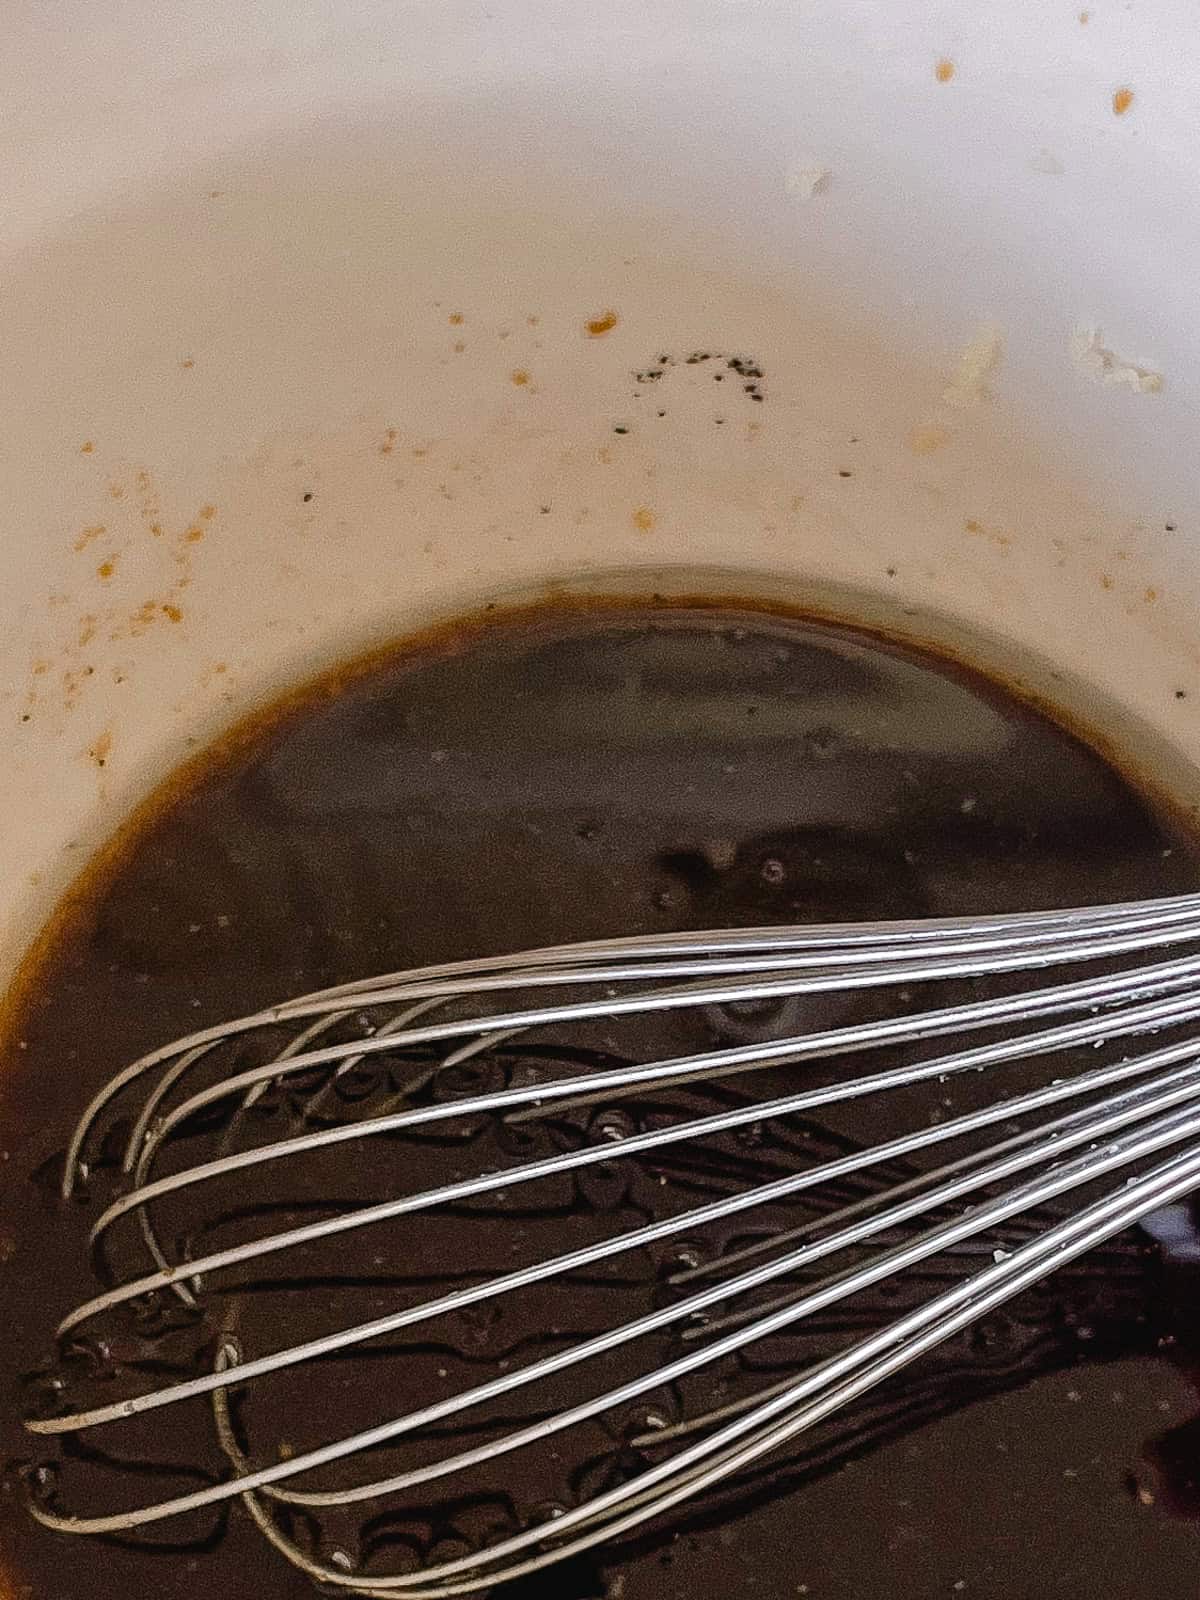
Step 1. Make the marinade. Whisk soy sauce, olive oil, brown sugar, Worcestershire, Dijon, garlic, ginger, hot sauce, and black pepper in a bowl until the sugar dissolves.
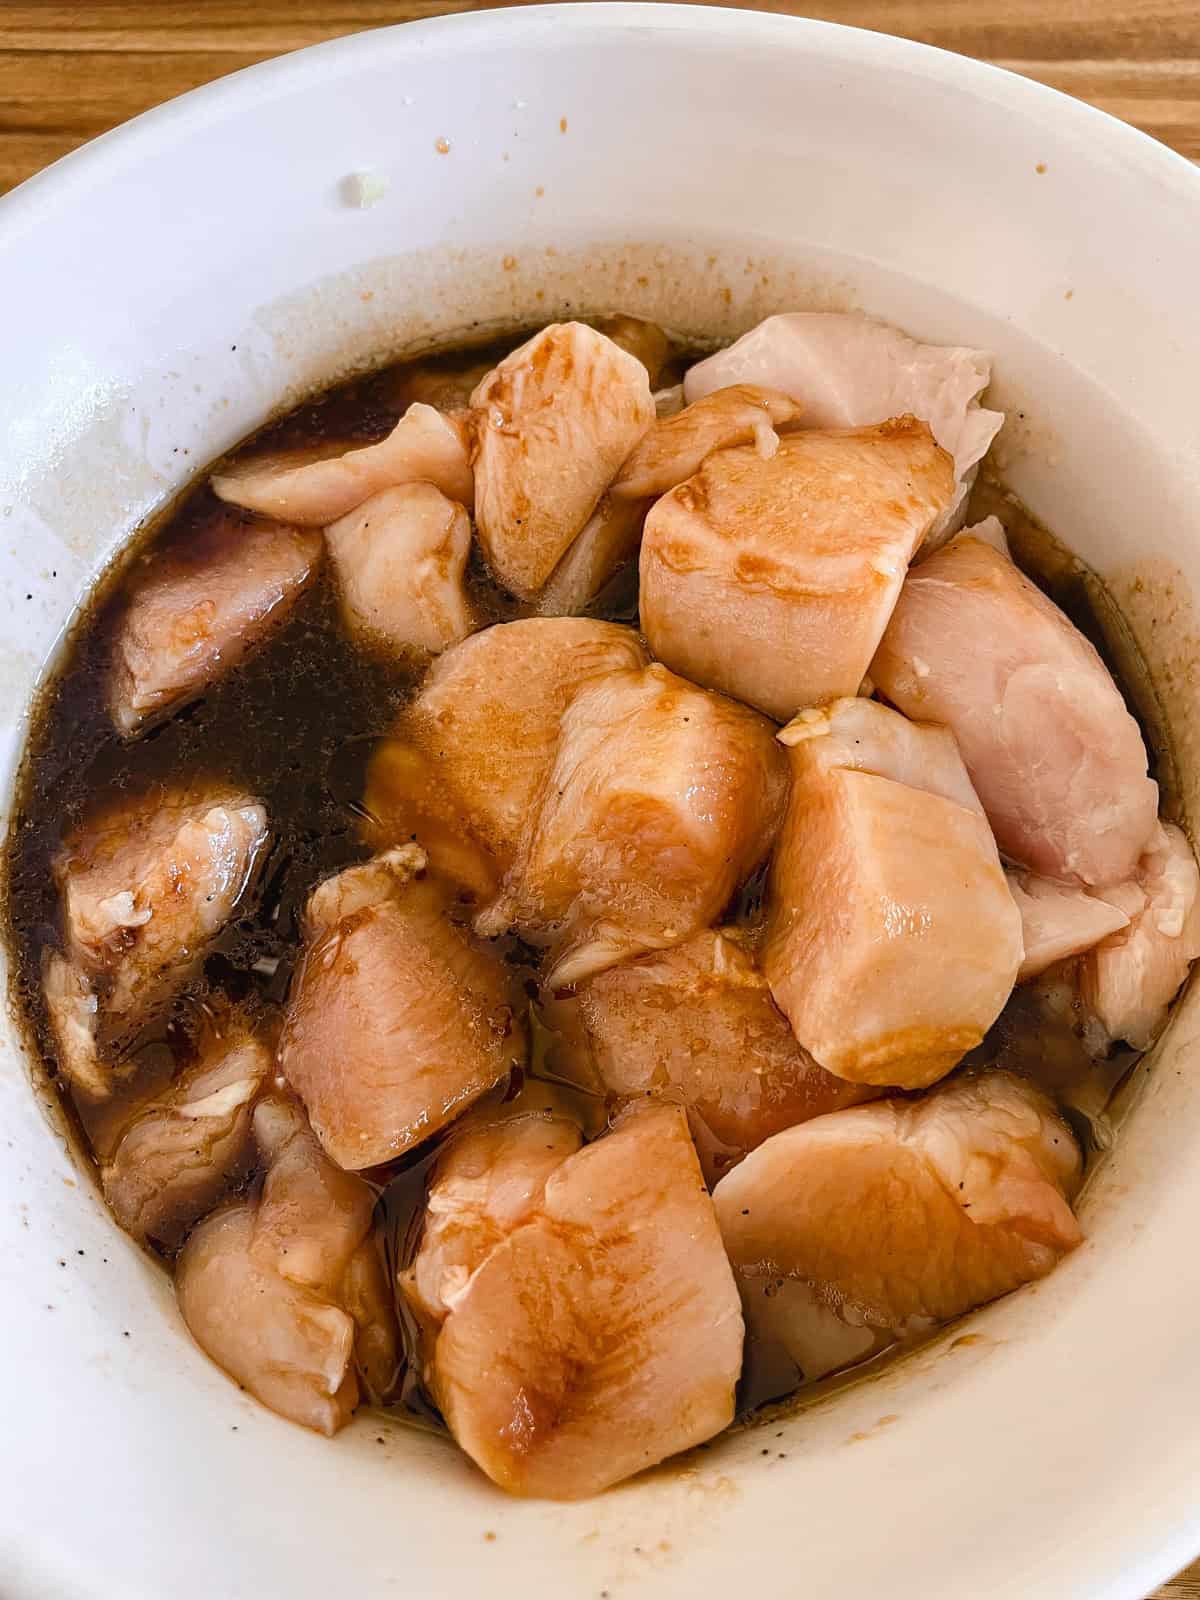
Step 2. Marinate the chicken. Add the chicken pieces, toss to coat, and refrigerate for 1 hour.
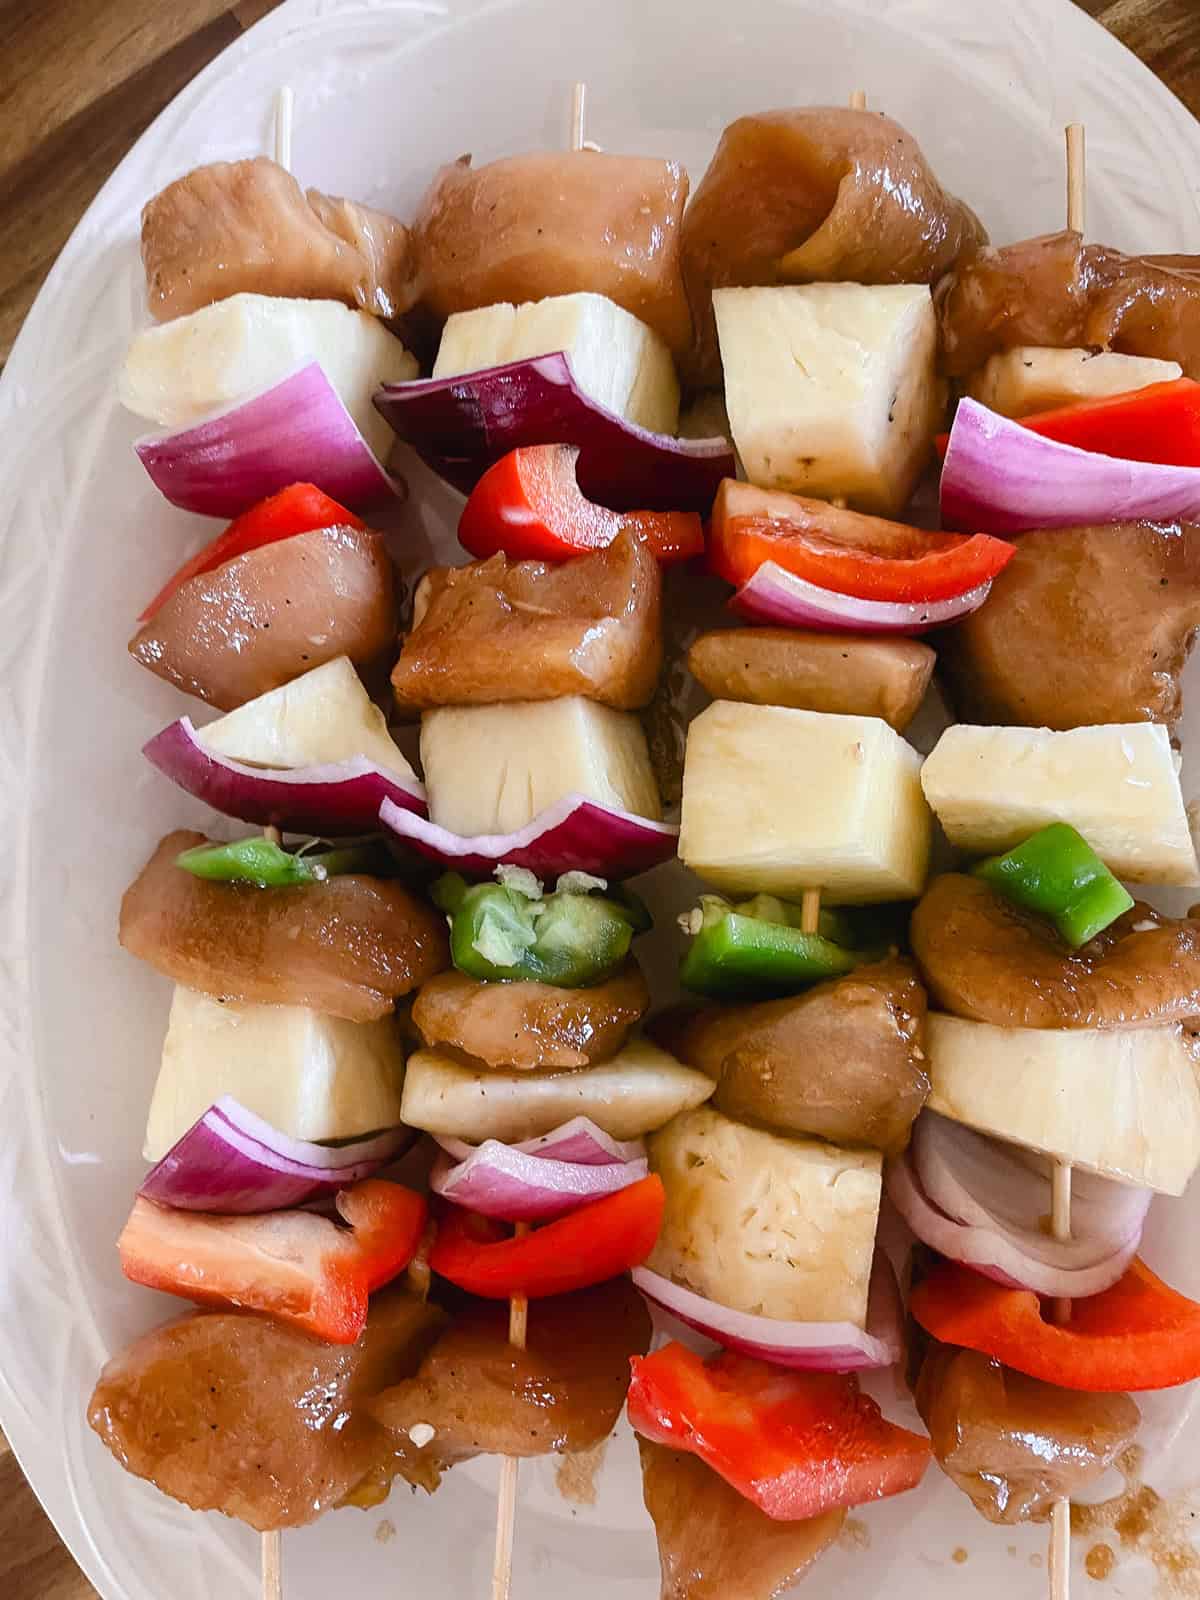
Step 3. Build the skewers. Preheat oven to 375°F. Thread chicken, pineapple, red onion, and bell pepper, alternating as you go. Discard the used marinade.
Step 4. Heat the cast iron. Set a cast iron grill pan or skillet over medium-high and let it get fully hot, 3–4 minutes. Add a thin film of oil.
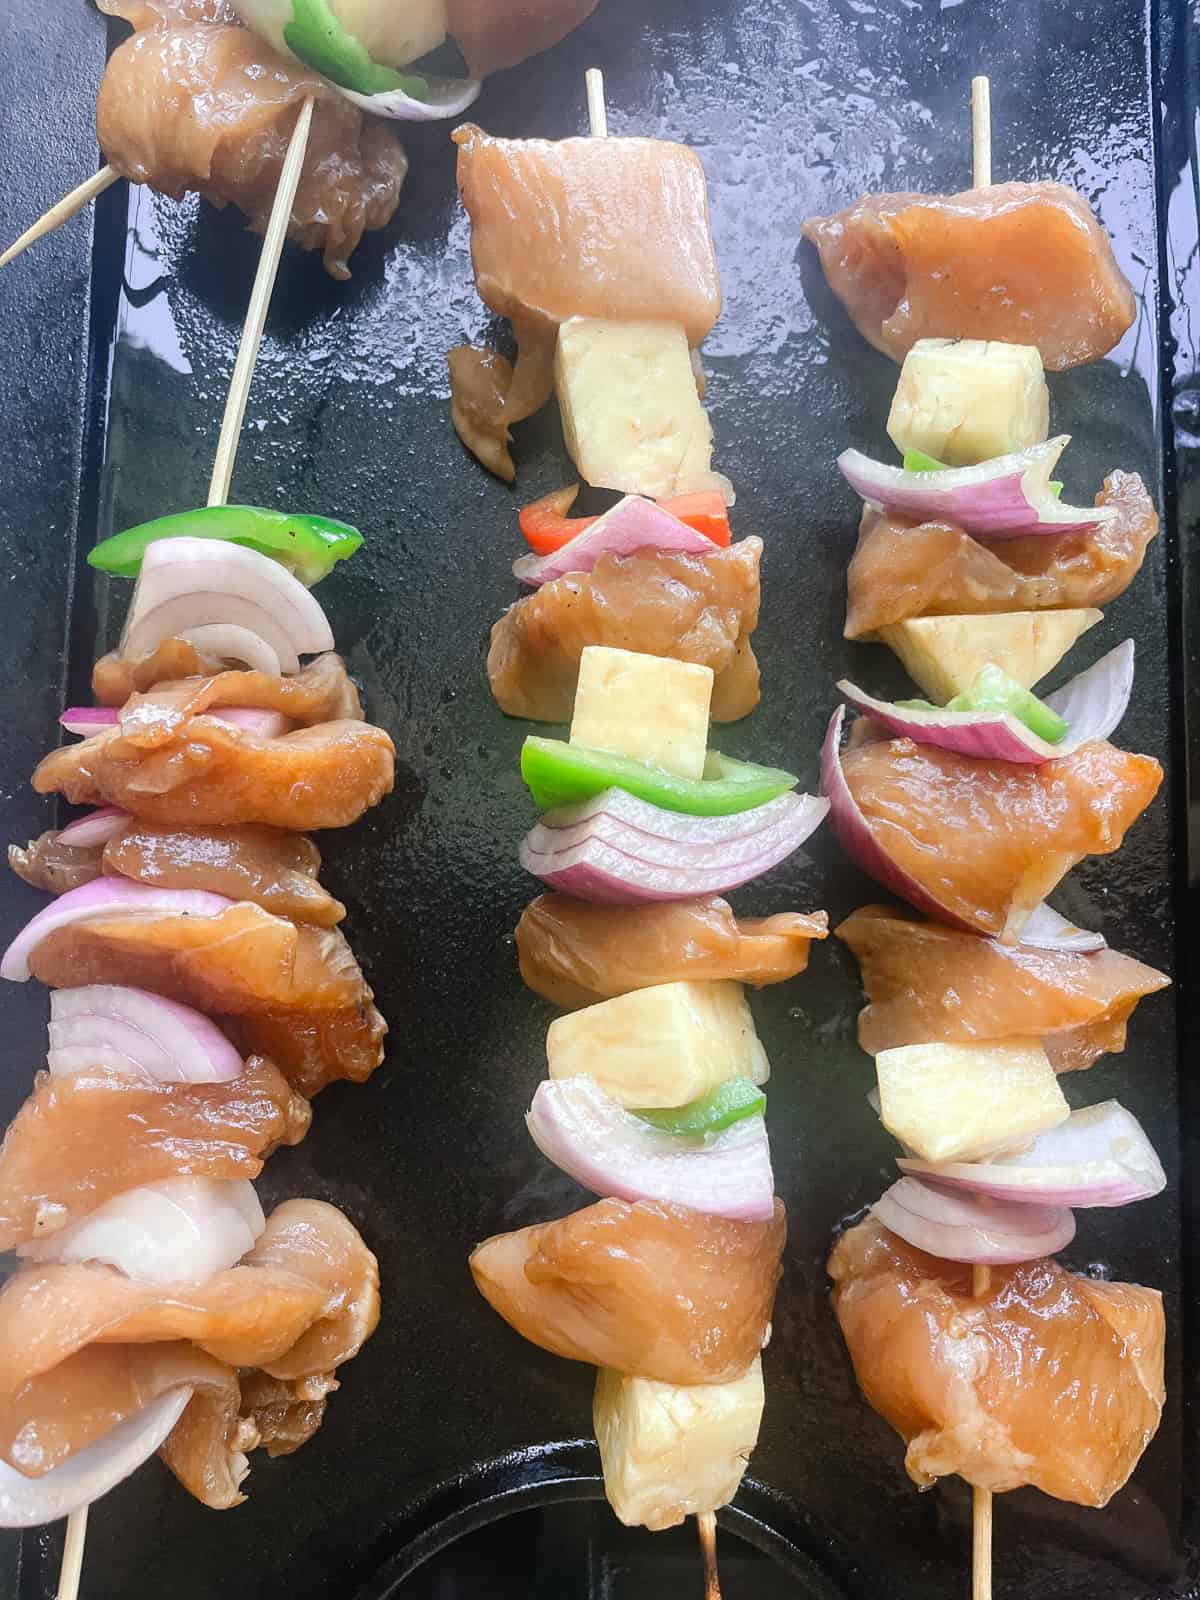
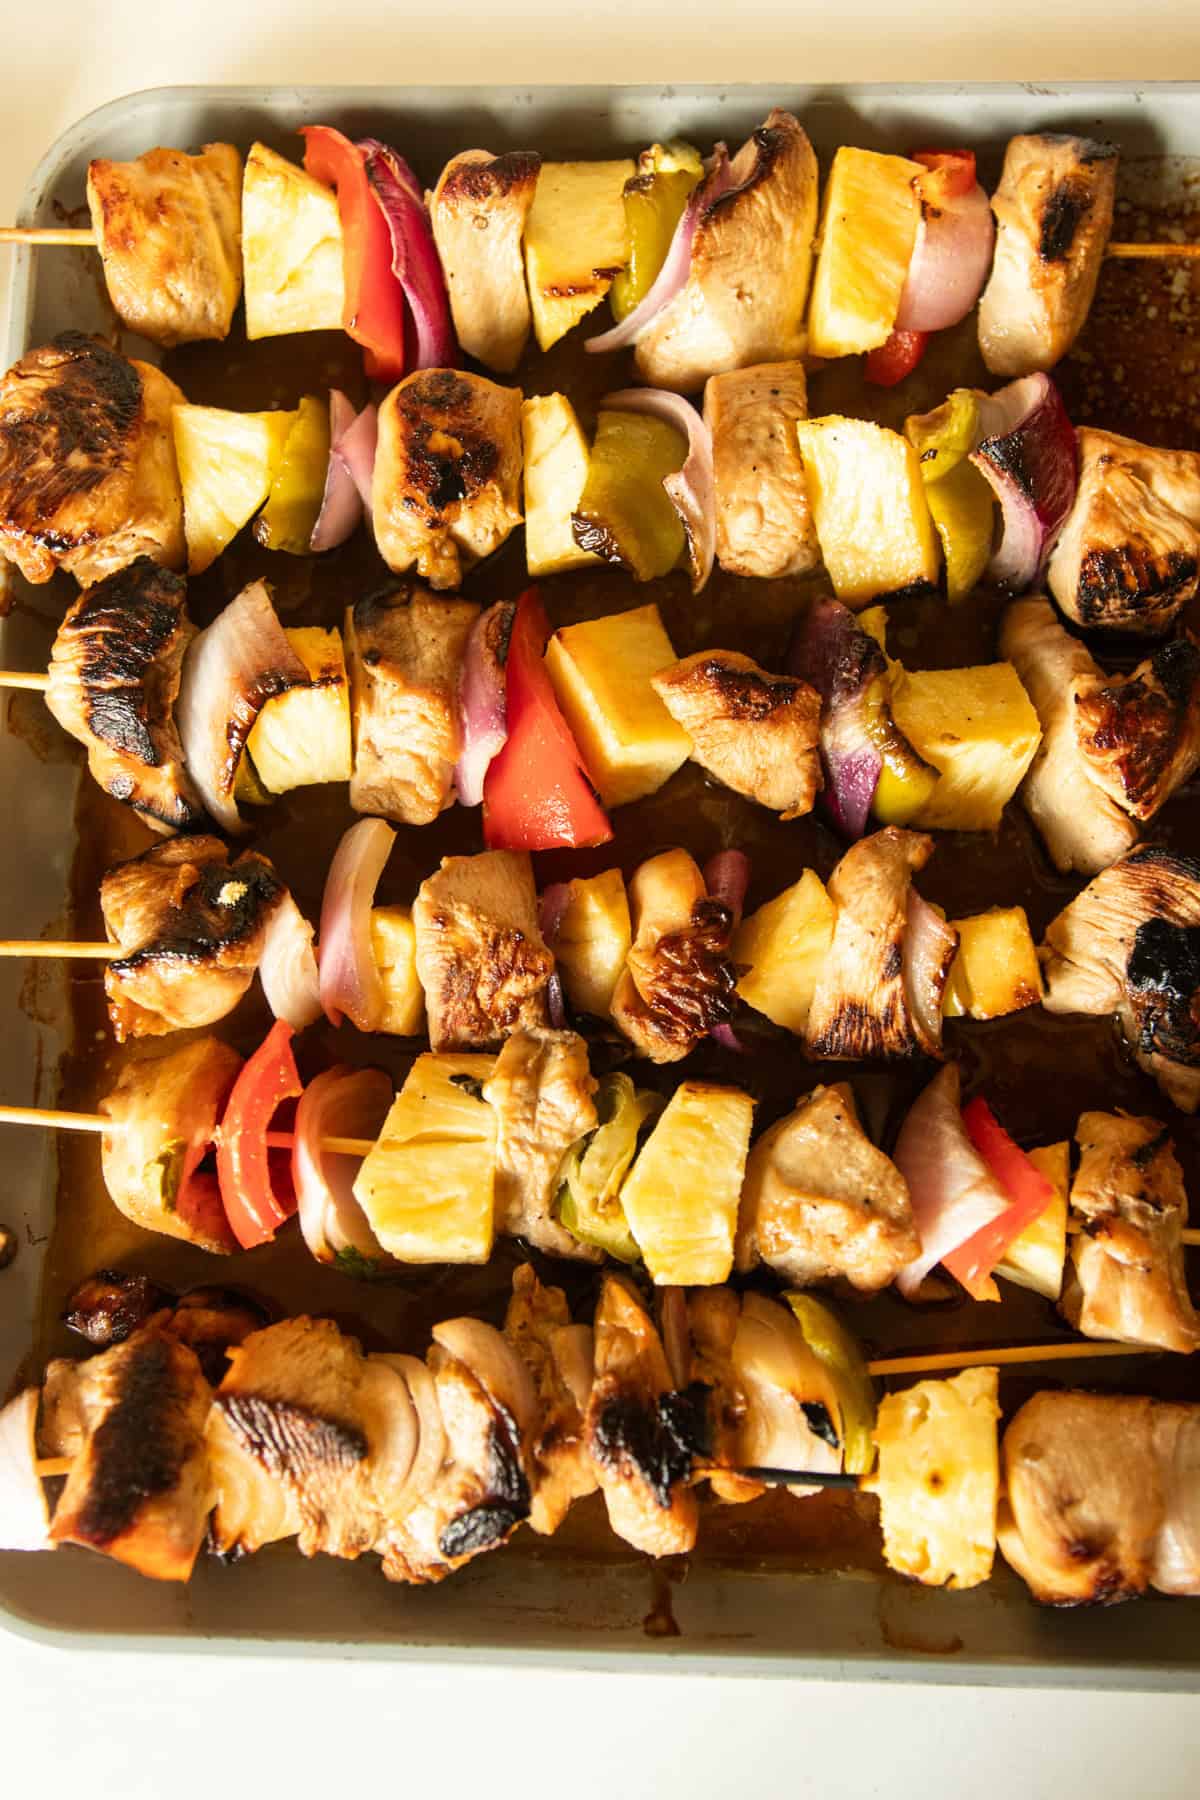
Step 5. Cook. Lay the skewers in the hot pan and cook 1 minute per side or until the edges of the chicken char. Transfer to the oven to bake for 15 minutes or until the internal temperature of the chicken reads 165°F.
Step 6. Rest and serve. Rest 5 minutes before serving.
Tips + Notes
- I recommend serving these skewers with a chipotle cream sauce. My husband makes a quick one with about 1 cup of sour cream mixed with a 7-oz can of chipotle peppers in adobe sauce. Simple enough, but so delicious!
- Make sure you cut the veggies and (especially) the meat into uniformly sized pieces so they cook evenly.
- I strongly recommend an instant-read digital thermometer for testing when your chicken is at a safe temperature to eat. Poke it into the middle of the biggest piece of chicken, avoiding the skewer. The meat is done at 165°F, and it’s best not to go much hotter than that so your chicken doesn’t dry out.
- This is a great prep-ahead meal! You can marinate the meat and assemble the skewers, then leave them in the fridge for a few hours before you’re ready to cook them.
- You can use any color of bell pepper you prefer, or a mix of more than one!
What to Serve with Hawaiian Chicken Kabobs
For a low-carb or lighter meal, you can serve kabobs just as they are without any sides! This is a great weeknight meal that gets you a good serving of protein, fruits, and veggies in one dish.
I typically like adding some carbs with my skewers, and there are a lot of great options! My go-tos for serving with chicken kabobs are Dutch oven white rice, cast iron skillet potatoes, or freshly milled Hawaiian rolls with butter. The flavors are complementary, and they are just plain delicious!

Recipe FAQs
Yep! It’s actually quite easy. I use a cast iron surface to get those yummy charred edges that a grill typically leaves, then pop them in the oven to finish. The whole cooking process takes less than 20 minutes!
Yes, either bamboo or metal skewers will work great.
Absolutely! Once your skewers are assembled, feel free to take them out to the grill for cooking. You don’t need to adjust anything about the recipe; just grill them until the internal temperature of the chicken reaches 165°F.
I really wouldn’t recommend it. Canned pineapple is too soft to stay on the skewer, and it can get mushy when grilled. If you can’t find fresh, frozen pineapple would work better than canned.
Yes! It is almost completely gluten-free on its own; just make sure to use tamari instead of soy sauce.
Related Recipes
- Roasted Chicken Quarters
- Skillet Cajun Chicken Bites
- Honey Garlic Chicken
- Crispy Baked Chicken Wings
- Honey Ginger Chicken
If you tried these Hawaiian Chicken Kabobs or any other recipe on my website, please leave a star rating and let me know how it went in the comments below. Thanks for visiting!
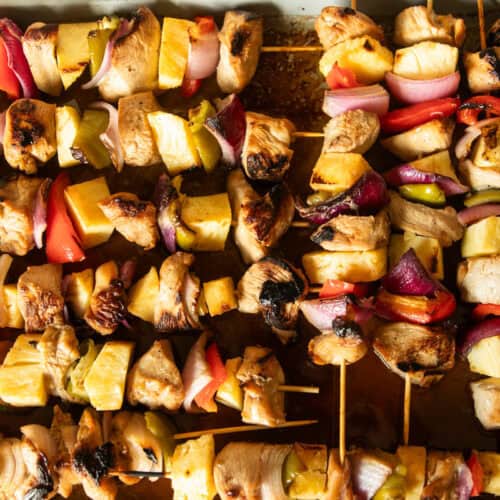
Hawaiian Chicken Kabobs (No Grill Needed)
Equipment
- Cast iron skillet or grill pan
Ingredients
For the Skewers
- 2 lbs boneless skinless chicken breasts, cut into 1½-inch pieces
- 1 fresh pineapple cut into 1-inch chunks (about 4 cups)
- 1 large red onion peeled and cut into 1-inch pieces
- 1 large red bell pepper de-seeded and cut into 1-inch pieces
- 10–12 skewers wooden, soaked 30 min
For the Marinade
- ½ cup soy sauce
- ¼ cup olive oil
- 2 tablespoons brown sugar
- 1 tablespoon Worcestershire sauce
- 1 tablespoon Dijon mustard
- 2 cloves garlic minced
- 1 teaspoon Louisiana hot sauce optional
- ½ teaspoon ground black pepper
Instructions
- Make the marinade. Whisk soy sauce, olive oil, brown sugar, Worcestershire, Dijon, garlic, ginger, hot sauce, and black pepper in a bowl until the sugar dissolves.
- Marinate the chicken. Add the chicken pieces, toss to coat, and refrigerate for 1 hour.
- Preheat oven to 375°F.
- Build the skewers. Thread chicken, pineapple, red onion, and bell pepper, alternating as you go. Discard the used marinade.
- Heat the cast iron. Set a cast iron grill pan or skillet over medium-high and let it get fully hot, 3–4 minutes. Add a thin film of oil.
- Cook. Lay the skewers in the hot pan and cook 1 minute per side or until the edges of the chicken char. Transfer to the oven to bake for 15 minutes or until the internal temperature of the chicken reads 165°F.
- Rest and serve. Rest 5 minutes, then serve with a chipotle cream sauce*.
Video
Notes
- *I recommend serving these skewers with a chipotle cream sauce. My husband makes a quick one with about 1 cup of sour cream mixed with a 7-oz can of chipotle peppers in adobe sauce. Simple enough, but so delicious!
- Make sure you cut the veggies and (especially) the meat into uniformly sized pieces so they cook evenly.
- I strongly recommend an instant-read digital thermometer for testing when your chicken is at a safe temperature to eat. Poke it into the middle of the biggest piece of chicken, avoiding the skewer. The meat is done at 165°F, and it’s best not to go much hotter than that so your chicken doesn’t dry out.
- This is a great prep-ahead meal! You can marinate the meat and assemble the skewers, then leave them in the fridge for a few hours before you’re ready to cook them.
- You can use any color of bell pepper you prefer, or a mix of more than one!






So fun and delicious! I’m going to add fresh zucchini to it too!
Wonderful idea!