
This post contains affiliate links. Please read our disclosure policy.
It’s time for another easy and comforting side dish! This skillet creamed corn is rich and creamy with fresh sweet corn and crispy bacon on top. It’s a delicious addition to summer cookouts, Thanksgiving dinner, or a simple weeknight meal!

I always loved creamed corn growing up; it’s such a nostalgic and comforting dish! Typically, we would just open a can of cream style corn when the craving hit.
But once I started making it homemade with fresh corn, heavy cream, and bits of bacon, there was no going back to canned corn.
Homemade creamed corn is so simple to make! And the freshness and rich flavors can’t be beat.
This skillet creamed corn is made with tender, super sweet fresh corn cooked in a creamy sauce, topped with crispy bacon pieces to finish it off.
It’s an easy one-pot side that comes together with minimal ingredients. You can even use frozen corn if that’s what you have!
This bacon creamed corn is really the ultimate side dish. You can make it in the summertime to go with burgers or barbecued meat, or serve it up in the fall and winter for holiday meals and cozy dinners.
Looking for more easy and delicious sides? This creamed corn pairs nicely with skillet baked beans with bacon, skillet green beans, or Dutch oven mac and cheese!
Table of Contents
Why You’ll Love This Recipe
- Easy one-pot side dish: Creamed corn takes minimal ingredients and less than 45 minutes from start to finish. It’s easy to throw together while you’re making the rest of your meal.
- Creamed corn with bacon: If you’ve never tried bacon in your creamed corn, you are in for a treat! It adds such a great flavor to the corn, and really, can you ever go wrong with bacon?
- Crowd pleaser: Make this creamed corn for BBQs, Thanksgiving dinner, or a casual weeknight meal. It’s sure to please even your pickiest eaters.
- Better than canned: If you ask me, homemade is always better, but especially when it comes to this creamed corn!
Ingredients
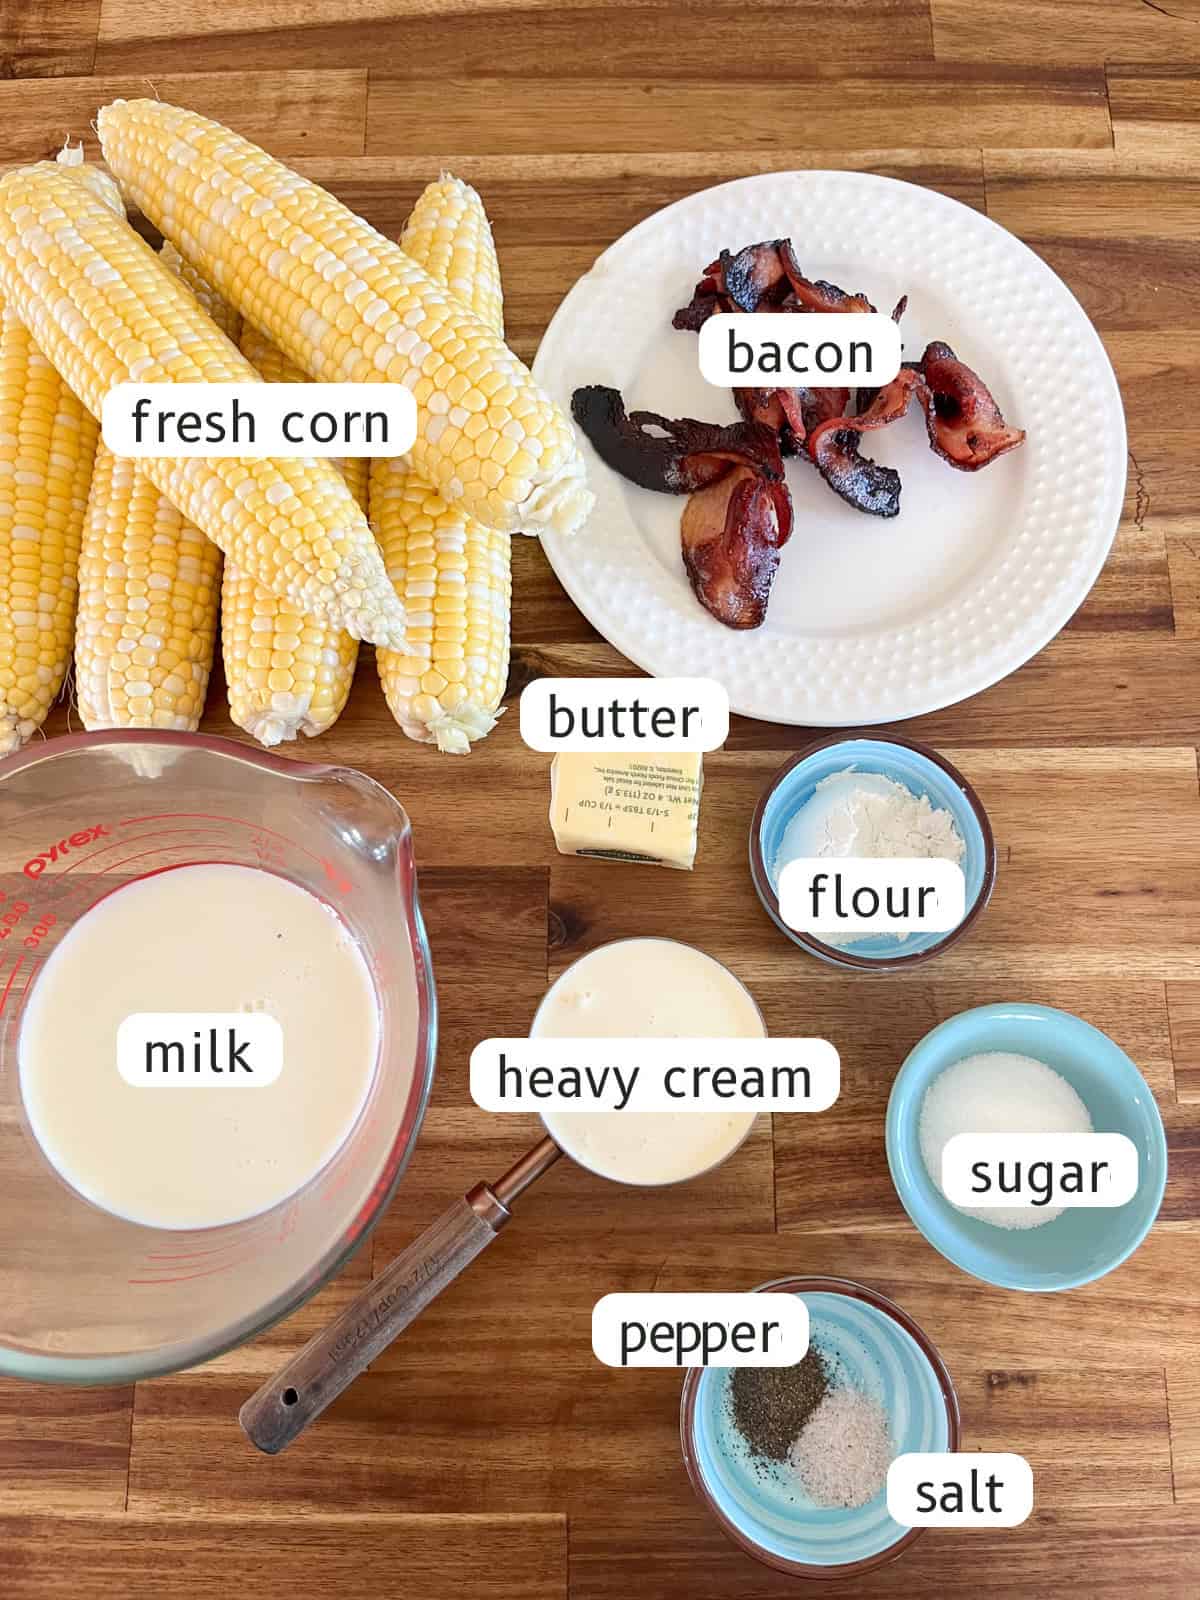
- Fresh corn: Fresh corn has the best flavor and texture, but frozen can work when sweet corn is out of season. Check the ‘tips + notes’ section for how to make the swap!
- Sugar: It doesn’t take much, but a touch of sugar brings out the natural sweetness in the corn and makes a delicious, well-balanced dish.
- Bacon: You won’t regret adding bacon to your creamed corn! It gives it a savory, salty, smoky flavor that takes this side dish to the next level.
Find the full list of ingredients, with measurements, in the recipe card below!
How to Make Skillet Creamed Corn
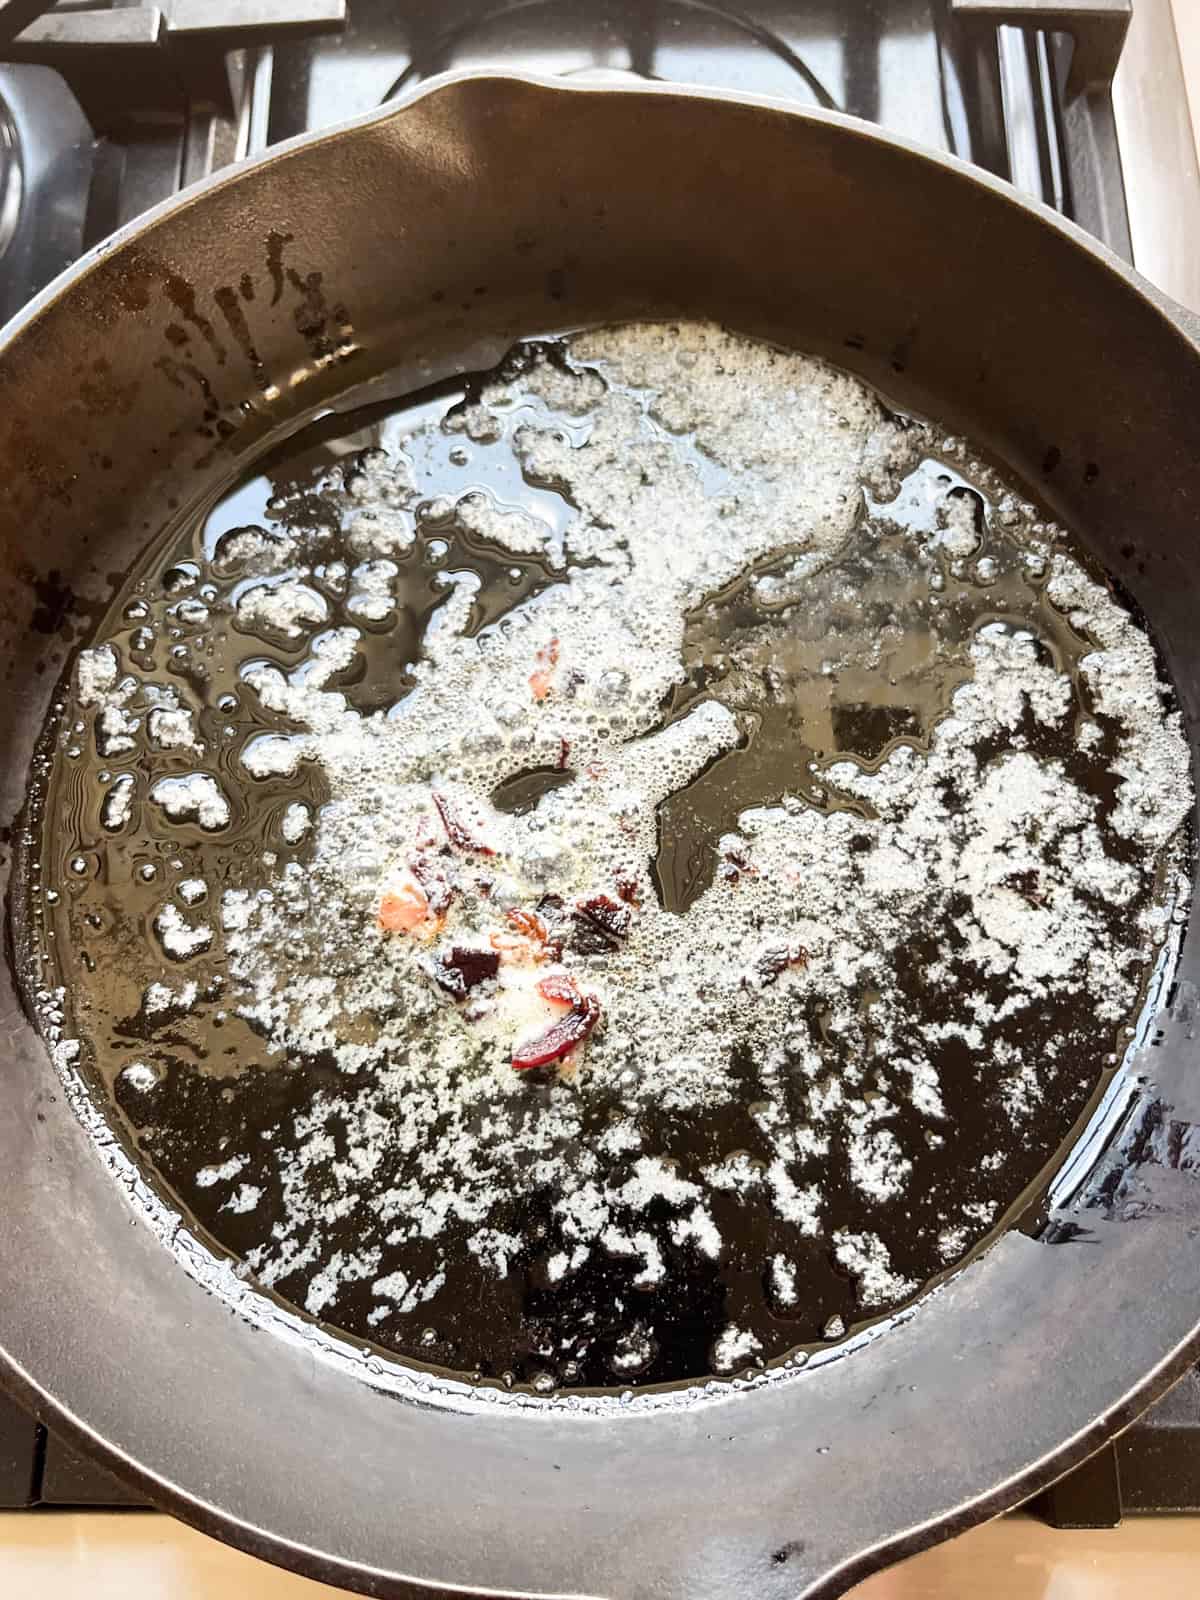
Step 1. Cook the bacon in a 12-inch cast iron skillet over medium heat until crisp, about 8 minutes. Move it to a paper towel. Remove excess grease, leaving about 1 tbsp in the skillet.
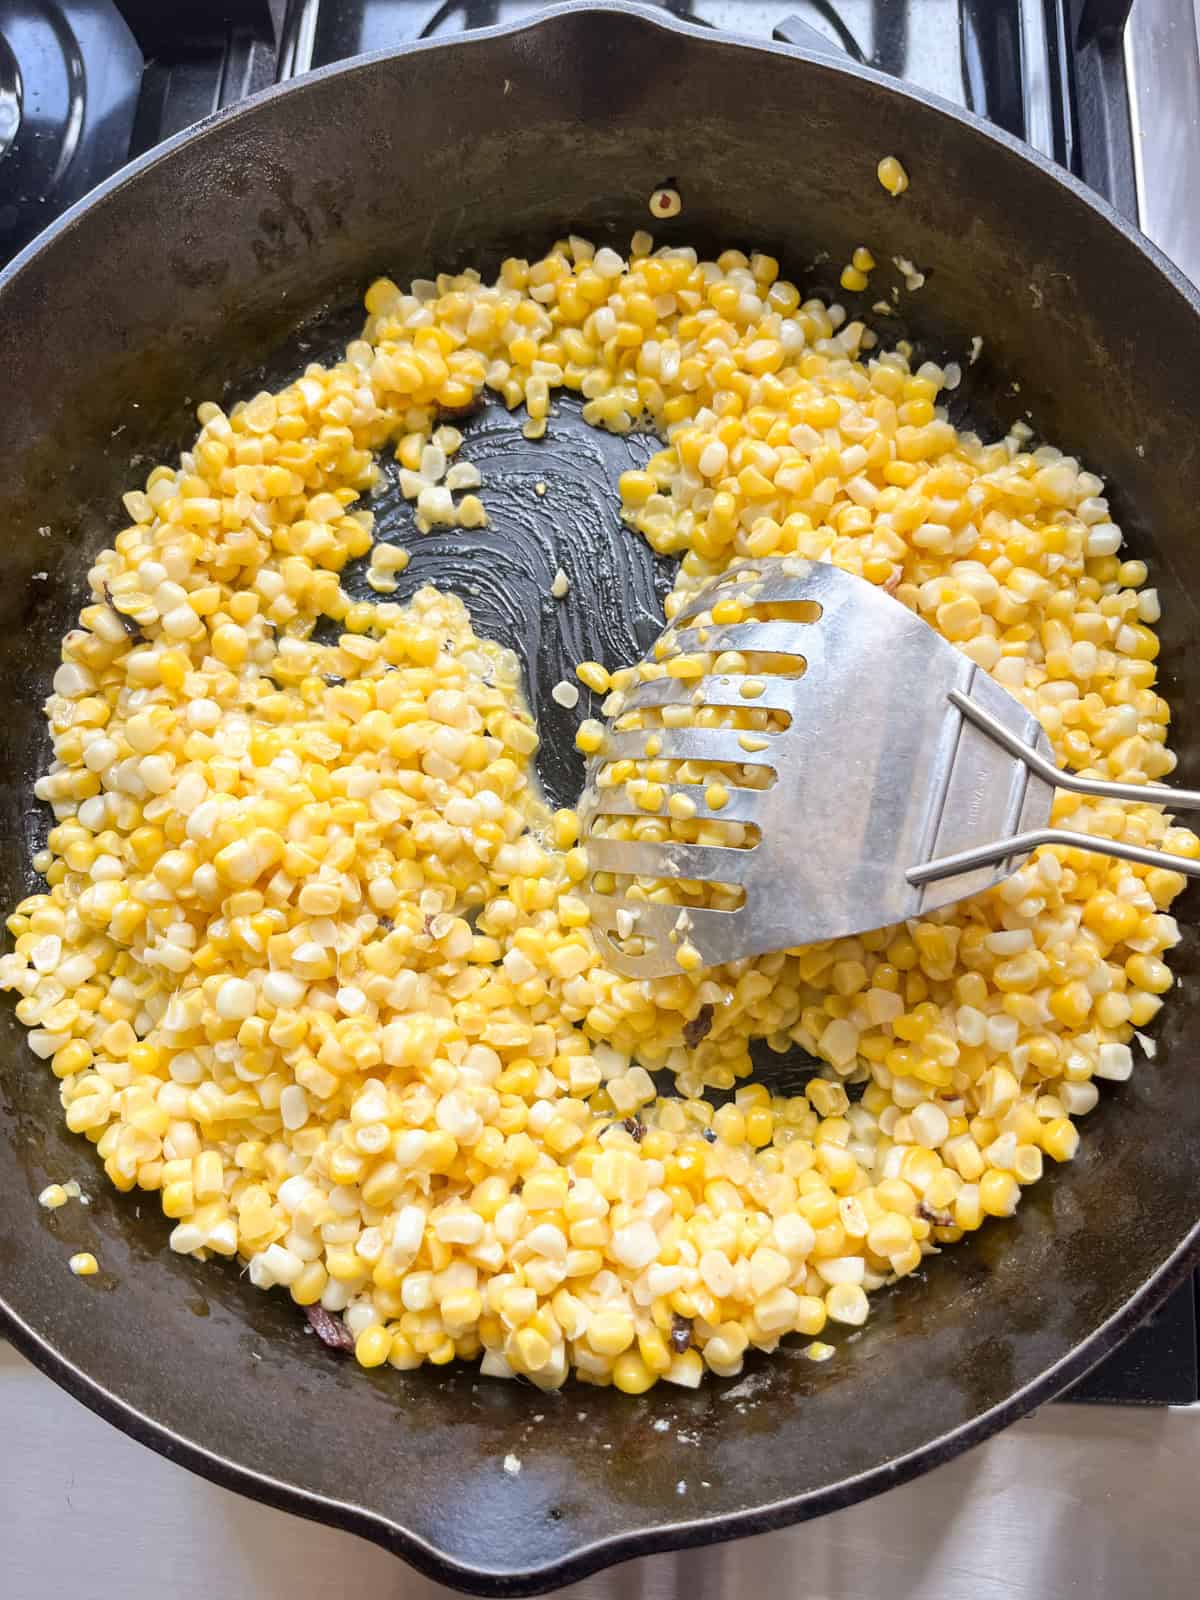
Step 2. Cut the kernels off the cobs into a bowl. Scrape the back of the knife down each bare cob to release the milky starch and add it to the kernels.
Step 3. Melt the butter into the bacon drippings. Add the corn and everything scraped off the cobs. Cook 5 minutes, stirring now and then.
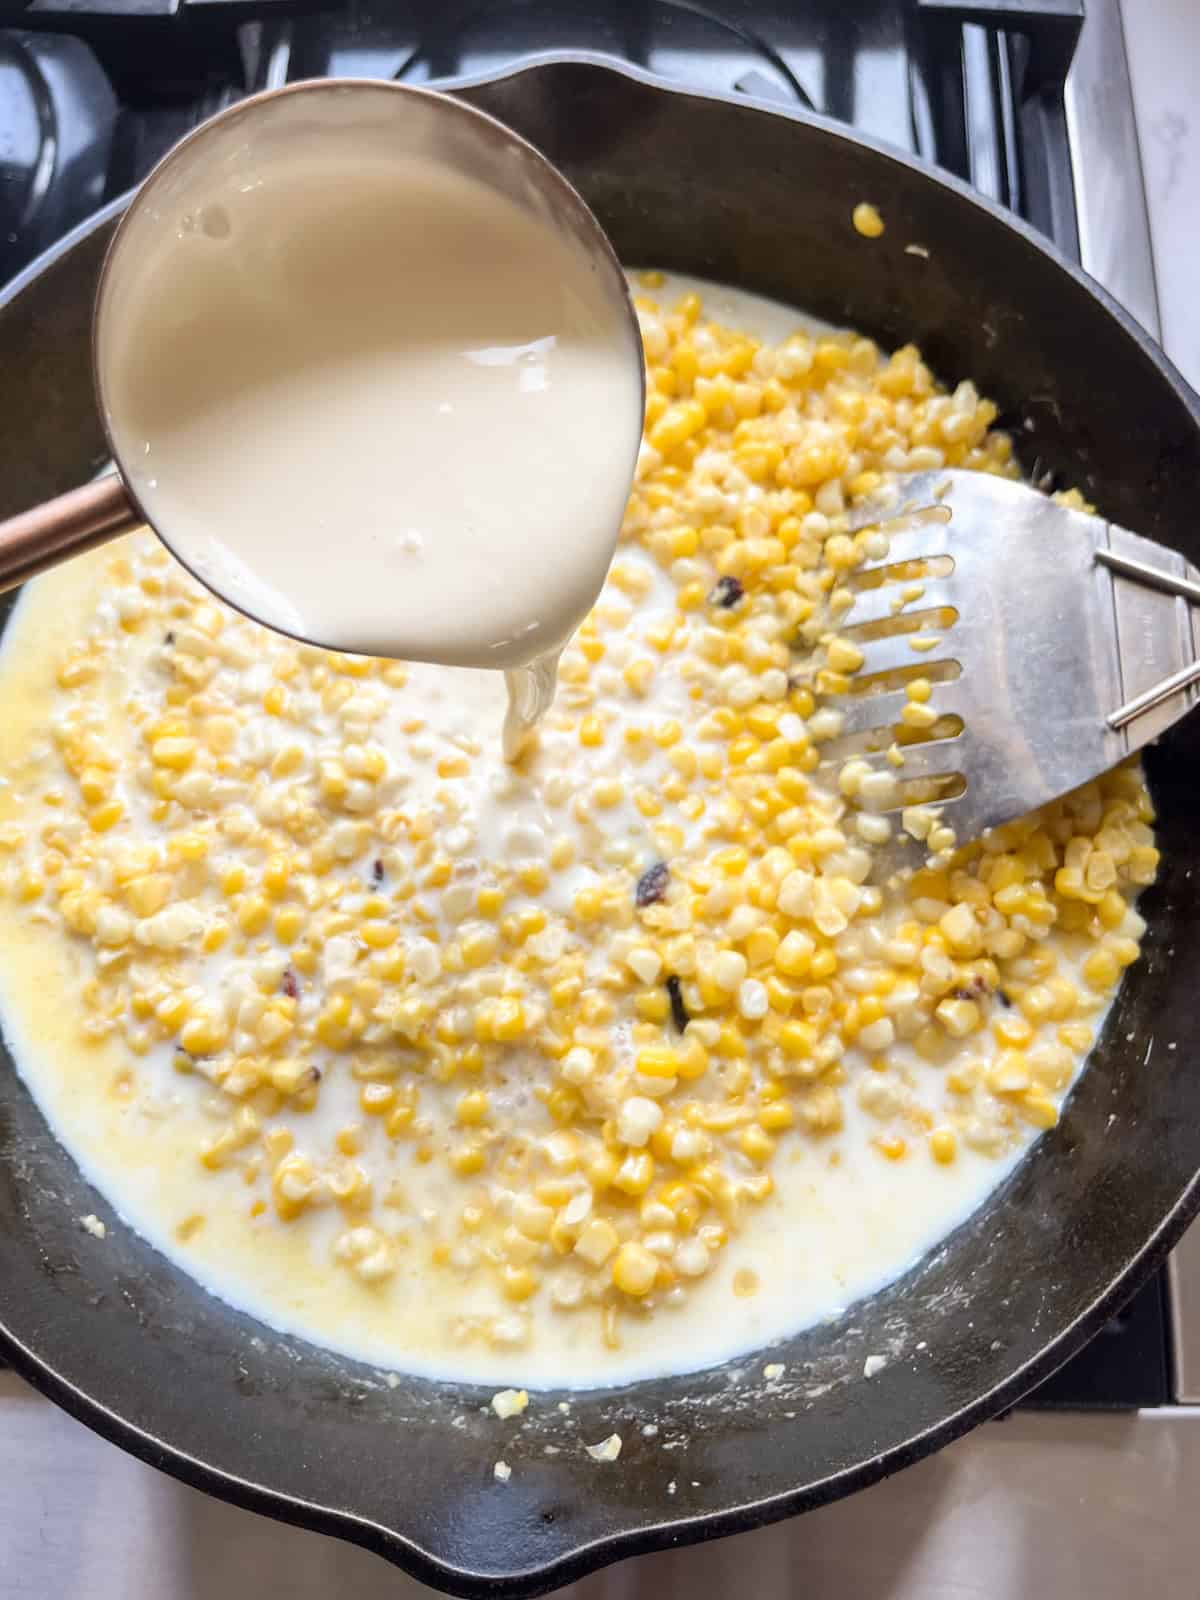
Step 4. Sprinkle the flour over the corn and stir 1 minute.
Step 5. Reduce heat and add the milk, cream, sugar, salt, and pepper.

Step 6. Simmer 8 to 10 minutes, stirring often, until it thickens and the corn is tender. Crumble the bacon over the top.

Tips + Notes
- Keep it at a gentle simmer. Milk and cream break if they boil hard, and you’ll end up with a grainy skillet.
- If you’re using fresh corn, don’t skip scraping the corn cobs with the back of your knife. The milky, starchy juice that is released adds so much flavor!
- Pull it off the heat while it still looks a little loose. It thickens on the way to the table.
- Frozen corn works out of season. Thaw it, skip the cob scraping, and add an extra splash of cream.

Recipe FAQs
Leftovers can be kept in a sealed container in the fridge for 3 days. Reheat it on the stove in a skillet, adding a splash of milk as needed to thin the sauce.
Yes, you absolutely can! Creamed corn is a great make-ahead dish, which can be especially helpful for holiday meals. Just make it without the bacon on top and store it in the fridge for up to 2 days. Reheat the creamed corn in a cast iron skillet, adding a splash of milk as needed, then reheat the bacon and add it on top right before serving.
Yes, you can! Just swap the tablespoon of flour for a tablespoon of your favorite 1-to-1 gluten free flour or thicken the sauce with a cornstarch slurry instead.
If you’d like, you can certainly skip the sugar. This works best when you’re using very sweet fresh corn that doesn’t need the extra sugar.
Related Recipes
- Dutch Oven Mashed Potatoes
- Cast Iron Skillet Zucchini
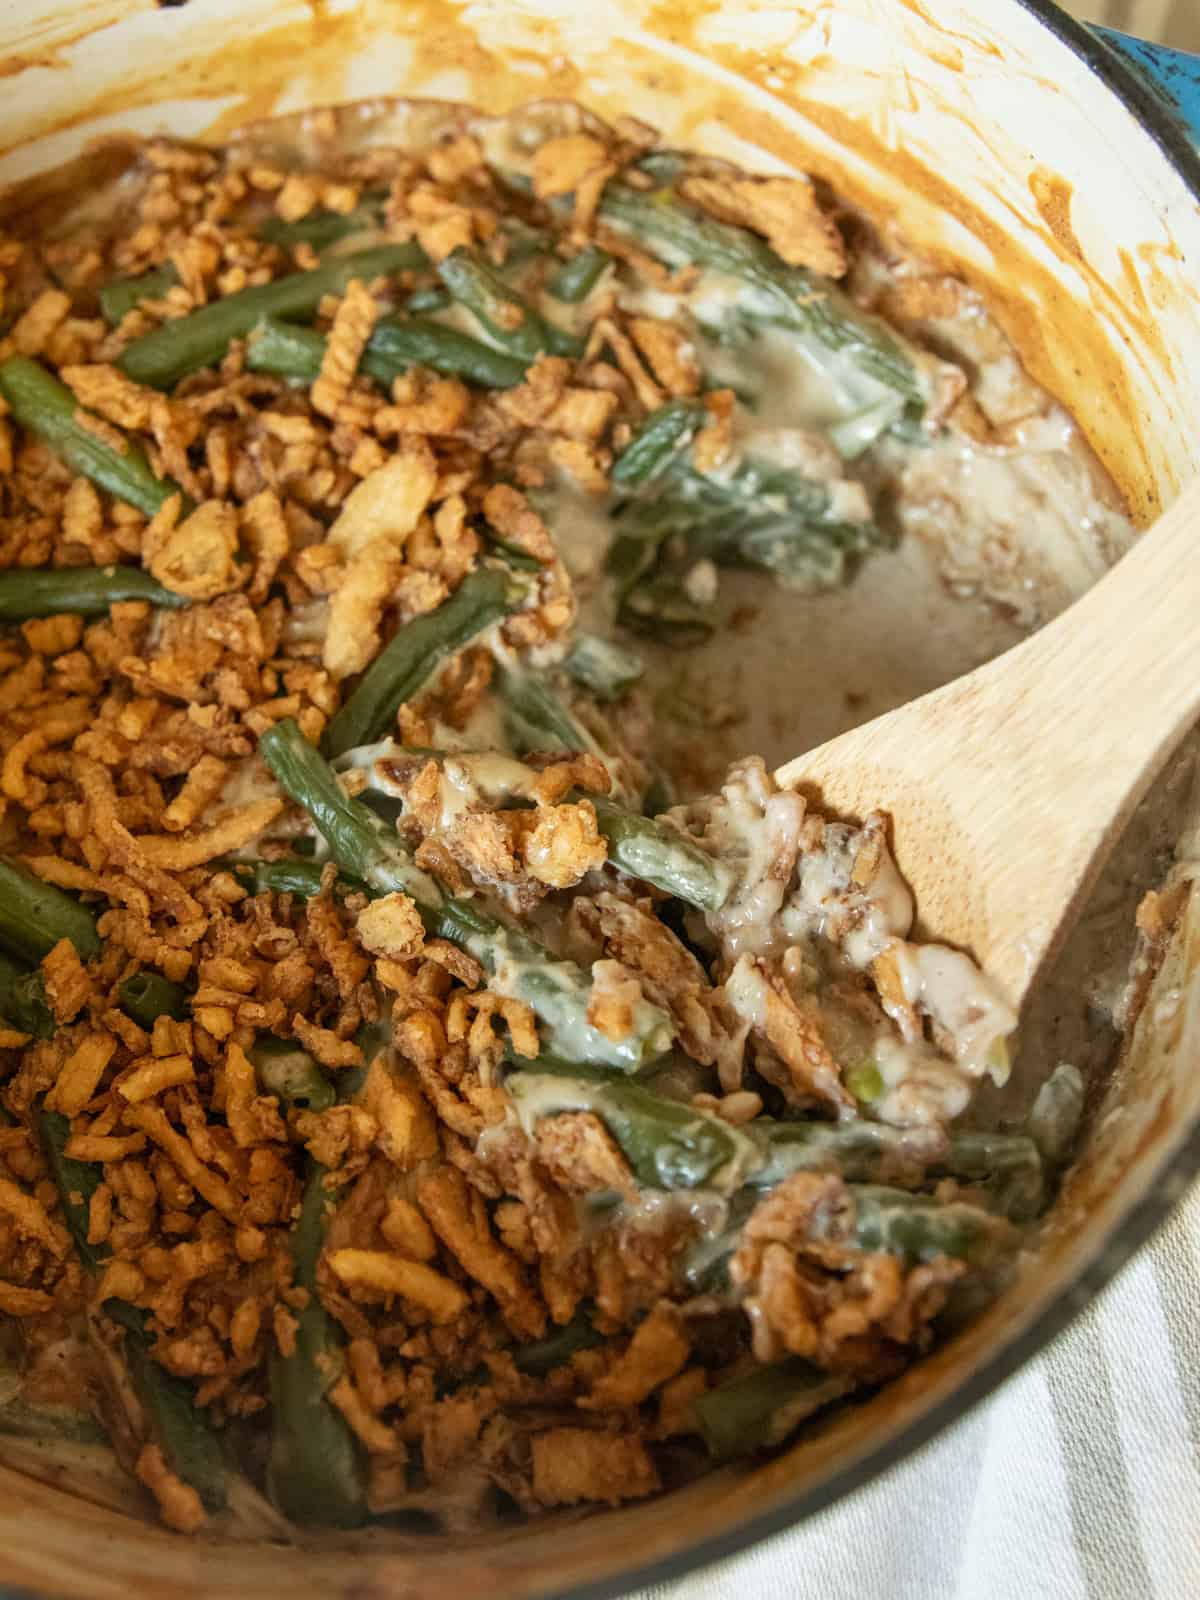
- Dutch Oven Green Bean Casserole
- Dutch Oven Sweet Potato Casserole
- Roasted Cheesy Bacon Butternut Squash
If you tried this Skillet Creamed Corn or any other recipe on my website, please leave a star rating and let me know how it went in the comments below. Thanks for visiting!

Skillet Creamed Corn
Equipment
- 12-inch cast iron skillet
Ingredients
- 6 ears fresh corn husked
- 4 slices bacon
- 2 tablespoons butter
- 1 tablespoon all purpose flour
- 1 cup whole milk
- ½ cup heavy cream
- 1 tablespoon granulated sugar
- ½ teaspoon sea salt
- ¼ teaspoon black pepper
Instructions
- Cook the bacon in a 12-inch cast iron skillet over medium heat until crisp, about 8 minutes. Move it to a paper towel. Remove excess grease, leaving about 1 tbsp in the skillet.
- Cut the kernels off the cobs into a bowl. Scrape the back of the knife down each bare cob to release the milky starch and add it to the kernels.
- Melt the butter into the bacon drippings. Add the corn and everything scraped off the cobs. Cook 5 minutes, stirring now and then.
- Sprinkle the flour over the corn and stir 1 minute.
- Reduce heat and add the milk, cream, sugar, salt, and pepper.
- Simmer 8 to 10 minutes, stirring often, until it thickens and the corn is tender. Crumble the bacon over the top.
Notes
- Keep it at a gentle simmer. Milk and cream break if they boil hard and you’ll end up with a grainy skillet.
- If you’re using fresh corn, don’t skip scraping the corn cobs with the back of your knife. The milky, starchy juice that is released adds so much flavor!
- Pull it off the heat while it still looks a little loose. It thickens on the way to the table.
- Frozen corn works out of season. Thaw it, skip the cob scraping, and add an extra splash of cream.






I love this recipe. This is perfect for my thanksgiving aide!