This post contains affiliate links. Please read our disclosure policy.
Turn your ground venison into a delicious and filling snack! This is the best ground venison jerky — it’s easy to make in the oven and packed with a rich, savory flavor.
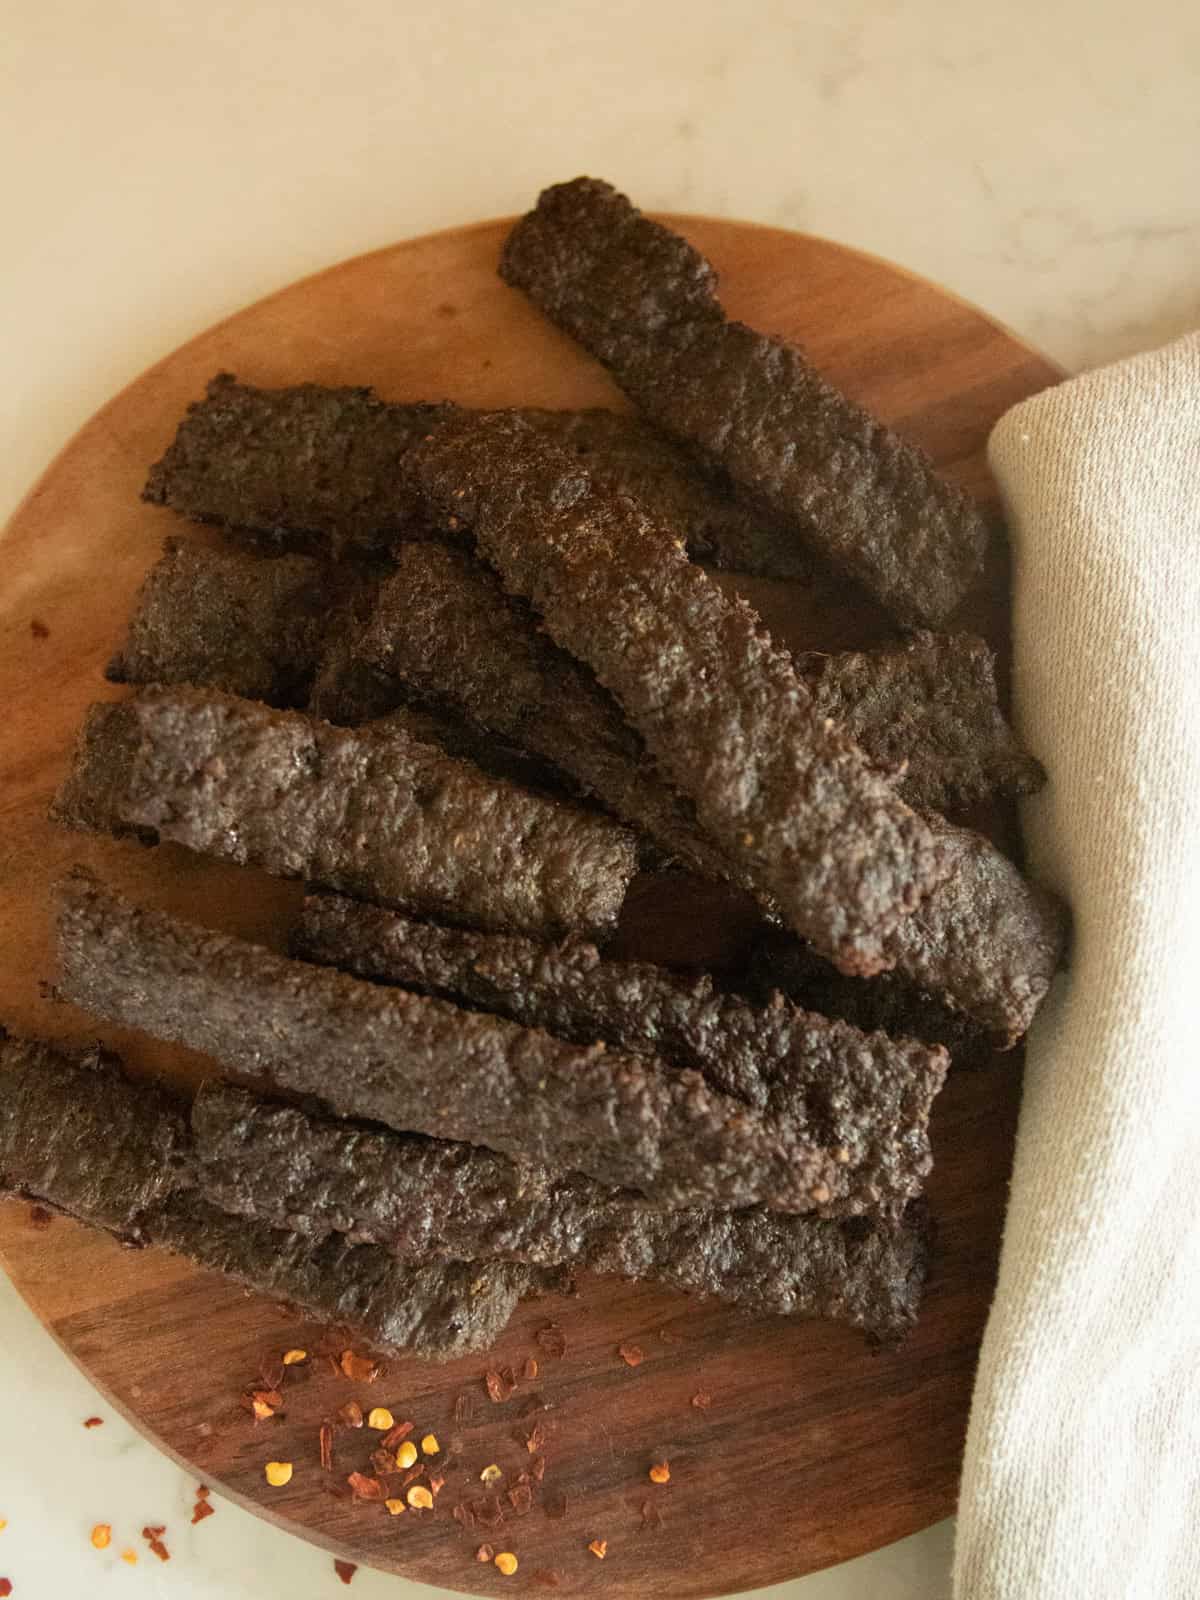
With venison season starting up, it’s time to share with you this delicious venison jerky recipe!
It’s so nice to have in your back pocket this time of year if you want to get the freezer cleared out or need an easy snack to take on the go! I see many batches in our future.
My boys have been begging me to make jerky, and when I finally went to do it, all I had left was ground venison. So ground it was!
It’s a different process than slicing the meat the way I do with my homemade elk jerky, but I think it comes out more tender, and tender is exactly what you want when the kids are eating it.
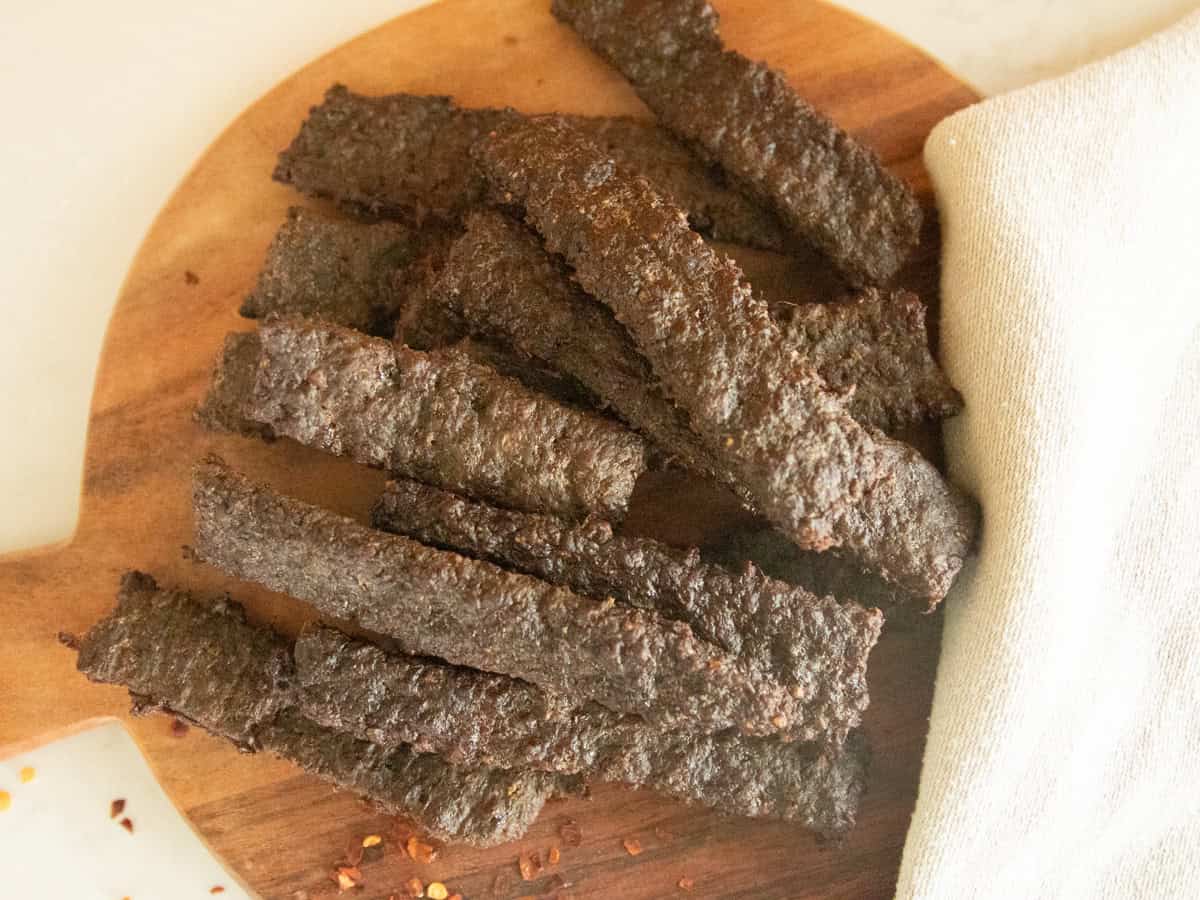
The meat is marinated with plenty of spices and other tasty jerky seasonings that complement the venison perfectly. It’s an all-time favorite snack for my entire family!
It doesn’t last long in our house, and I bet it won’t in yours either!
Table of Contents
Why You’ll Love This Recipe
- Best jerky: Once you’ve had homemade jerky, you won’t want to go back to store-bought. This jerky is packed with a rich venison flavor and plenty of tasty seasonings.
- Use up your ground venison: If you have a ton of ground venison in the freezer, jerky is such a great way to use it! You can get through a lot of venison easily, and it’s so delicious. You can also make some of my other ground venison recipes!
- Oven jerky: You don’t need a smoker or dehydrator, or even a jerky gun to make this recipe! It’s simple and requires just equipment you likely already own.
- Filling snack: Jerky is the ultimate snack for adults and kids alike! It keeps us so full, and once it’s made, it requires absolutely no additional preparation.
Ingredients
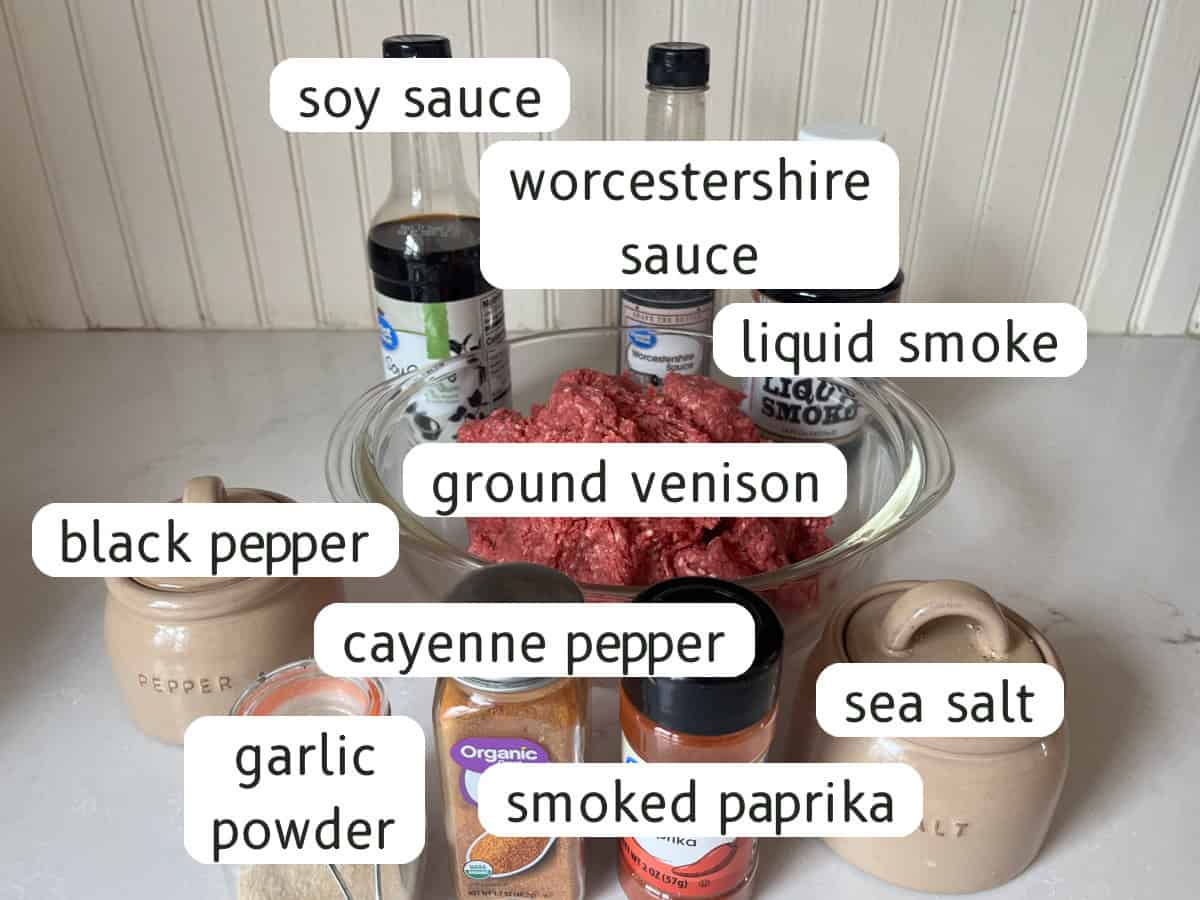
- Ground venison: Ground venison is an ideal meat option for homemade jerky because it’s so lean. This is one of my favorite ways to use it up and make a filling snack!
- Liquid smoke: Liquid smoke gives oven-dried jerky that delicious smoky flavor without the use of a smoker.
- Seasoning: A good blend of spices is essential to give your jerky a really great flavor! You can adjust the level of spice by adding or eliminating the red pepper flakes and cayenne pepper.
Find the full list of ingredients with their measurements in the recipe card below!
How to Make Ground Venison Jerky
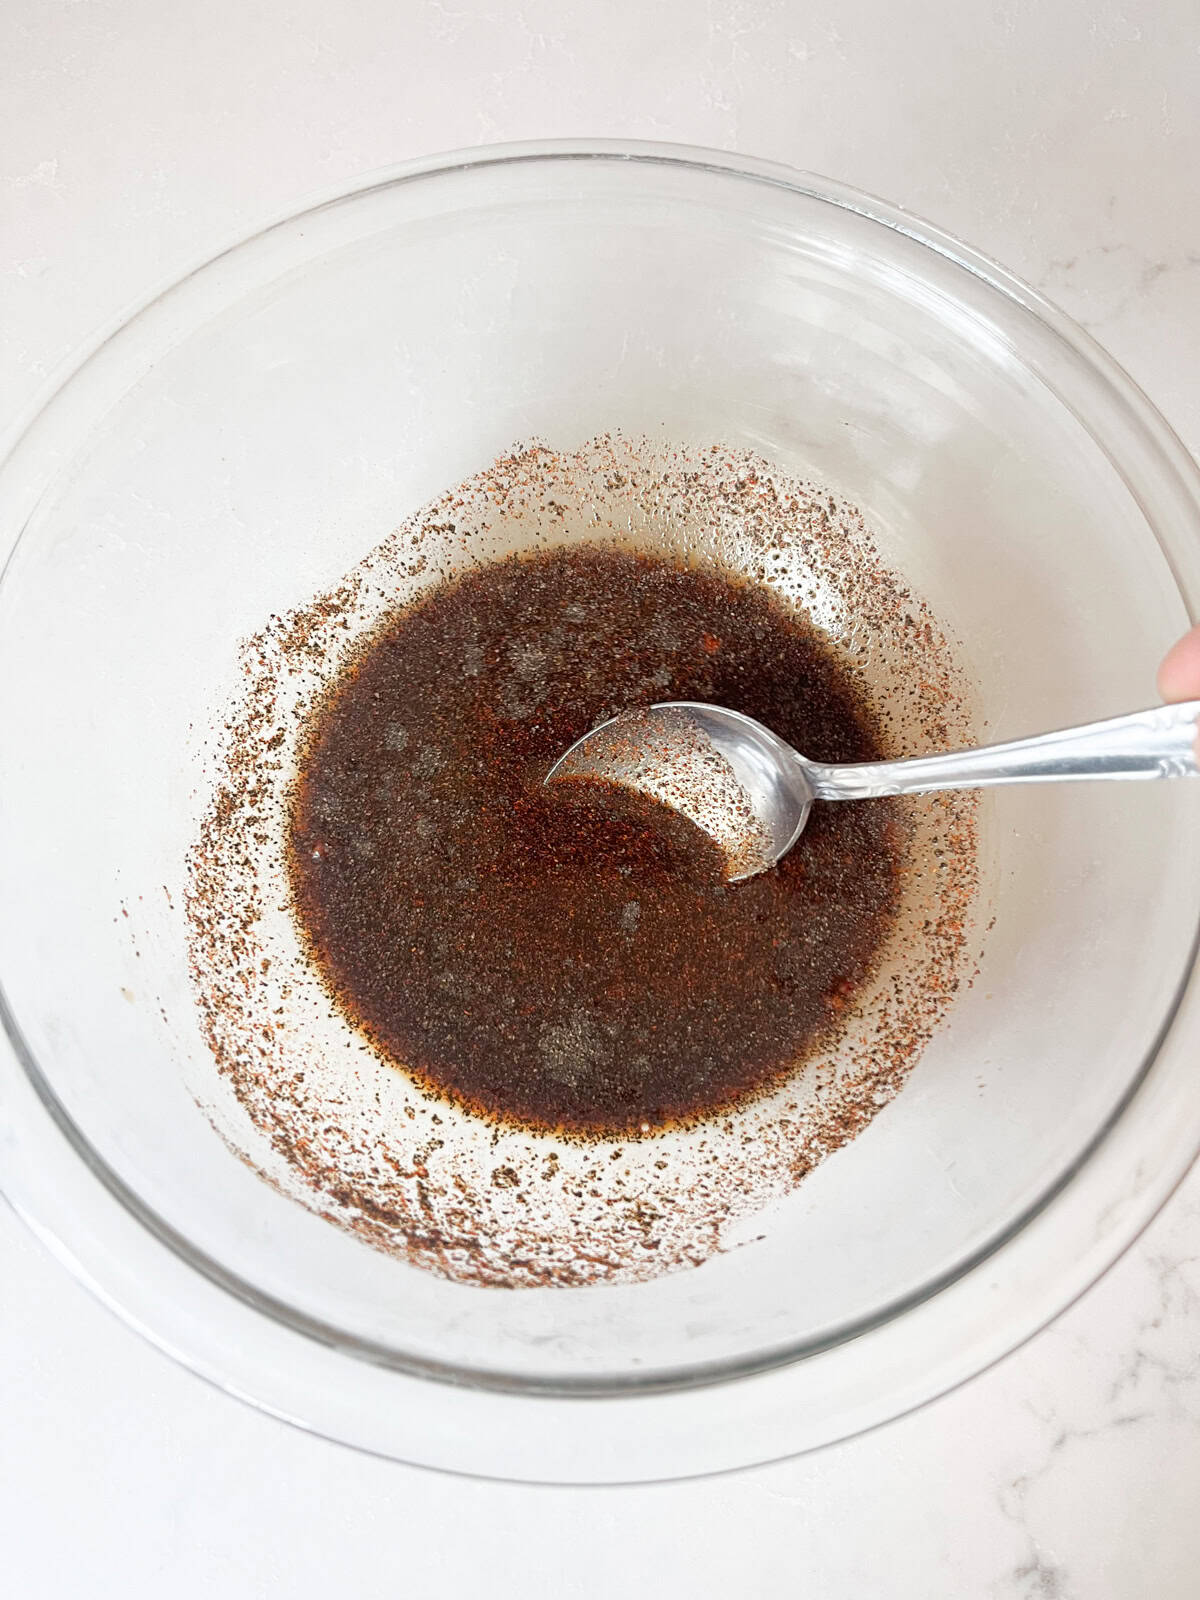
Step 1. Combine the soy sauce, Worcestershire sauce, liquid smoke, sea salt, ground black pepper, garlic powder, smoked paprika, and cayenne pepper (if desired) in a small bowl. Whisk them together until well combined.
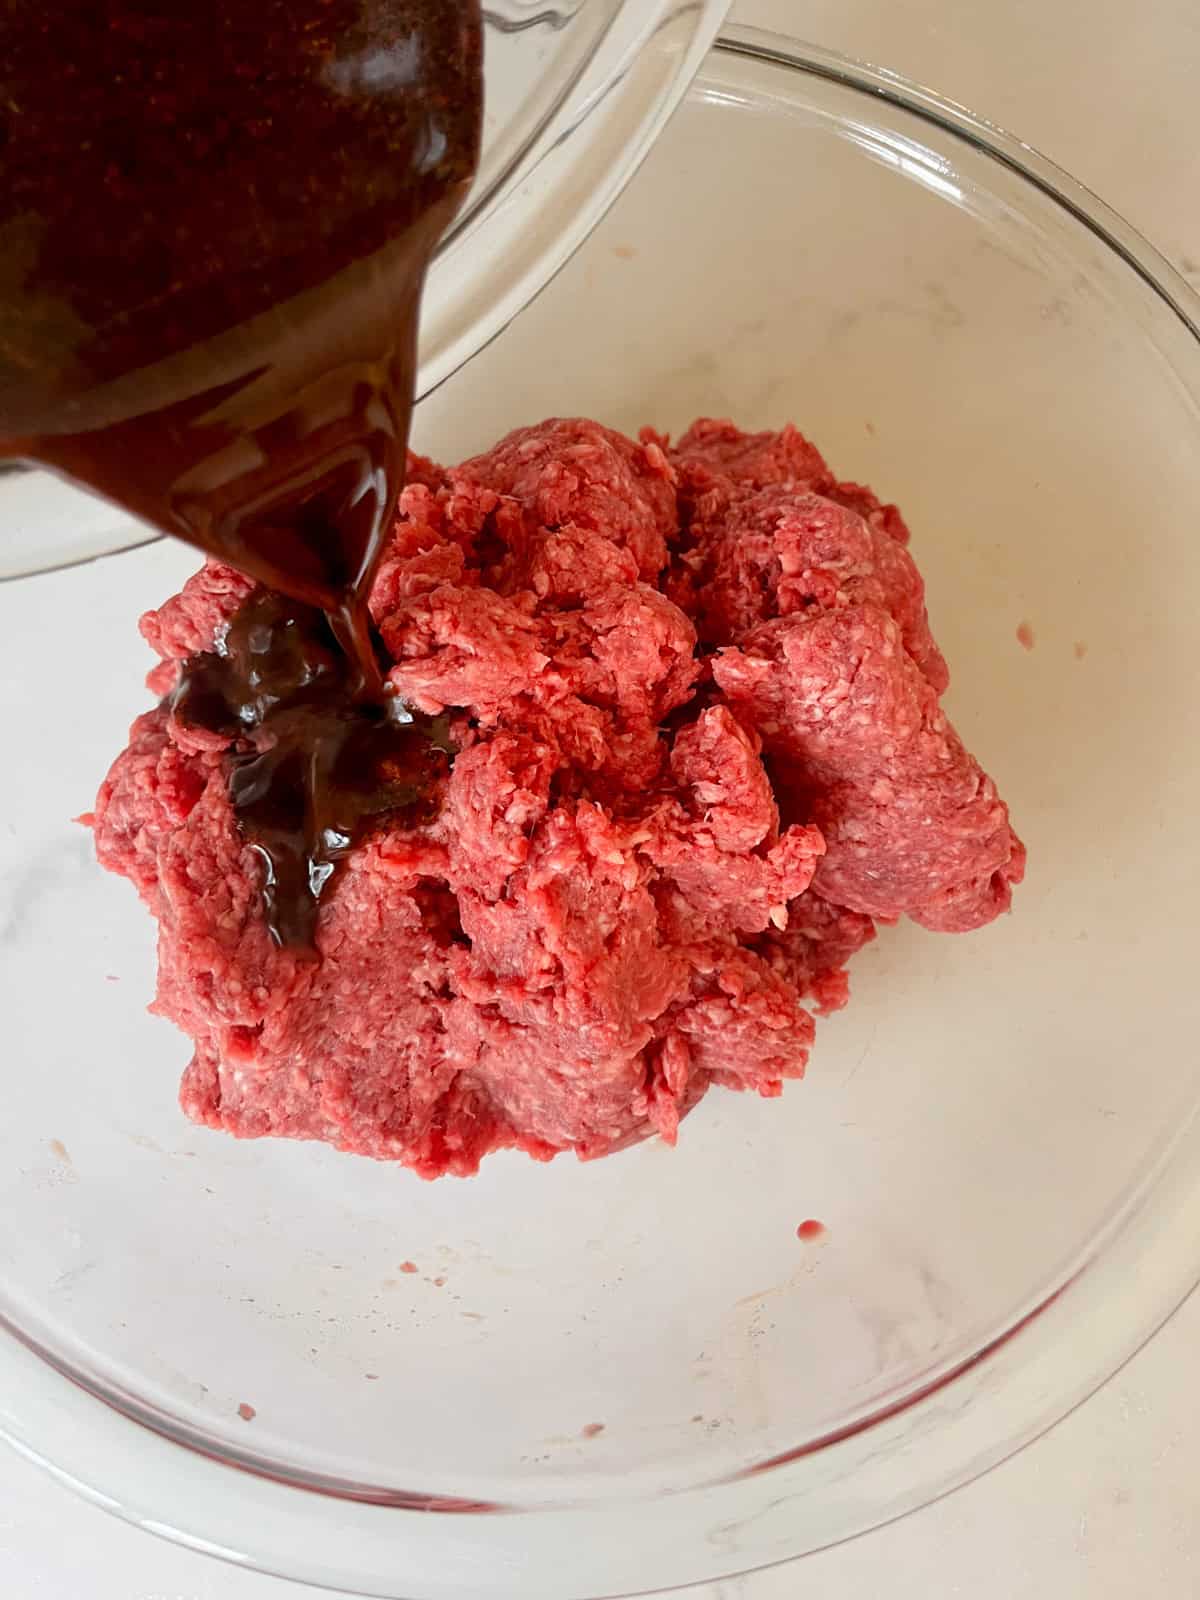
Step 2. Add the ground venison to a large bowl and pour the seasoning mixture over it. Mix with your hands until the seasoning is worked all the way through. Cover the bowl and refrigerate for at least 4 hours, up to overnight.
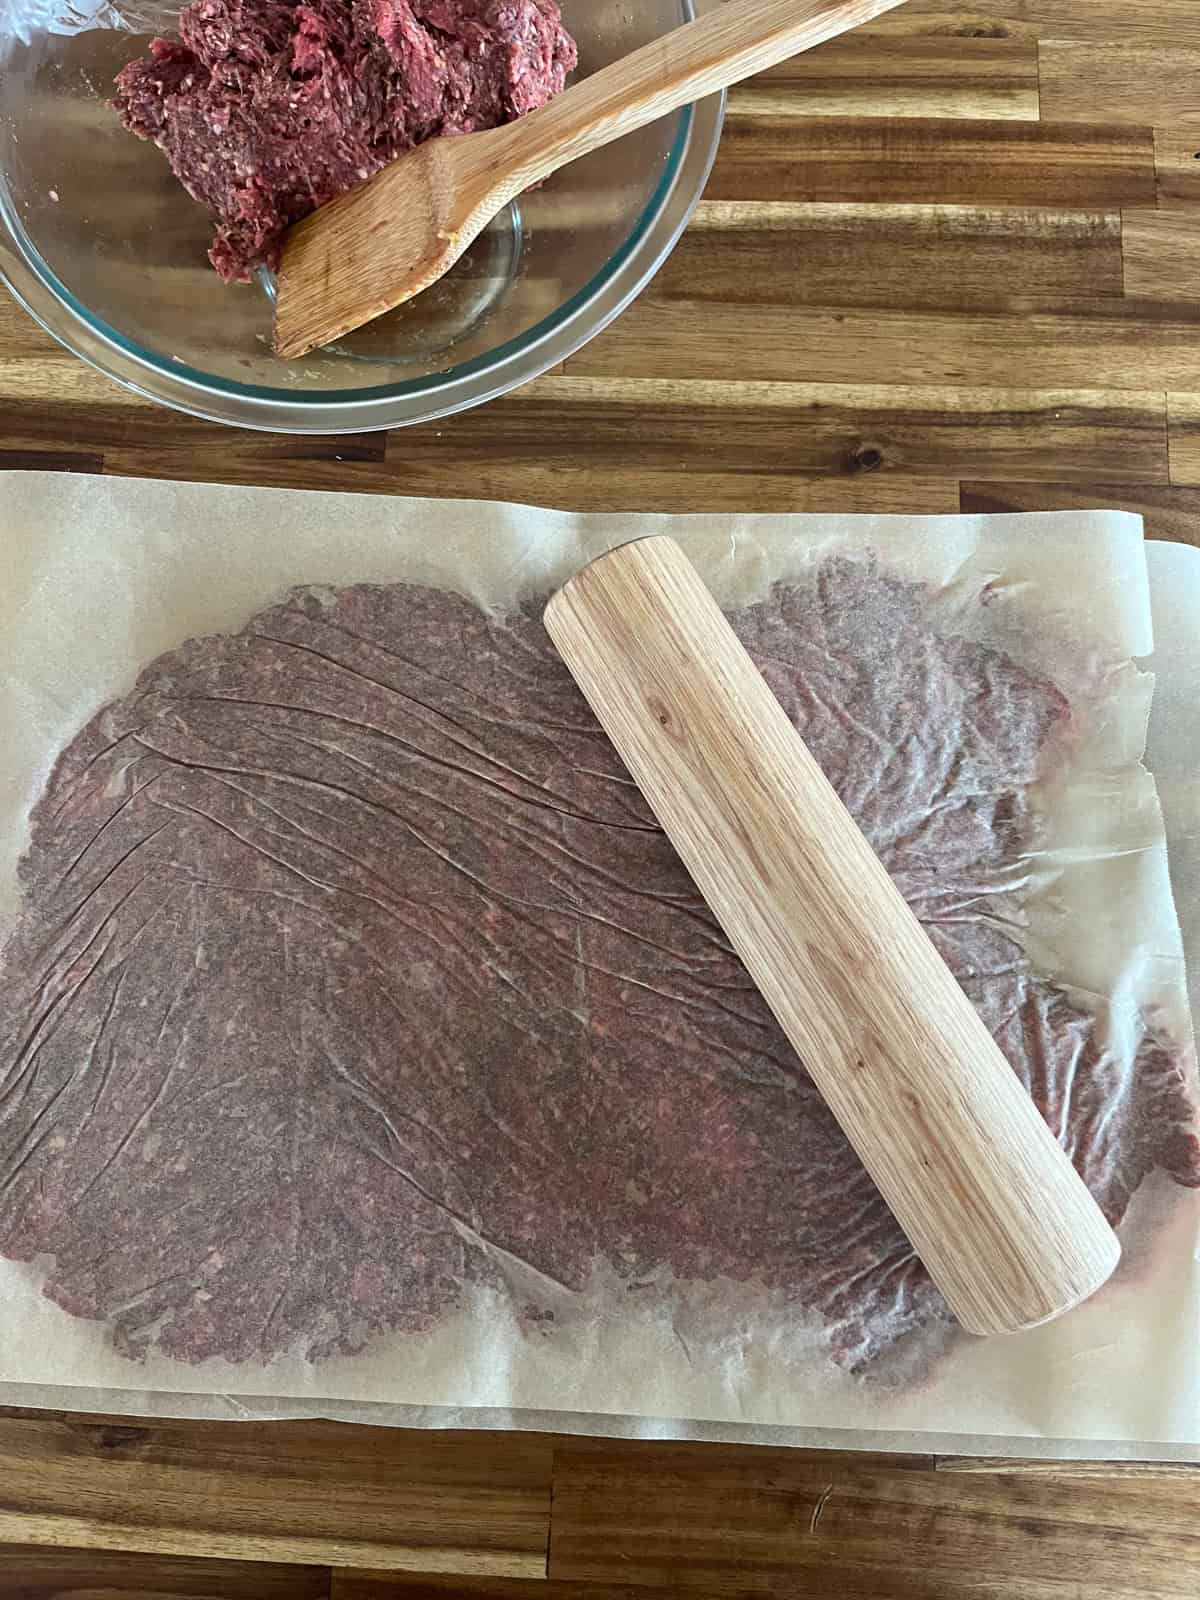
Step 3. Once the meat has chilled, get two large pieces of parchment paper, lay out one, place about half the meat on it, then cover with the second sheet. Roll it out into an even thickness, about ¼” or so. The thinner, the better, but the thinner it is, the harder it is to work with, so there is a tradeoff.
Step 4. Line a baking sheet with aluminum foil, and place a wire rack over it.
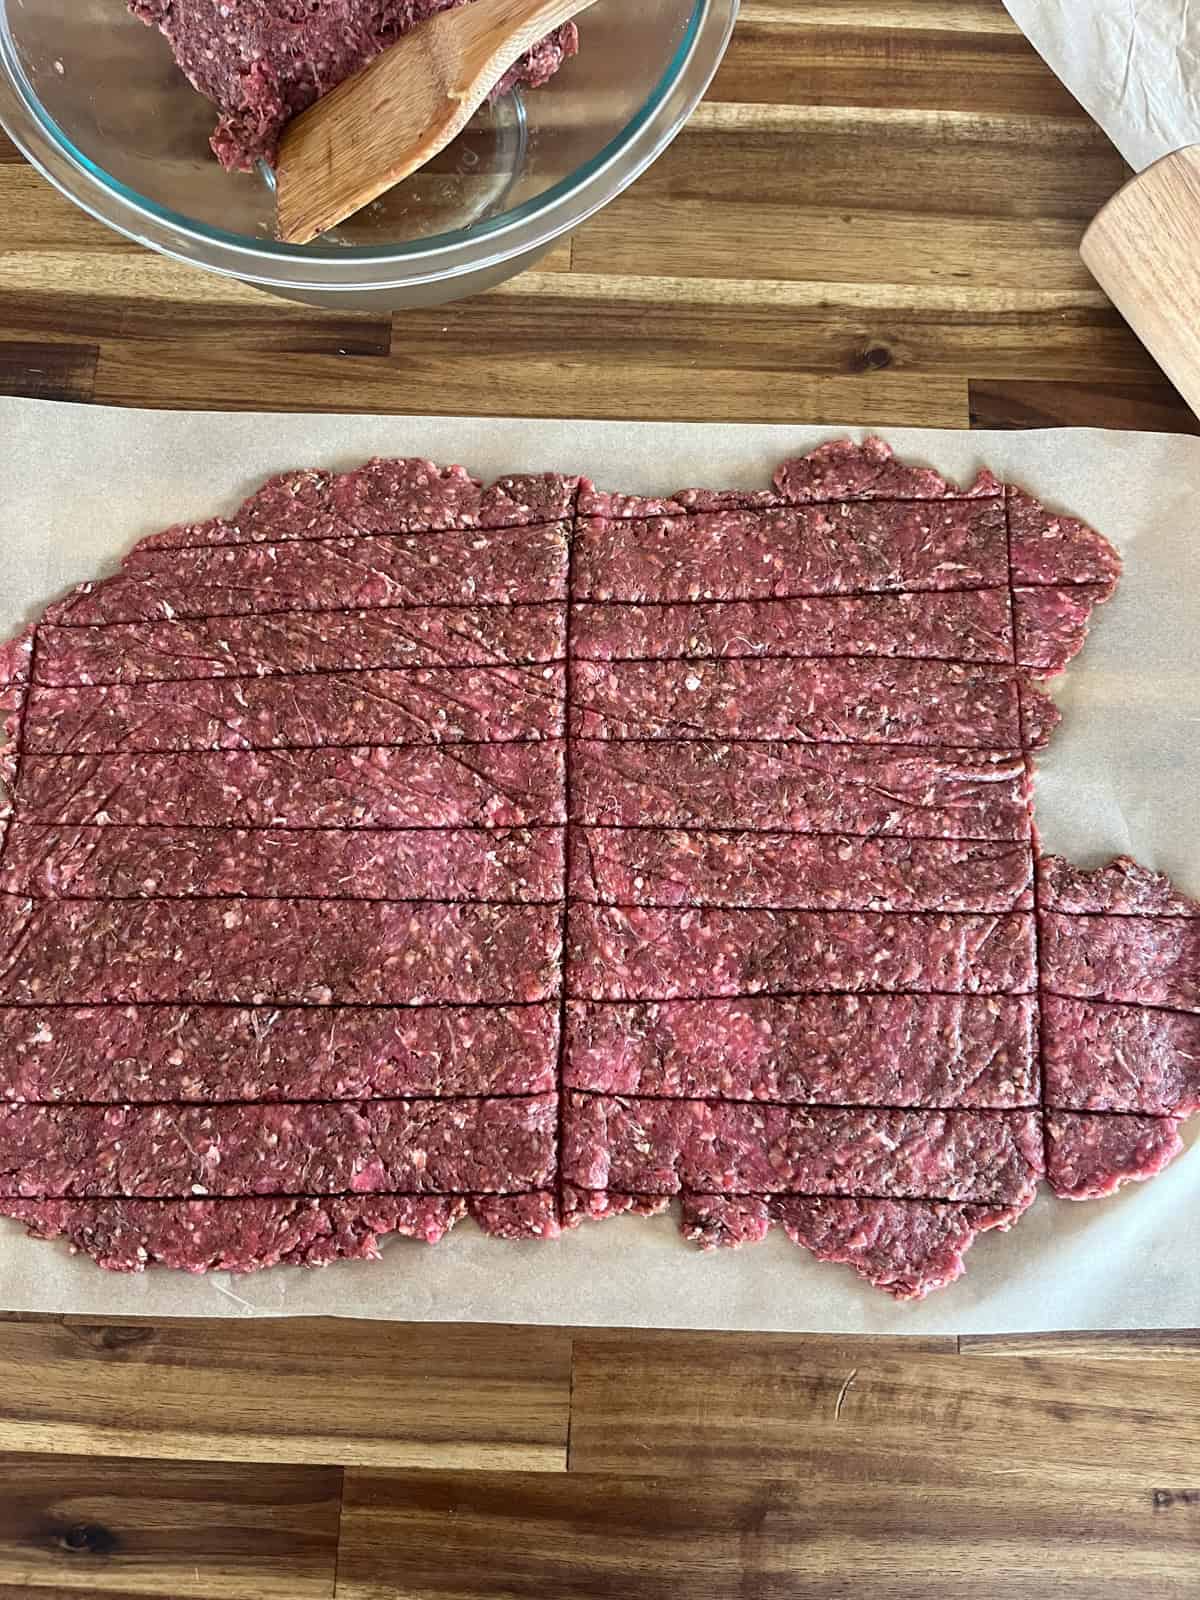
Step 5. Peel off the top sheet and cut your slices with a pizza cutter about an inch wide and 4-6″ long, or however long you prefer them.
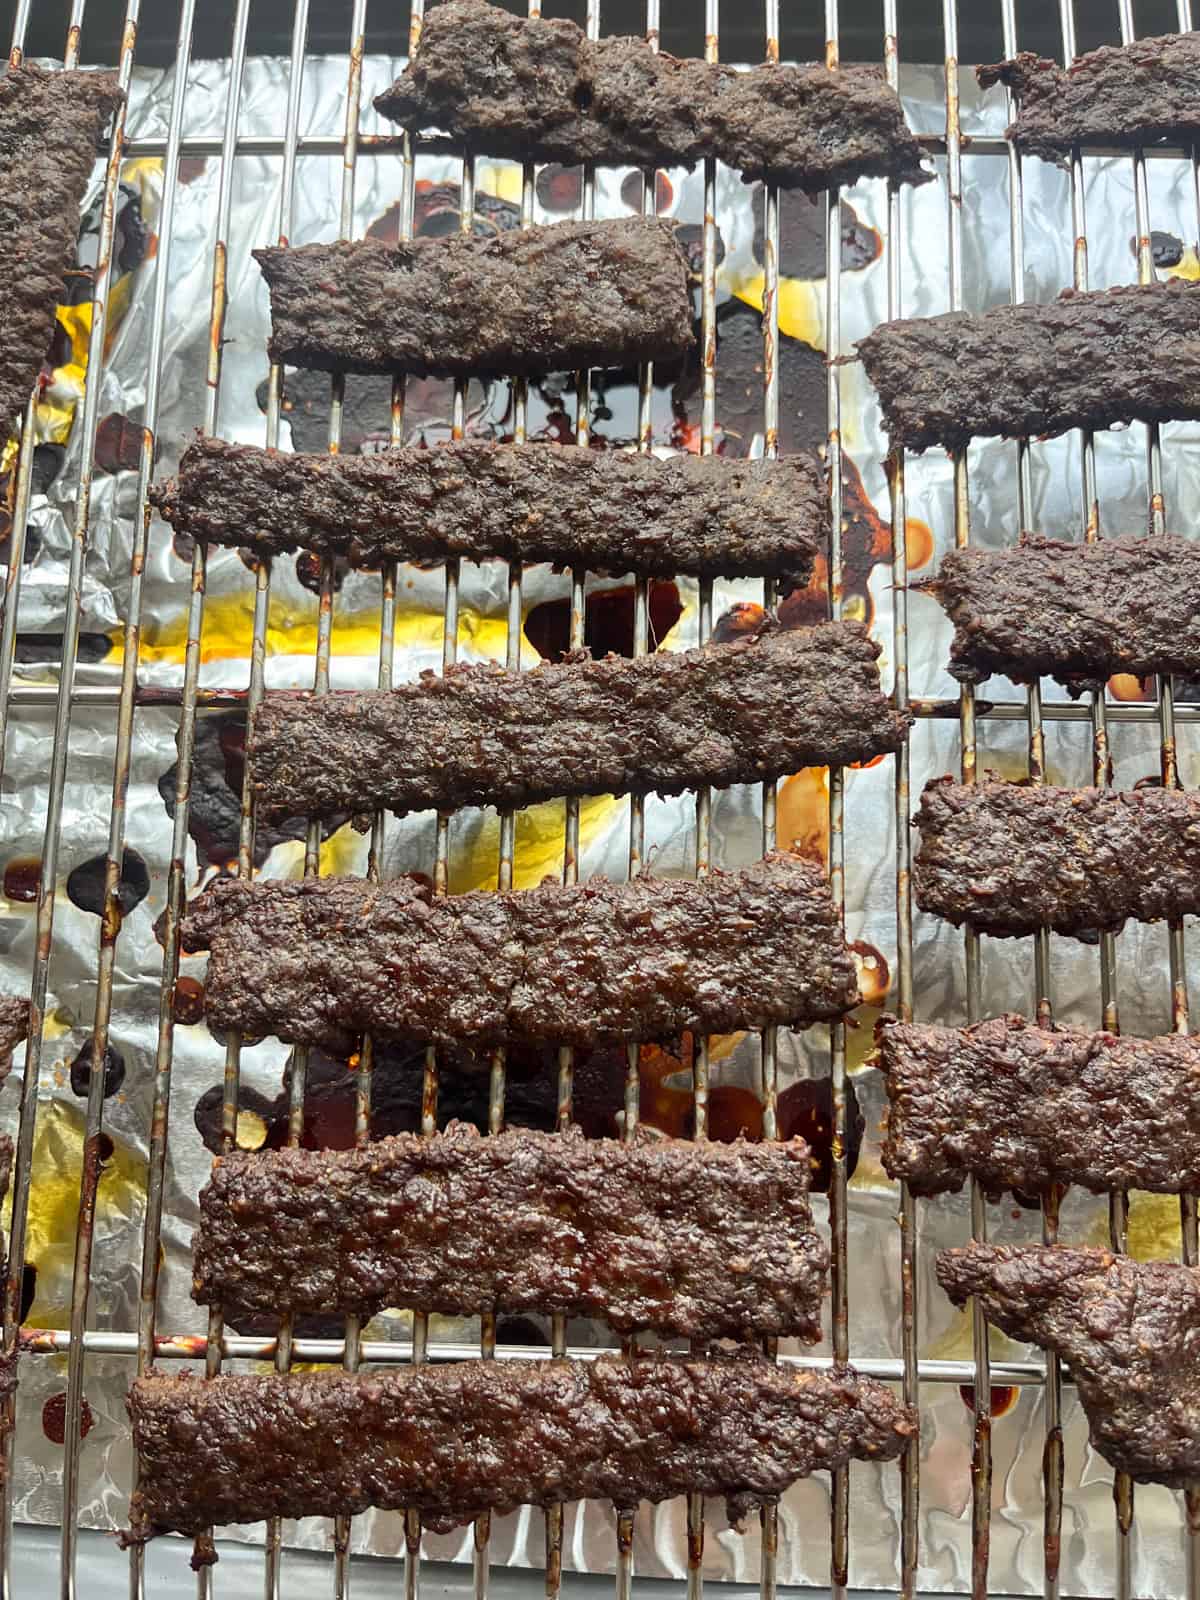
Step 6. Transfer the strips to the wire rack, and then repeat with the second half of the meat.
Step 7. Preheat oven to 175°F. (see notes below) Bake on the center rack for 4 hours, rotating the pan halfway through.
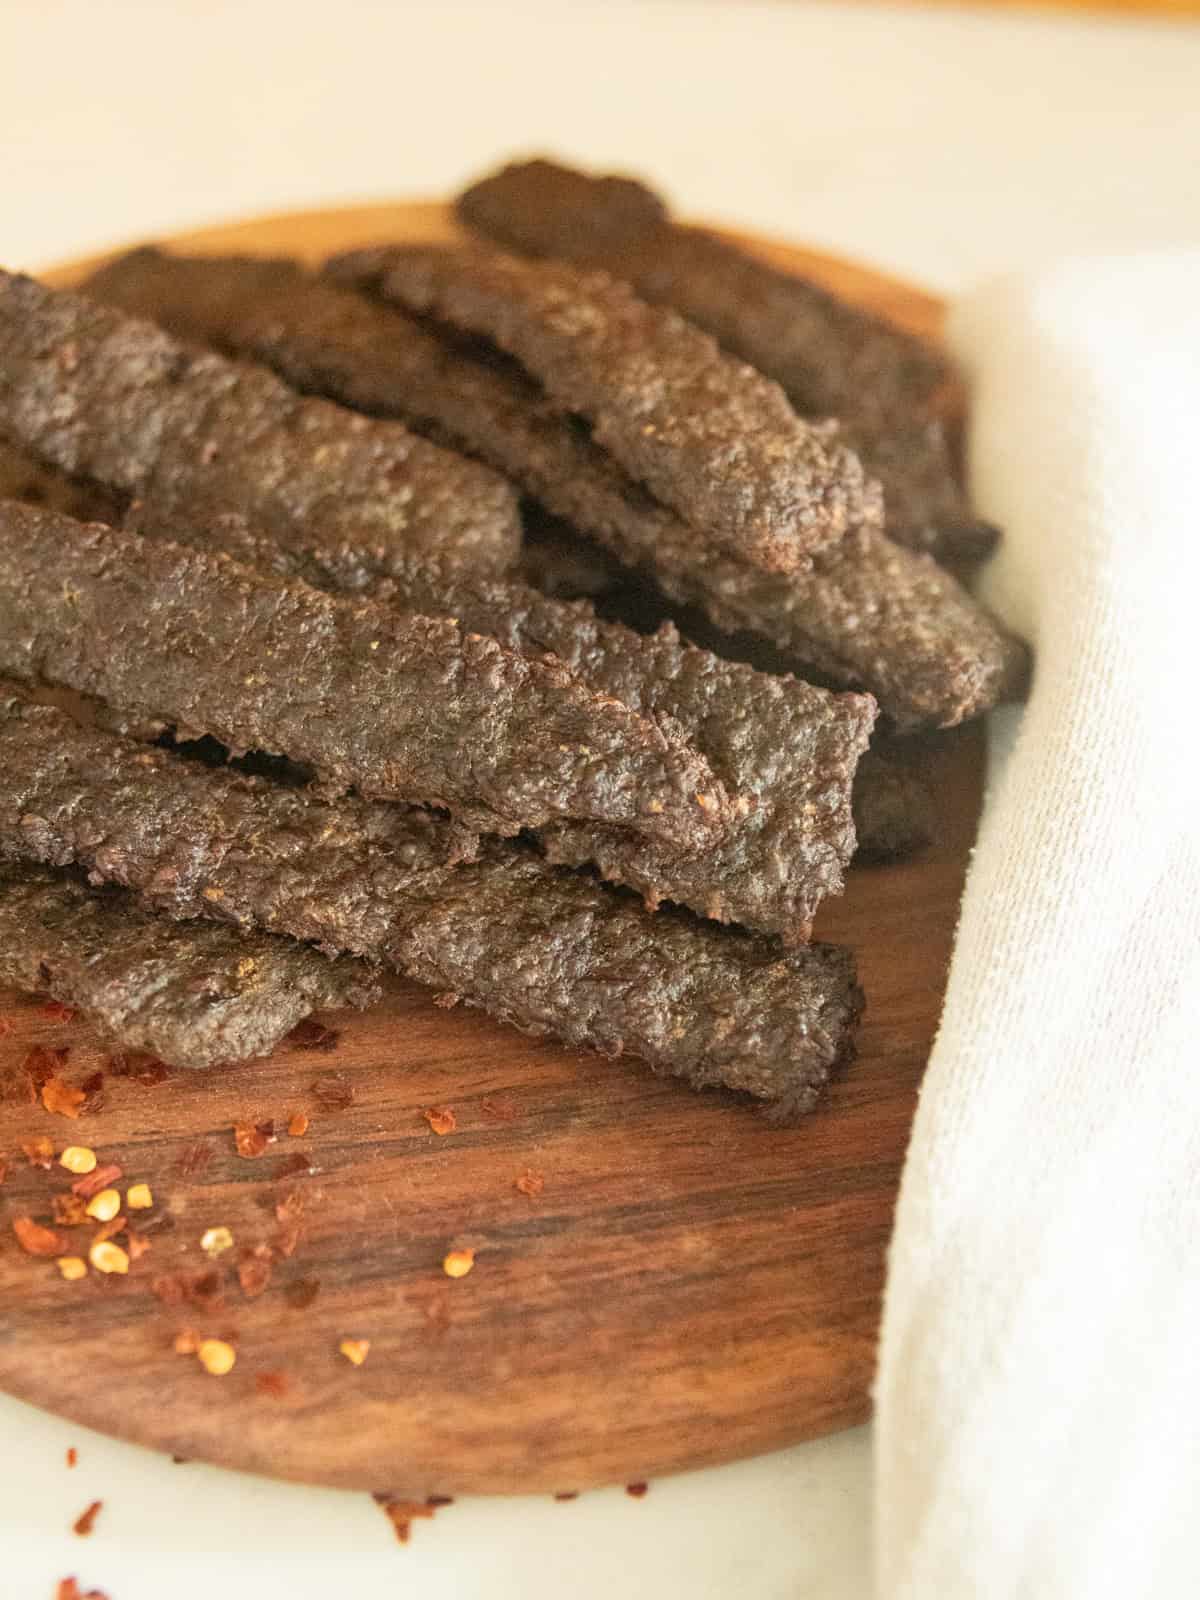
Step 8. After 4 hours, remove one of the pieces of jerky carefully, and once it has cooled to the touch, try bending it in half. If it splits but doesn’t break all the way through, that is what we are looking for. Return it to the oven, and increase the oven to 275°F for 10 minutes to finish.
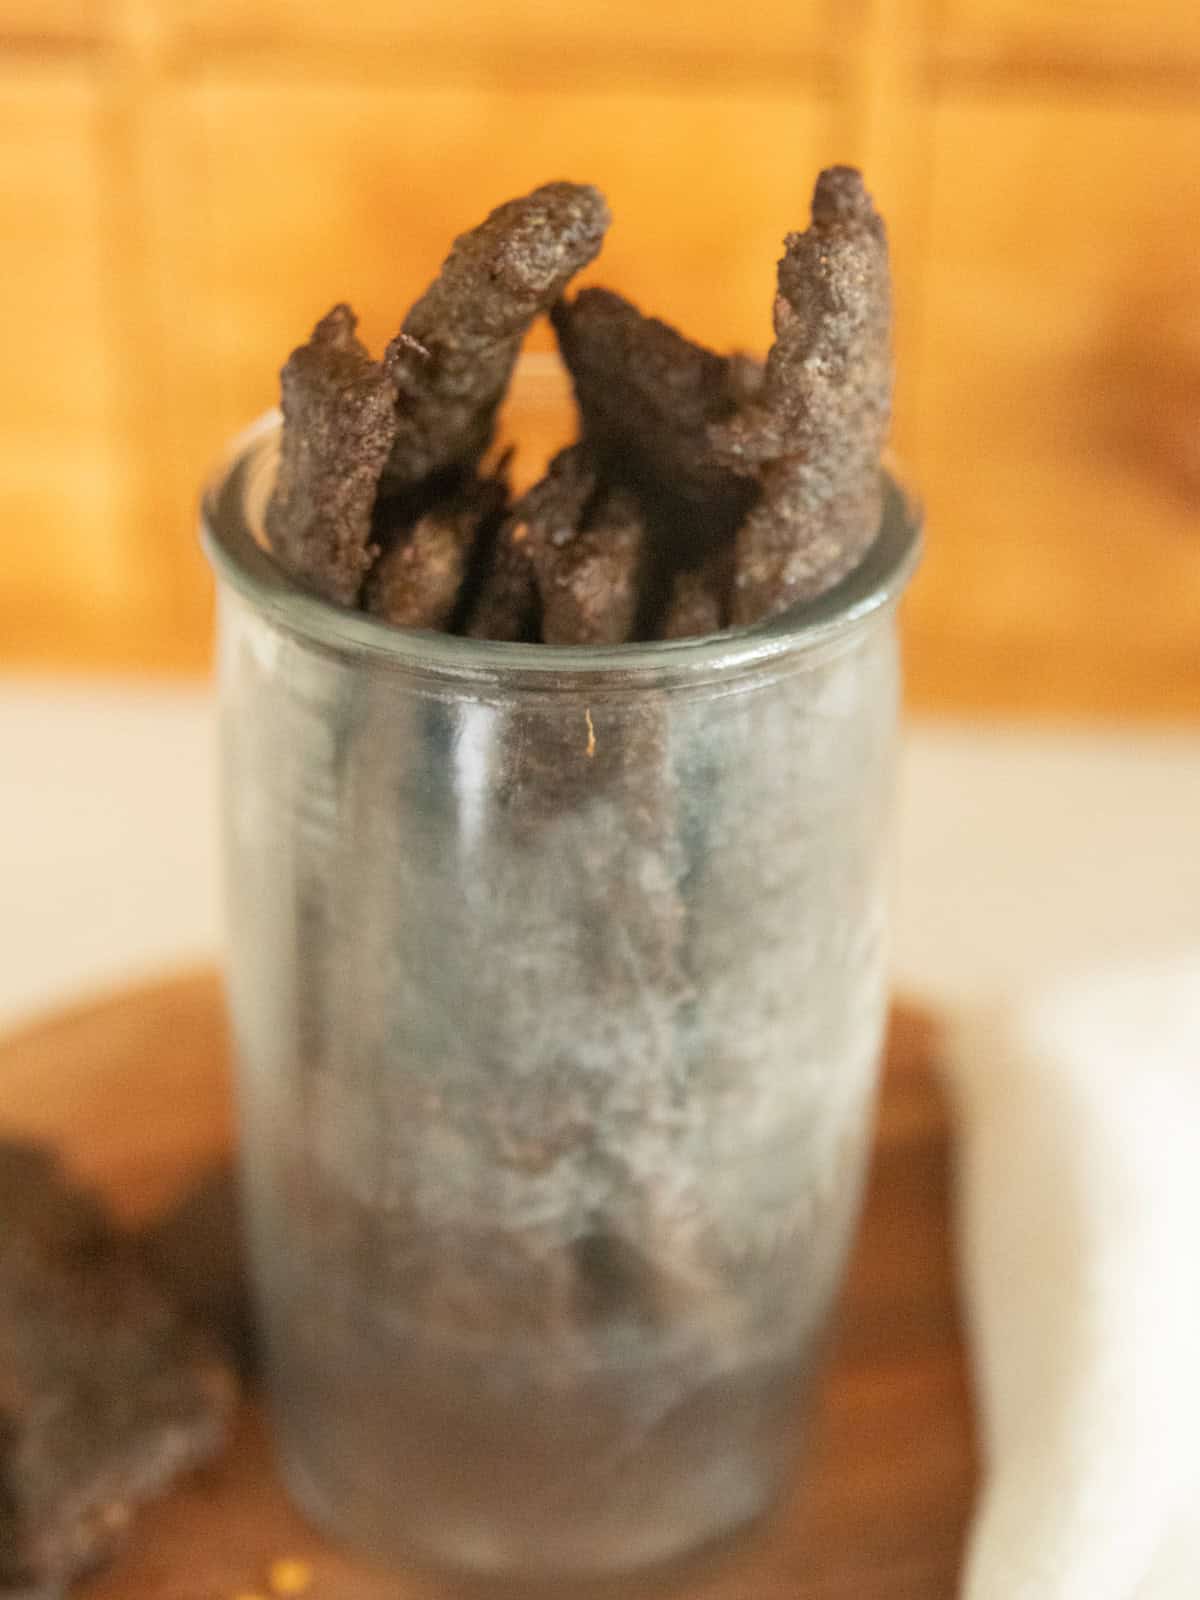
Step 9. Carefully remove from heat and allow the jerky to cool completely before sprinkling it with crushed red peppers and storing it in an airtight container in the fridge.
Tips + Notes
- In step 7, the oven temp really depends on how low your oven will go. I try to aim for 175°F, and will crack the door for the last 45 minutes it’s in there. Then, when it looks like it’s done, close the door and raise the temp to 275°F to ensure it’s cooked through.
- Don’t skip the chill time! It’s what gives all that flavor a chance to soak down into the meat, and it firms the mixture up so it isn’t fighting you when you go to roll it out.
- Use an instant thermometer to verify the internal temperature. The temperature must be 160°F.
- Ground jerky is a little harder to make than sliced, in my opinion, just because it tears so easily. Two things help with that: the first is the chill time, and the second is not rolling it out too thin — I find ⅛ to ¼ inch is the perfect spot.
- You can adjust how spicy your jerky is by how many red pepper flakes you add. If you don’t want any spice at all, omit the flakes and the cayenne pepper.
- Store your jerky in an airtight container in the fridge for around 2 weeks, or keep it in the freezer for longer.
How to Make Ground Jerky in a Dehydrator
If you have a dehydrator, it works just as well as an oven for making jerky. In fact, this is how most people make ground jerky, whether they are using beef, venison, or any other wild game. Everything up to the point of drying is the same.
- Mix and chill the meat exactly the same way, for at least 4 hours and up to overnight.
- Roll it out between parchment to that same ⅛ to ¼ inch and cut your strips, or if you have a jerky gun, you can shoot the strips right onto the trays.
- Lay the strips on the dehydrator trays with a little space between them so the air can get around each one.
- Dry at 160°F for 4 to 6 hours, and start checking at 4. You want that same bend, where it splits but doesn’t break all the way through.
- Finish them in a 275°F oven for 10 minutes, same as the oven method.
Recipe FAQs
Yes! If you don’t have a good cut of meat for slicing, you can make jerky out of ground meat instead! It’s a relatively simple process, and the jerky turns out absolutely delicious. The main difference is that ground meat jerky will be a little more tender.
Yes, you can! Leaner meat is best for dehydrating, so venison, elk, moose, or lean ground beef (90-93%) is best. This is a great way to preserve and enjoy the wild game in your freezer!
No, as you’ll see in the recipe, I don’t use one! Rolling the meat out flat and slicing it into strips is a great alternative to using a jerky gun. Of course, if you have one you want to use, you certainly can.
Because moisture is removed during the dehydrating process, the meat is reduced quite a bit when making jerky. For venison, that means you need 2½-3 pounds of ground venison to make 1 pound of jerky.
Related Recipes
- Venison Nuggets
- Marinated Venison Backstrap
- Best Venison Chili Recipe
- Venison Meatloaf Recipe
- Venison Sloppy Joes
If you tried this Ground Venison Jerky or any other recipe on my website, please leave a star rating and let me know how it went in the comments below. Thanks for visiting!
Ground Venison Jerky
Equipment
- Wire rack (oven safe)
Ingredients
- 2 pounds ground venison
- ¼ cup soy sauce
- 2 tablespoons Worcestershire sauce
- 1 teaspoon liquid smoke
- 1 teaspoon sea salt
- 2 teaspoons ground black pepper
- 1 teaspoon garlic powder
- 1 teaspoon smoked paprika
- ¼ teaspoon cayenne pepper optional
- Crushed red peppers optional
Instructions
- Combine the soy sauce, Worcestershire sauce, liquid smoke, sea salt, ground black pepper, garlic powder, smoked paprika, and cayenne pepper (if desired) in a small bowl. Whisk them together until well combined.
- Add the ground venison to a large bowl and pour the seasoning mixture over it. Mix with your hands until the seasoning is worked all the way through. Cover the bowl and refrigerate for at least 4 hours, up to overnight.
- Once the meat has chilled, get two large pieces of parchment paper, lay out one, place about half the meat on it, then cover with the second sheet. Roll it out into an even thickness, about ¼" or so. The thinner, the better, but the thinner it is, the harder it is to work with, so there is a tradeoff.
- Line a baking sheet with aluminum foil, and place a wire rack over it.
- Peel off the top sheet and cut your slices with a pizza cutter about an inch wide and 4-6″ long, or however long you prefer them.
- Transfer the strips to the wire rack, and then repeat with the second half of the meat.
- Preheat oven to 175°F. (see notes below) Bake on the center rack for 4 hours, rotating the pan halfway through.
- After 4 hours, remove one of the pieces of jerky carefully, and once it has cooled to the touch, try bending it in half. If it splits, but doesn't break all the way through, that is what we are looking for. Return it to the oven, and increase the oven to 275°F for 10 minutes to finish.
- Carefully remove from heat and allow the jerky to cool completely before sprinkling it with crushed red peppers and storing it in an airtight container in the fridge.
Notes
- See the post above to find instructions for jerky in the dehydrator.
- Feel free to use a jerky gun if you have one. Just skip rolling out and cutting the meat and use the jerky gun instead.
- In step 7, the oven temp really depends on how low your oven will go. I try to aim for 175°F, and I will crack the door for the last 45 minutes it’s in there. Then, when it looks like it’s done, close the door and raise the temp to 275°F to ensure it’s cooked through.
- Don’t skip the chill time! It’s what gives all that flavor a chance to soak down into the meat, and it firms the mixture up so it isn’t fighting you when you go to roll it out.
- Use an instant thermometer to verify the internal temperature. The temperature must be 160°F.
- Ground jerky is a little harder to make than sliced, in my opinion, just because it tears so easily. Two things help with that: the first is the chill time, and the second is not rolling it out too thin — I find ⅛ to ¼ inch is the perfect spot.
- You can adjust how spicy your jerky is by how many red pepper flakes you add. If you don’t want any spice at all, omit the flakes and the cayenne pepper.
- Store your jerky in an airtight container in the fridge for around 2 weeks, or keep it in the freezer for longer.